Producing a beautiful, high-quality physical print of your work as a photographer should be easy, right? In theory, yes. Getting a near-perfect screen to print match for your clients should be a cinch. But when you first start printing your photography work, you may not get the results you’re looking for.
Luckily, there are some ways you can prepare your images for printing so that they look just as good as their digital counterparts. Follow these photo printing tips below to get your professional photos to look great from screen to print.
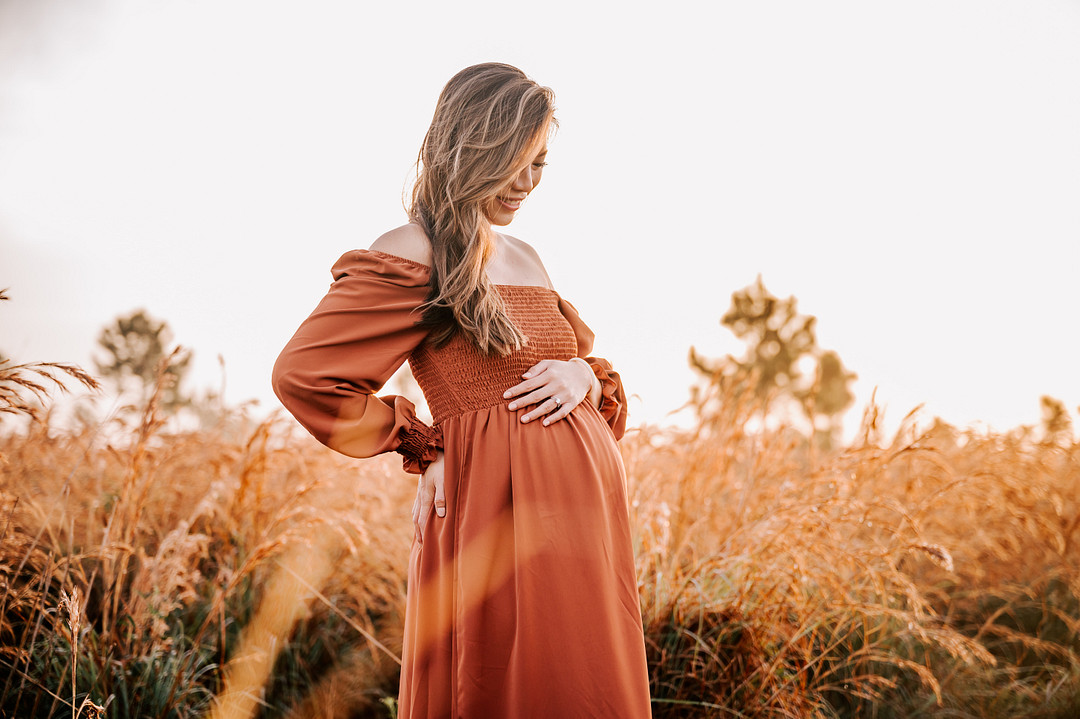
Photo Printing Tip #1: Calibrate your screen
Remember that prints of your work reflect light, while your computer monitor emits light. This affects how something looks on screen compared to how it looks on paper.
To minimize those differences as much as possible, calibrate your screen for the best printing results. You can use built-in calibration tools for Windows and Mac or free online calibration tools to start. Or, you can invest in a calibration kit for your photography business.
Get clients. Get paid. Get happy.
Photo Printing Tip #2: Order test prints from your printing lab
Once you’ve calibrated your monitor, order test prints from the printing lab you’ve chosen. Compare what you see on your screen to the sample prints you receive from your lab partner. Pay attention to color, exposure, and white balance match.
With ShootProof, you can use Studio Ordering to order test prints, or contact the lab directly to request samples.
Photo Printing Tip #3: Check file size and resolution
The lower the resolution of your file, the less detail it contains. The standard resolution for printing is 300 PPI (pixels per inch), which is about 300 DPI (dots per inch). At this resolution, your photos will look sharp, clear, and high-quality.
Pay attention to your image resolution and file size, especially when using a printing lab. If your file size is too large, your image may be resized to optimize loading times. Make sure you’re using the recommended file format, too.

Photo Printing Tip #4: Use the proper colorspace
Remember that colorspace in photography (or “color space”) can vary between printing lab and device. If your images are uploaded in a different color profile than your print lab uses, your images can look wildly different in vibrancy, color, saturation, and more. Always check your print lab’s recommended file format, colorspace, file size, and resolution.
Photo Printing Tip #5: Look at aspect ratio
Aspect ratio is the relationship between the width and height of your photos. Your aspect ratio can affect the composition of your images, so it’s crucial to pay attention to it in post-production (and even while shooting).
Here’s a quick rundown of common aspect ratios and what they’re used for:
- 4:5 aspect ratio. This is a popular aspect ratio because it’s Instagram’s vertical portrait ratio. It’s also used for 8×10 photos in printing.
- 3:2 aspect ratio. This aspect ratio is popular because it’s used for 4×6 prints. There’s room for cropping after the fact, too.
- 4:3 aspect ratio. Used for medium format and digital cameras, plus older monitors and TVs, this aspect ratio creates an 8×6 print.
- 1:1 aspect ratio. The width and height are equal. If you don’t want to adjust your aspect ratio while shooting, you might use this square format.
- 16:9 aspect ratio. You see this rectangular aspect ratio often used on computer monitors and widescreen high-definition TVs.
If you can, choose an aspect ratio that makes sense for how the image will be displayed in a physical print.
Start your free trial with ShootProof
Photo Printing Tip #6: Check your cropping
Aspect ratio and cropping go hand-in-hand because, depending on the aspect ratio or print size chosen, parts of your image will be cropped. Always double-check your cropping before sending it to your printer!
With ShootProof, your files are not resized or shrunk before we submit them to your chosen partner lab. But cropping is inevitable when ordering certain print sizes. For example, any print size outside of the 2:3 aspect ratio must be cropped. You may lose an important part of the photo if you don’t pay attention to cropping and aspect ratio before printing.
Photo Printing Tip #7: Sharpen your images
After you’ve cropped and chosen the proper aspect ratio, one final step to get high-quality prints is to sharpen your images. Printed images need to be sharpened more than digital images in order to maintain the quality.
How much sharpening is needed depends on the size of a print, of course, but the paper, too. Metal prints will show much more detail, while canvas blurs and camouflages some imperfections.
Photo Printing Tip #8: Pay attention to paper selection
The paper chosen for prints makes a huge difference in getting a screen to print match. Make sure you know how lustre, metallic, matte, and glossy papers stack up against one another when helping your photography clients choose their prints. That way, they won’t be surprised by the physical prints they receive — and they’ll get a print that looks as close to their digital versions as possible.
Photo Printing Tip #9: Try soft proofing
Want to make editing and proofing more efficient and easier? Try soft proofing. You’ll get your on-screen photos to match your prints better by visualizing what your prints will actually look like. And you won’t have to waste time and materials on traditional hard proofing, (printing your test images and then editing further.)
The soft proofing process involves playing with all the elements we’ve already discussed: a calibrated monitor, colorspace, size, and so on. You can easily start soft proofing in Lightroom and Photoshop, plus other software. See how one of our ShootProof members started soft proofing for her family photography business here.
Photo Printing Tip #10: Work with a great photography printing lab
Working with a great professional photography lab is key to getting your photos to look great from screen to print. But this is easy to overlook if you’re a new photography studio owner. And you may feel overwhelmed at the thought of choosing the right lab.
Start your free trial with ShootProof
With ShootProof, we make it easy. Our lab partners are dedicated to creating high-quality prints and products that let your photography talents shine. After you’ve edited and prepared your images for printing, and once your clients have placed an order, you can make final adjustments before approval. Then, our lab partners print, ship, and deliver directly to your clients.Ready to sell prints and products that your clients will love? Start your free trial of ShootProof today!
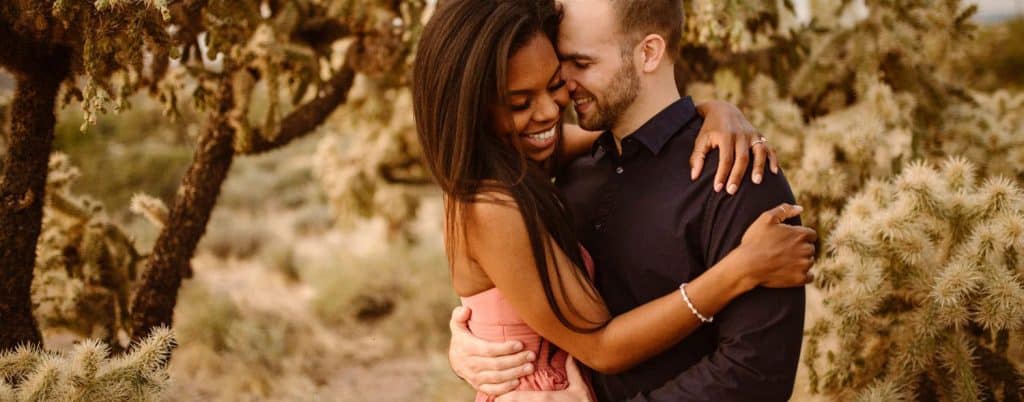
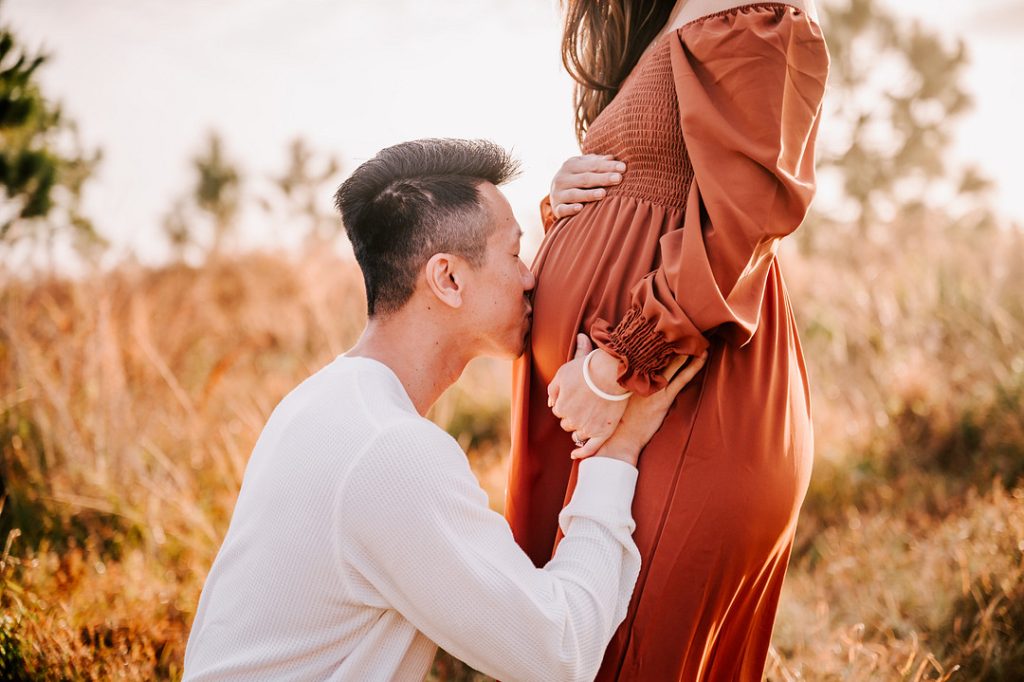
Stunning photos by Haleigh Nicole Photography
Contributor