If you’re struggling to capture skin tones accurately or worried that your subjects will be unhappy with the way your photo editing style impacts their unique skin color, this blog is for you. So many of us fall into the trap of focusing too much on our own aesthetic shooting and editing styles, while neglecting to ensure the people in our photos are captured accurately.
Get started with ShootProof
Why it’s not simple:
We’ve all seen poorly executed light and airy styles that make everyone look like ghosts or dark and moody styles that bring out the dreaded Oompa Loompa effect.
In the age of one-click preset editing and quick turnaround sessions, mistakes that negatively affect the color of your subject’s skin can be detrimental to your client’s satisfaction. By taking these tips into account, you’ll have better photos, more confidence, and, most importantly, happier clients!

Tips for Accurately Capturing Skin Tones
Accurately capturing skin tones begins with your in-camera settings. Follow these tips to ensure your photos flatter your clients and honor their differences:
Consider your client’s overtones and undertones
Skin tones aren’t just “light” or “dark.” There are actually two parts to skin: overtones and undertones.
A person’s overtones are more evident. Someone’s overtone might be described as fair, tawny, ivory, caramel, honey, porcelain, or chocolate. Undertones, on the other hand, are often described as either warm, neutral, or cool. There’s significant variation in overtones and undertones, which means there’s even more variation from person to person.
To represent your client’s complexion accurately from the beginning, in camera it helps to identify their overtones and undertones. This information can also help you reflect light well, plus find environments and background colors that complement their skin.

Also, consider the highlights and shadows on the individual’s skin. Understand that dryness and oiliness look different on different skin tones – darker skin may appear gray or dull if too much setting powder is used, while light skin may appear overly shiny and easily overexposed if too much moisturizer is applied. If working with a makeup artist, ensure they are experienced in diverse skin colors, textures, and conditions.
See how to earn money with ShootProof
If not working with a makeup artist, have a conversation with your client about their skin and ask them questions such as “Do you have oily, dry, or combination skin?” You may encourage them to bring, or have on hand, items like moisturizer or oil blotting wipes, depending on their specific needs.

Pay attention to lighting
All skin tones do not absorb and reflect light in the same manner, so be mindful of how much light is required for your subjects, and adjust your use of reflectors, hair lights, diffusers, and softboxes accordingly. If there isn’t enough natural light, add more to highlight features and preserve skin tone, but be mindful of using light that’s too harsh, or so much light that you overexpose skin and facial features.

We love this tip from photographer Shotti NYC, who recommends focusing on sculpting rather than illuminating your subject. Look for shapes, features, and edges to highlight and illuminate.
Set white balance correctly
When white balance is off, a subject’s undertones aren’t rendered accurately. For example, a person with red undertones may look more orange.
Train your eye to notice undertones because, sometimes, a subject’s overtones may look correct, but their undertones do not. And those are essential to accurately represent the full spectrum of colors that humans are.
Tips for Editing Various Skin Tones
By paying attention to your client’s unique skin tones (and shooting with the correct settings and conditions in the first place), you can turn out gorgeous images with minimal edits. That said, here are some tips for editing a wide range of skin tones:

Be mindful of your presets
Many older presets were created with only light skin tones in mind. Be aware of this when editing your photos. Invest in new presets that are flexible and work on the full range of skin tones.
Edit true-to-life skin tones
Considering your clients’ overtones and undertones is equally as important after the shoot when editing photos. All too often, poor editing makes a subject’s skin orange, gray, or some other funky color that doesn’t look realistic or respectful of their true tones.
You can check your work in Lightroom as you go by clicking the Y button while in the Develop window: this will bring up the Before/After view so you can see how far your editing has deviated from your original image. If their skin looks off in your edit compared to the unedited photo, you’ll notice right away and can make adjustments accordingly.
You might add a color grade that flatters their natural skin tones, play with shadows, or fix images that are too cool or too warm by adjusting the white balance. We recommend using Lightroom’s Highlights slider to create a soft, smooth contrast without blowing out skin tone.
Use the HSL sliders in Lightroom
If small white balance and exposure corrections still aren’t getting your client’s skin tones just right, try adjusting hue, saturation, and luminance (or HSL) in Lightroom. If skin looks too orange, red, or blue, the tones may be oversaturated, so try lowering it. If undertones are too deep or too light, find a good balance with the luminance slider.

Knowing How to Photograph and Edit All Skin Tones Is Essential
In a world where images shape our perceptions, it is incredibly important for photographers to learn how to shoot and edit a diverse array of skin tones accurately and effectively. In doing so, you’ll take the quality of your work to the next level and deliver images that your clients will love.

For more valuable resources on photographing different subjects and editing photos properly, look through the ShootProof blog. For more valuable resources on photographing different subjects and editing photos properly, look through the ShootProof blog, packed with practical tips and advice from real-life ShootProof photographers to help you improve your skills.
Start your free trial with ShootProof
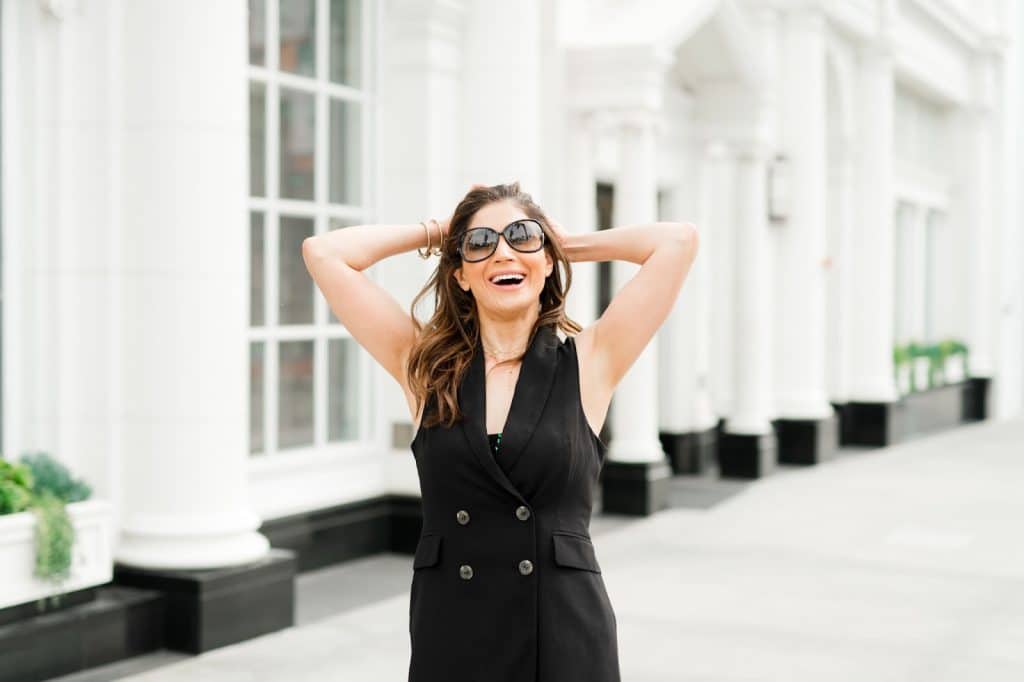
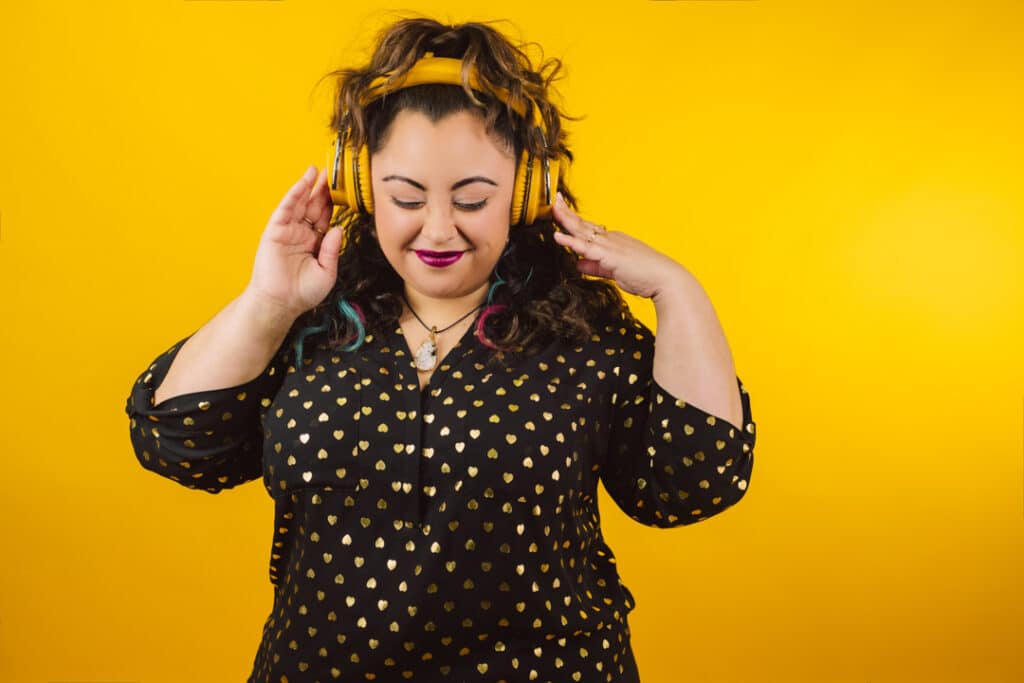
Photos by Jesi Cason Photography
Contributor