In early 2024, I received an email from a client whose wedding I photographed in 2011. His house had flooded, and everything that wasn’t washed away was moldy and ruined, including his computers and the disc of wedding photos I’d delivered back then (yes, in 2011, photos came on discs).
Build a Beautiful Business.
He asked if I still had his photos and offered to pay if I could resend them. I grabbed my backup drive labeled “2009–2012,” found his gallery, uploaded the files to Shootproof, and sent them over. No charge. Thirteen years later, it took me maybe five minutes to find his photos.
This is an extreme example, but it’s not even the main reason you need to get and stay organized. If you’re taking thousands of photos every year, having a locked-in system is CRUCIAL. Spending a little time upfront will yield insane efficiency later.

This guide covers workflow best practices for keeping your work tidy—in galleries, on storage, and in your brain. Yes, that last part matters, too.
Set Yourself Up for Success
This process involves LOTS of steps. Even after 15 years, I still get confused sometimes, especially when juggling multiple projects. To stay on track, document your progress and milestones. You can use my tracking template (make a copy to your Google Drive), your CRM, or whatever works—just use SOMETHING to ensure nothing falls through the cracks.
Nail Down Your Workflow
Here’s my wedding image-only workflow; it doesn’t include administrative or communication tasks:
- Import from card
- Back up files
- Cull in Aftershoot
- Export to Lightroom
- Edit (and cull more) in Lightroom
- Group in Lightroom using stars, flags, and label colors
- Export from Lightroom to folders
- Upload to Shootproof gallery
- Configure Shootproof gallery
- Share with client via Shootproof
Most photographers’ systems are kind of like fingerprints (aw, or snowflakes) in that there are always commonalities, but no two are identical. Let’s dig into each one.
Importing Photos
You have two main options: your computer’s hard drive or an external drive. I prefer editing directly off my computer for better performance, but it requires regularly purging completed projects to free up space. External drives are valid but limited by their read/write speeds.

Here’s my process:
- Navigate to the SD card, find the correct folder, and CMD+A to select all.
- Copy files (CMD+C) and paste (CMD+V) into a new folder under Weddings > 2025 > ClientName (e.g., “Mike and Laura”).
- Wait effing forever
- Confirm that the number of files in the new folder matches the card. Pray it does.
Almost all culling and editing software has some kind of “ingest” option, but I simply use Finder on my Mac.
Backing Up Files
I’ll save you the lecture on backing up your photos. Just trust me that YOU HAVE TO DO IT. Here’s what I do.
- Repeat the import process to an external drive labeled “Local Large.”
- Wait effing forever
- Once a month (or so), I back up everything to a second external drive labeled “Offsite Large,” which I keep at my in-laws’ house. This takes all goddamn day, but it’s mostly passive, and it helps my anxiety, so whatever.
Pro tip: Back up EVERYTHING—raw files, Lightroom catalogs, and deliverables. Overkill? Maybe. But better safe than sorry.
Culling in Aftershoot
It’s hard to overstate the importance of this step. You’ve got to strike a balance between delivering a full documentary-style story and creating a streamlined, manageable collection. Some photographers subscribe to the philosophy that less is more, and some think more is more. This is a technical, how-to article, so I won’t go into the merits of each. Just experiment and decide what you like best. Or just follow your heart; there’s no wrong answer.
That said, no matter your approach, you need a method to narrow things down. The fewer photos you keep, the less editing you have to do—but go overboard, and you’ll be backtracking to recover images you didn’t mean to cut, which is a massive pain. I prefer to cull conservatively, leaving the cold-blooded hacking and slashing for the next step.
Get clients. Get paid. Get happy.
I like Aftershoot, but you’ve got options: Photo Mechanic, Imagen, Narrative Select—they’re all solid choices, especially if you’re dealing with thousands of images in one shoot. Just do yourself a favor and avoid culling in Lightroom; it works but isn’t optimized for large sets.
Editing in Lightroom
Now it’s time to edit. FINALLY. But why am I including an editing section in an organizational guide? Two main reasons: first, it’s where the rubber meets the road, so to speak. Excellent editing can turn mediocre photos into great ones and great photos into iconic ones; efficient editing buys you hours of life spent not working; and consistent editing unifies your brand and matches client expectations.

As with most of these steps, I could do a full 30-video course on the myriad nuances and best practices of editing. For now though, let’s just focus on the big quality-of-life things:
- Presets: Apply a base preset to the entire gallery for consistency, then tweak individual images as needed.
- AI Editing: Tools like Aftershoot can learn your style but take time to set up. Don’t expect instant results.
- 1:1 Previews: Always render 1:1 previews on import for faster editing.
- Keyboard Shortcuts: Learn them or invest in a Tourbox. Saving 10 seconds per photo over a thousand photos adds up to nearly THREE HOURS.
- Cull as You Edit: It’s easier to delete more in Lightroom than go back to your source folder.
Organizing Photos in Lightroom
Sigh deeply, and pat yourself on the back. The hard part’s done. Unfortunately, so is the fun part. For me at least, this next part sucks butt, but it’s absolutely critical to staying organized, SO LISTEN UP.
The goal is to make galleries accessible and enjoyable for clients while streamlining your own process. To avoid overwhelming clients with a 500-image, undifferentiated gallery, I:
- Use “Pick” Flags: Curate a “best of” collection to showcase highlights and speed up album design.
- Group by Stars and Labels: Organize photos into categories using Lightroom’s star and label system. Mine usually look like this:
00 – Best of:
01 – Prep and First Look:
02 – Family and Friends:
03 – Ceremony:
04 – Mike and Laura:
05 – Reception
06 – Details: - Reject and Delete Extras: Remove duplicates or Photoshop exports to avoid delivering clutter.
Exporting to Folders
Export settings should be consistent. I use names like ClientName-0123 for easy organization. As you’re exporting, keep a running list of starting file number. For example, if you have 100 photos in “Best of,” Prep and First Look will begin on 101. Or 0101. Or whatever. Got it?
Export images into folders by group, then drag these into Shootproof’s Desktop Uploader.
Create a Shootproof preset to streamline gallery setup. Key settings to include:
- Add to Category: Essential for sorting shoots later.
- Archive After Expiration: Encourages timely orders.
- Auto-Set Album Covers: Saves time on manual curating.
Upload to Shootproof
One of my favorite things about Shootproof is their attention to detail, which leads to some excellent quality-of-life features. For instance, the Desktop Uploader automatically converts your folder structure into albums in the gallery.
Before uploading, head over to Shootproof and create a gallery preset. This is where the real gallery organization magic happens. Shootproof has a great article on this—check it out, set up your preset, and then come back. For this guide, I’ll highlight three key settings in Gallery Presets > Advanced:
- Add to Category: Nonnegotiable. Do this for EVERY shoot so you can easily sort by shoot type later.
- Automatically send gallery to Archive after expiration: Perfect for creating urgency to order.
- Set Album Cover Images automatically: A lifesaver if you don’t want to spend extra time curating covers.
Now, back to uploading. Drag your “Mike and Laura Married” folder (or equivalent) into the Desktop Uploader, select the Wedding preset you just created, and let it cook. It’s totally hands-off until the upload finishes.
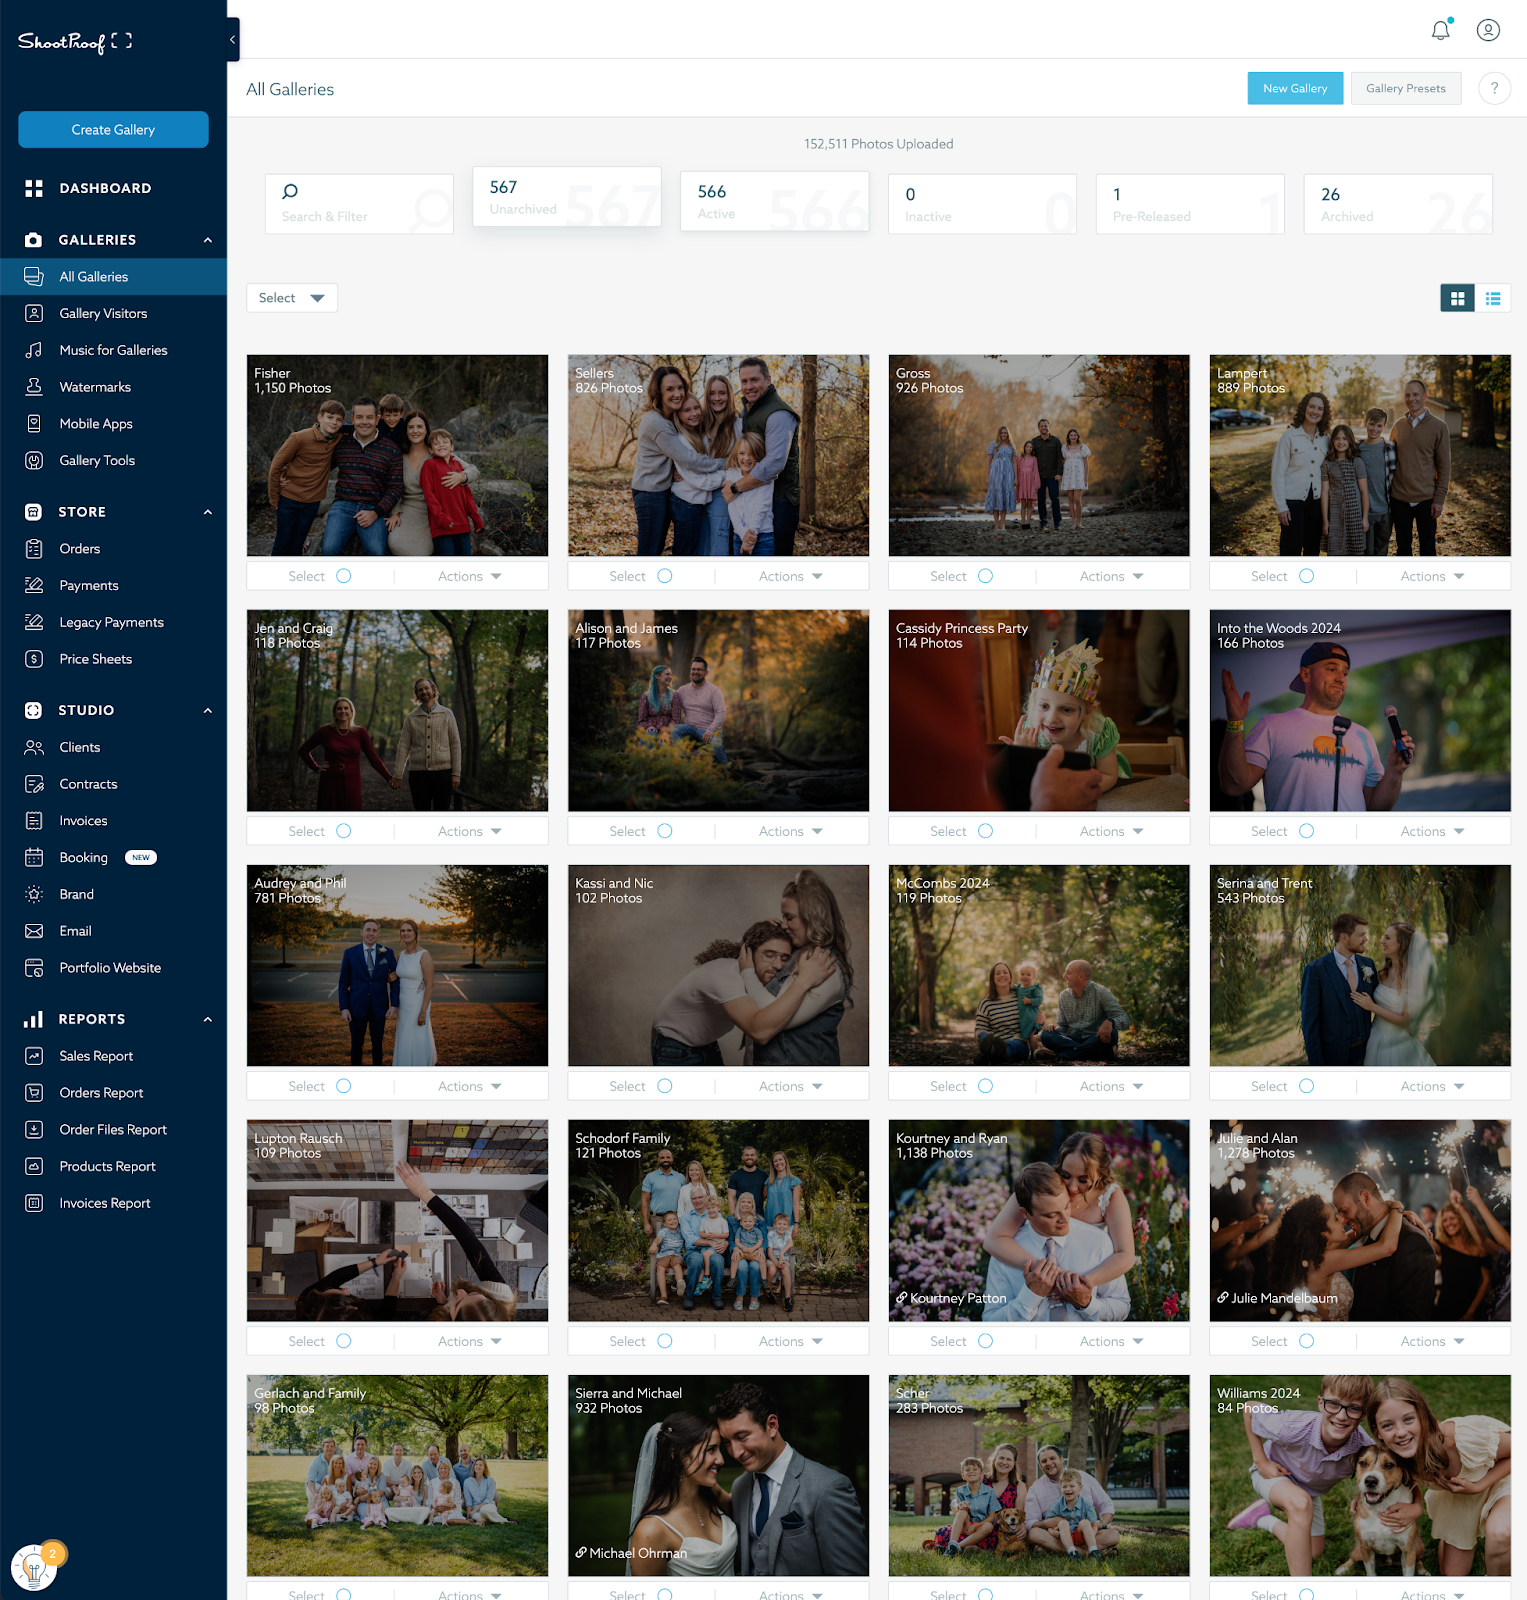
Configure Shootproof Gallery
We’re in the home stretch, babyyyy. Thanks to your badass preset, all you need to do now is create your Linked Contact and double-check that everything looks perfect.
If your preset auto-sets cover photos, you’re ready to share the gallery. If not, take a moment to choose them now.
Share the Gallery
There’s a smorgasbord of opinions online about sharing galleries, so I won’t dive into all that. But one thing I highly recommend? Open a new tab and create an email template. Trust me—you don’t want to rewrite the same email every single time.
Before sharing, double-check everything. Create an email template for consistency and to save time. Small touches, like thank-you notes or print incentives, make a big difference.
Getting organized may feel overwhelming at first, but thoughtful, repeatable processes will save you time and stress in the long run. Here’s the gist:
- Consistency is Key: From file names to editing style, create a system that works and stick to it.
- Efficiency Matters: Use presets, shortcuts, and tools to minimize repetitive tasks.
- Shootproof Rocks: Leverage its features to create a polished client experience.
It sounds like a lot. I get that. It sort of is. And you’ll feel overwhelmed checking boxes and using organizational muscles you’ve never flexed before. But if making a career out of photography is what your heart wants, you gotta get your brain in on the action. And what a beautiful wonder it is once you see the systems you’ve put into place working for you. It’s a lot of work upfront, but your future self will thank you when everything runs smoothly—and when you can find a 13-year-old gallery in five minutes flat.
Start your free trial with ShootProof
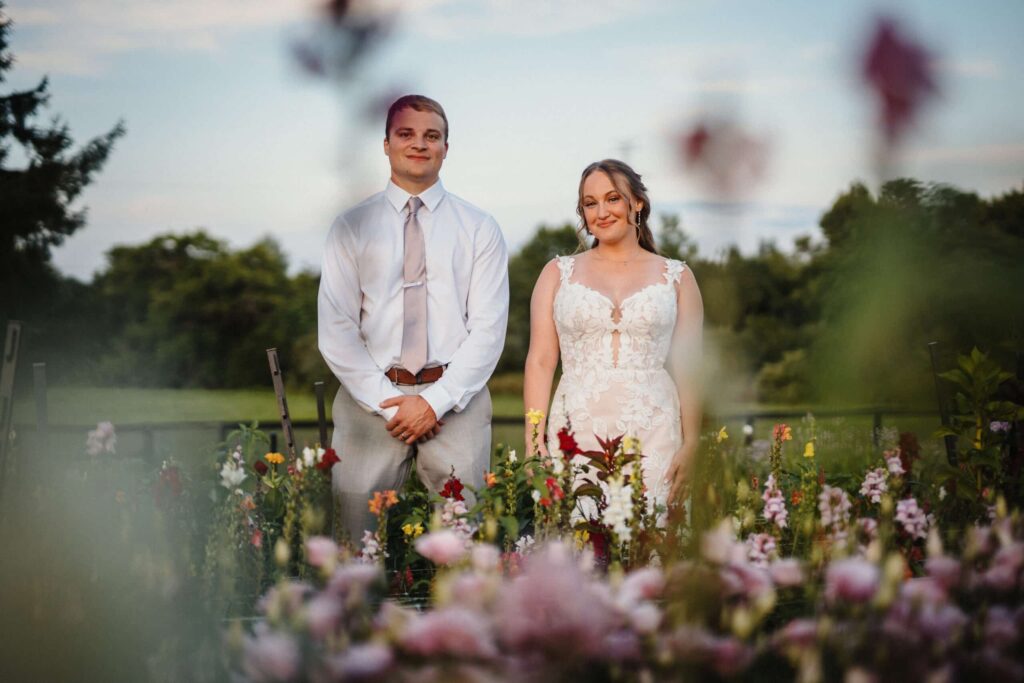
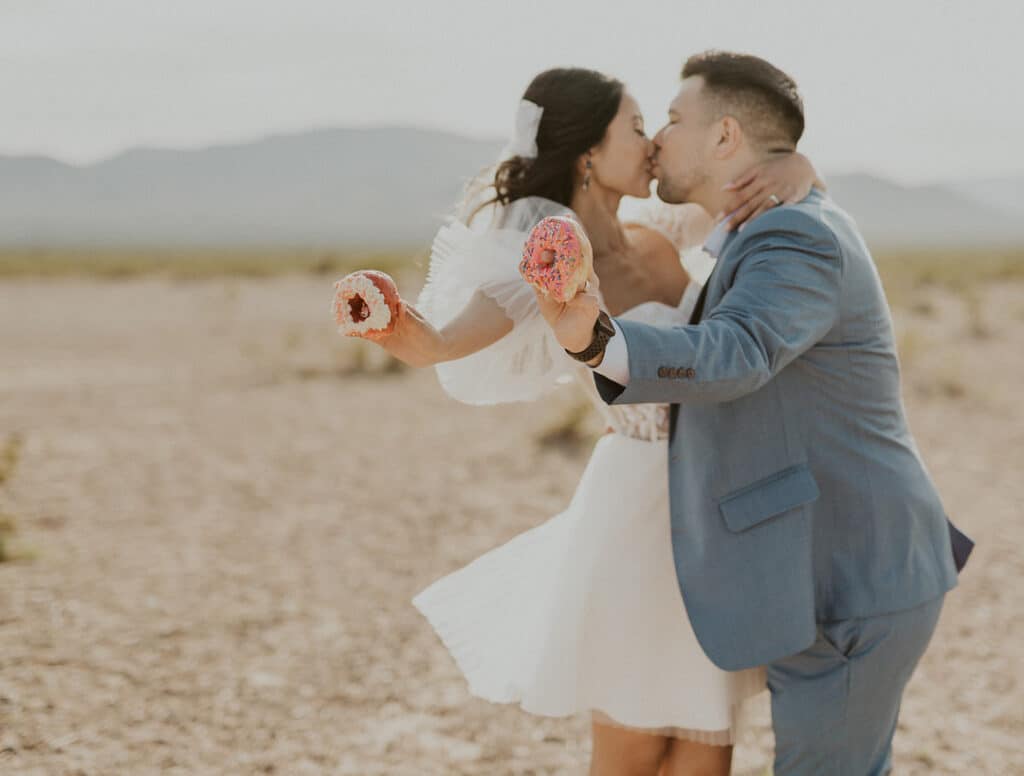
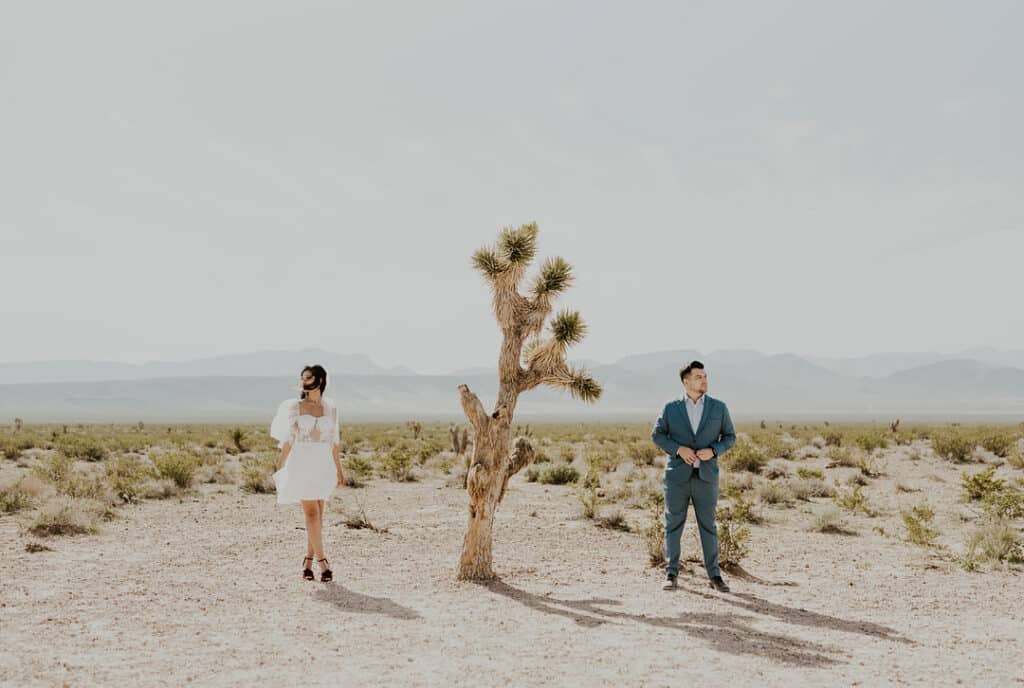
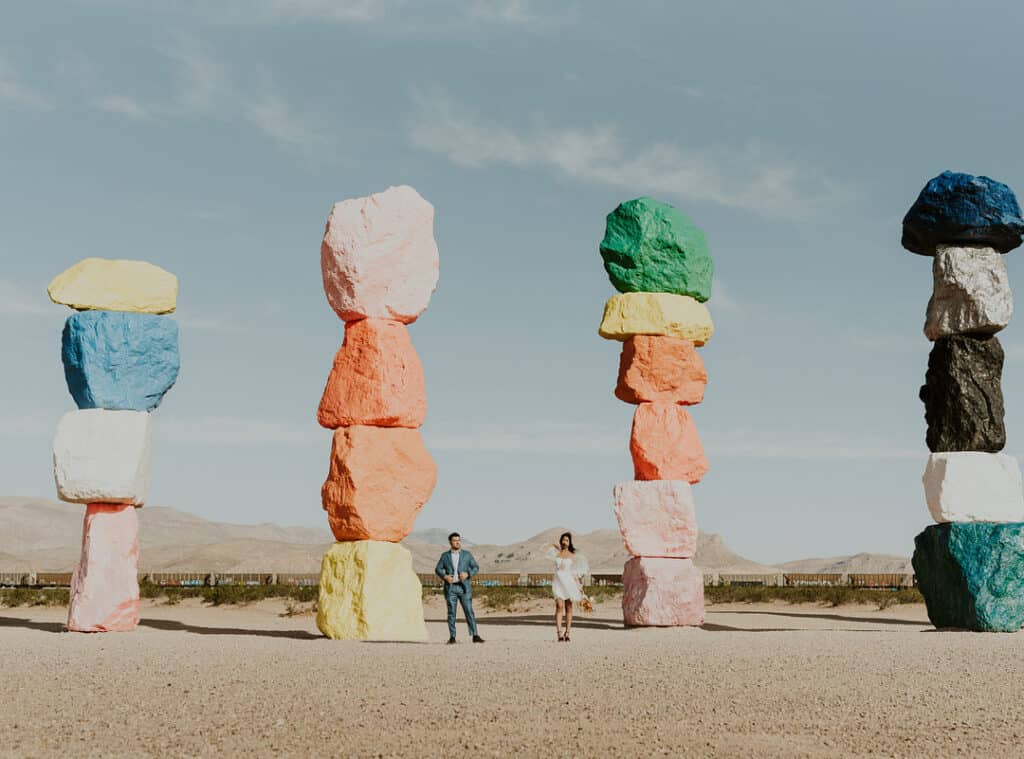
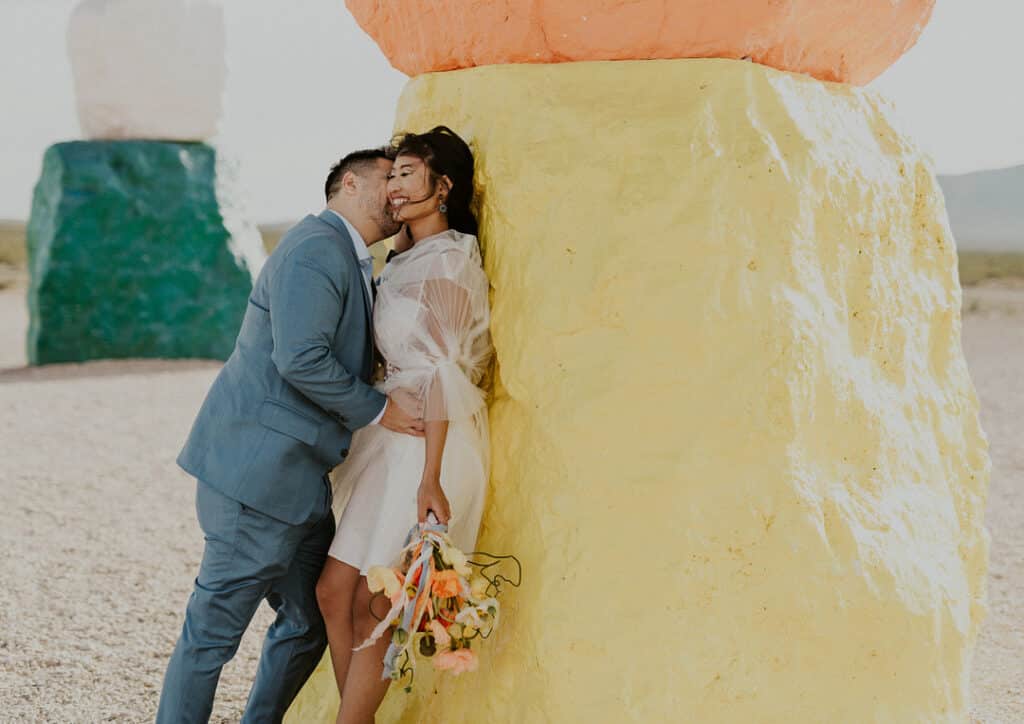
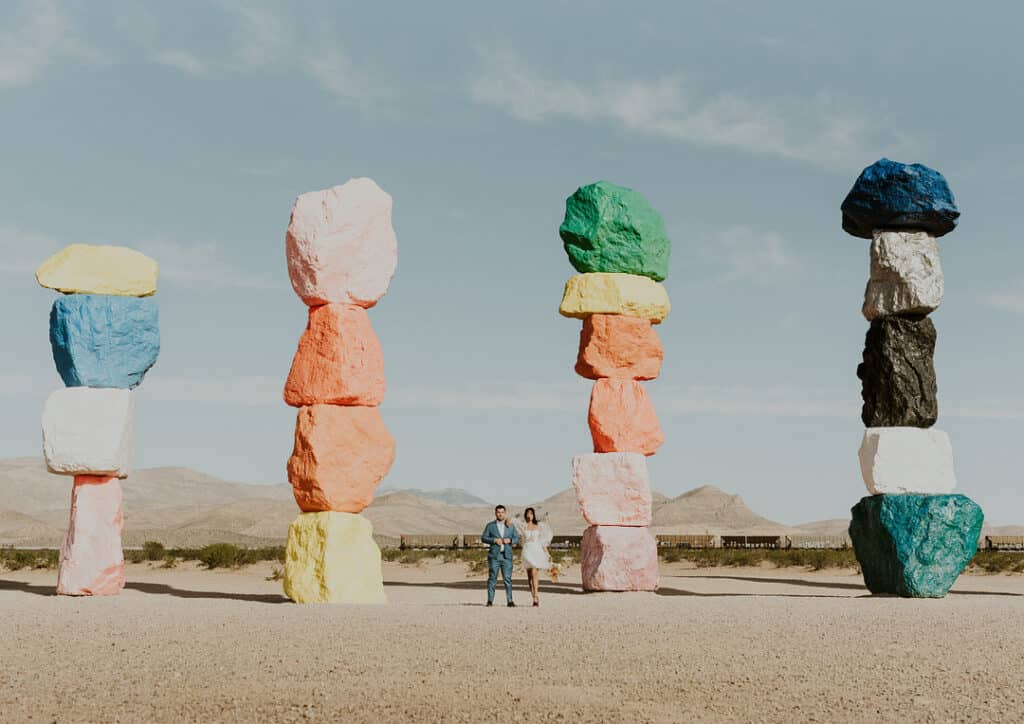
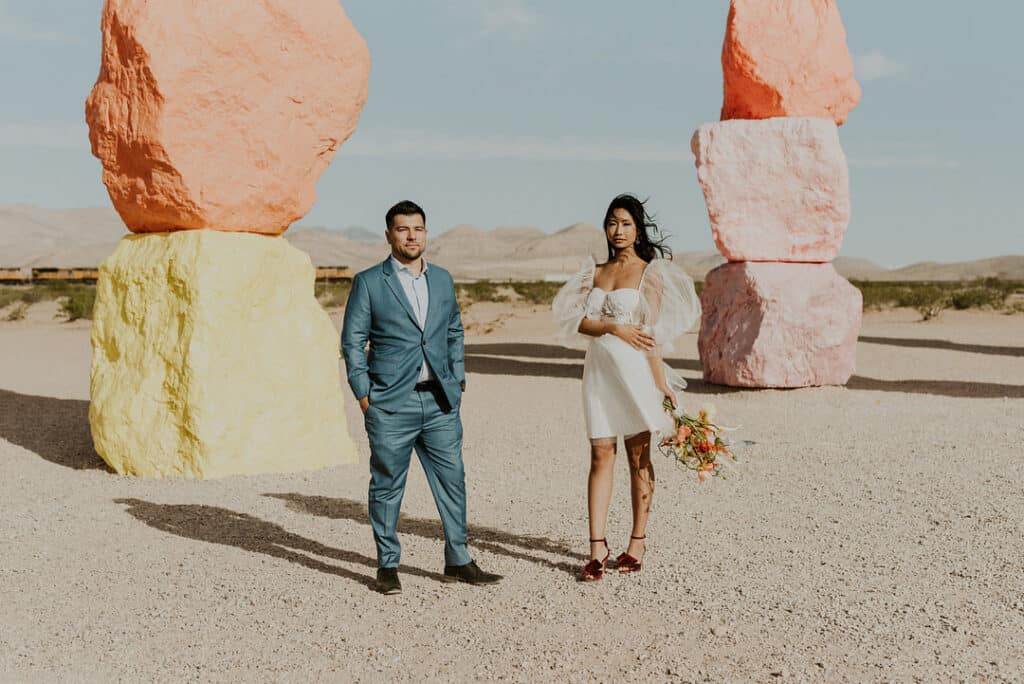
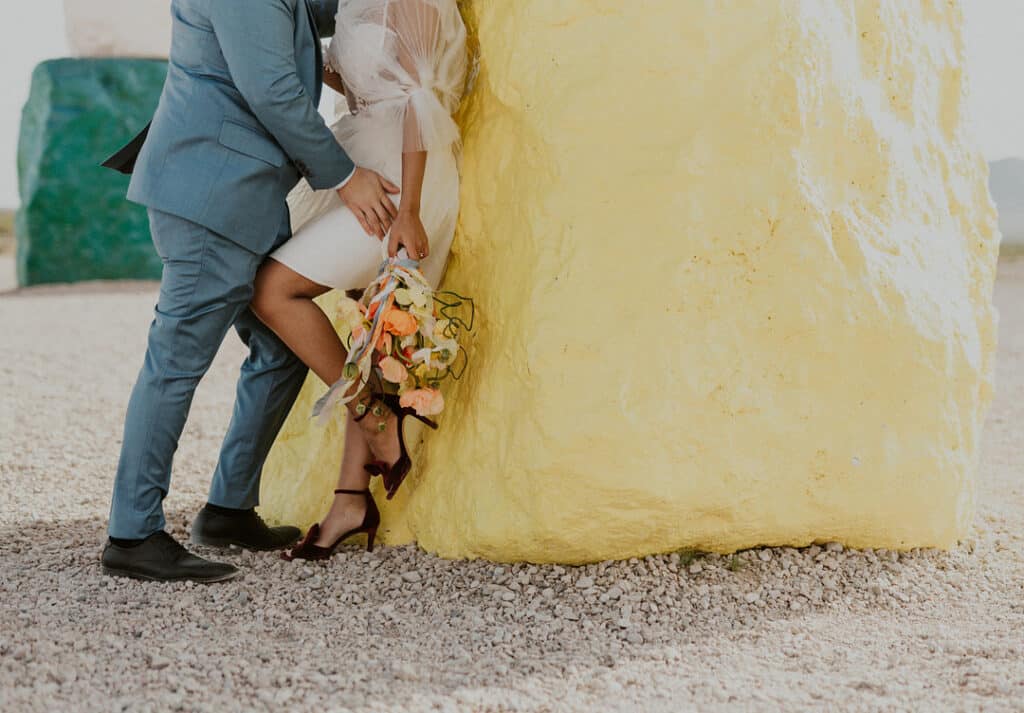
Gorgeous Elopement Photos by Hotzel Photography
Contributor