Cinematic Storytelling (Hint: It’s About More than Pretty Pictures)
Taking interesting photos is only the first step to creating an engaging photo series. With these six types of shots, you’ll deliver the most captivating galleries.
It’s time to approach your photography like a cinematographer
When delivering a photo set, the goal is to create a cohesive gallery that tells a story. Merely taking interesting photos isn’t enough to captivate your audience.
It’s time to step back from the individual image you are taking and consider the entire body of work you present to your client. Focus on creating a great photo series that tells a story. Take your customers on a journey by deliberately shooting like a cinematographer.
Astora Studio
The role of the cinematographer
The cinematographer is the visionary behind every great film. Also known as the director of photography, they are responsible for the film’s visual narrative look and feel. By controlling everything down to the lenses and the angles used, the cinematographer visually communicates the director’s intention.
Astora Studio
Plan for the entire story
Stop simply capturing great individual images; start planning for the story you want to tell!
Consider the narrative you want to present to your clients each time your finger hovers over the trigger button. Every image you deliver must serve your audience. Think like a cinematographer when you evaluate how each photograph will further your story, thus ensuring that every shot has its purpose.
Before you go into a photo shoot, ask yourself these questions:
- What are the story points?
- Where is the action happening?
- How can you relay emotion?
Astora Studio
Shoot these six cinematic shot sizes with purpose
Whether in the galleries that you deliver or a carousel of pictures you post on Instagram, don’t be afraid of taking on the role of cinematographer and composing interesting photo series as you integrate these cinematic shot sizes into every set.
#1: The extreme long shot
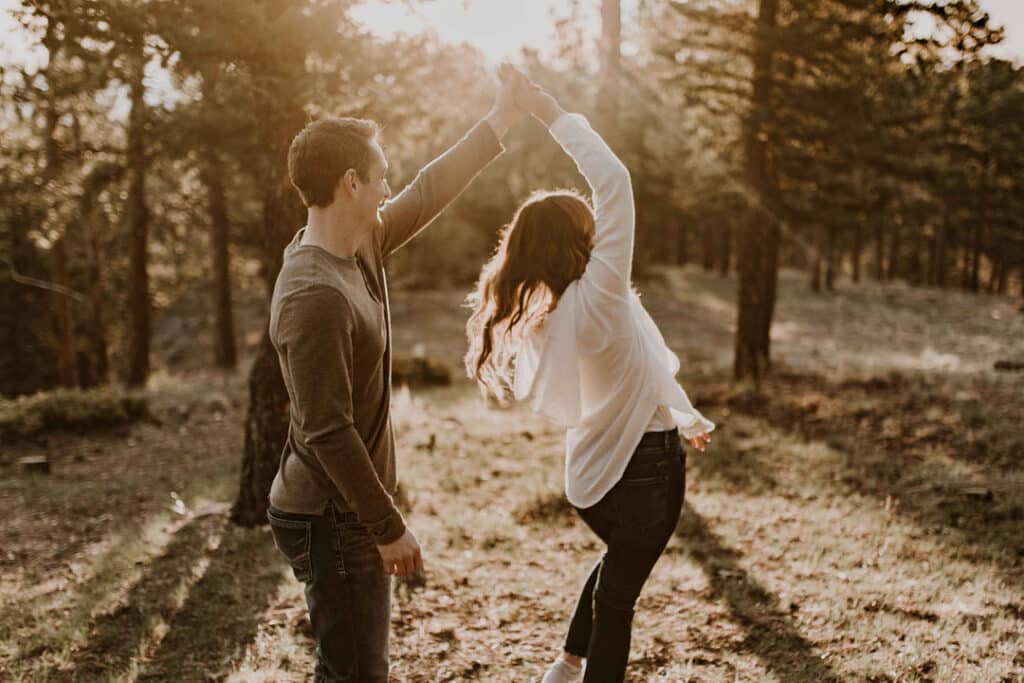
Use your wide-angle lens to introduce the setting with the extreme long shot. Make your location another character in your story by including this framing technique. While your subjects can be included, the primary purpose of this image is to set the scene. This shot signifies scale when you show the subject from a distance.
#ShootProofPRO Tip:
Every time you arrive at a new location, take an extreme long shot to capture the beauty of your environment. This shot is also an excellent way to show any change in time.
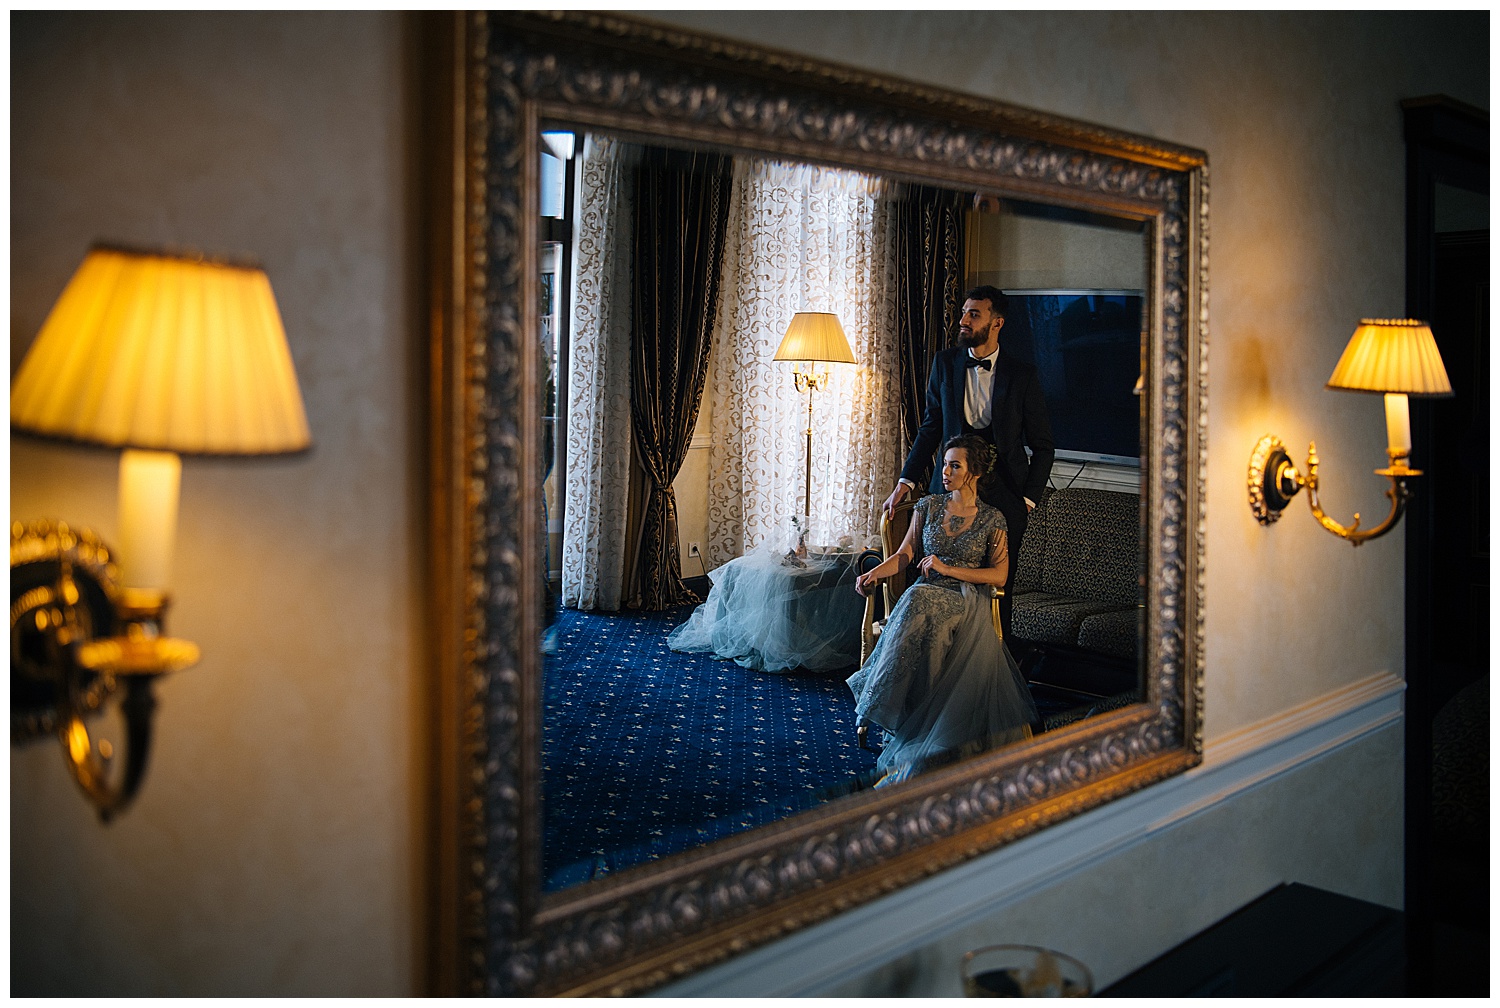
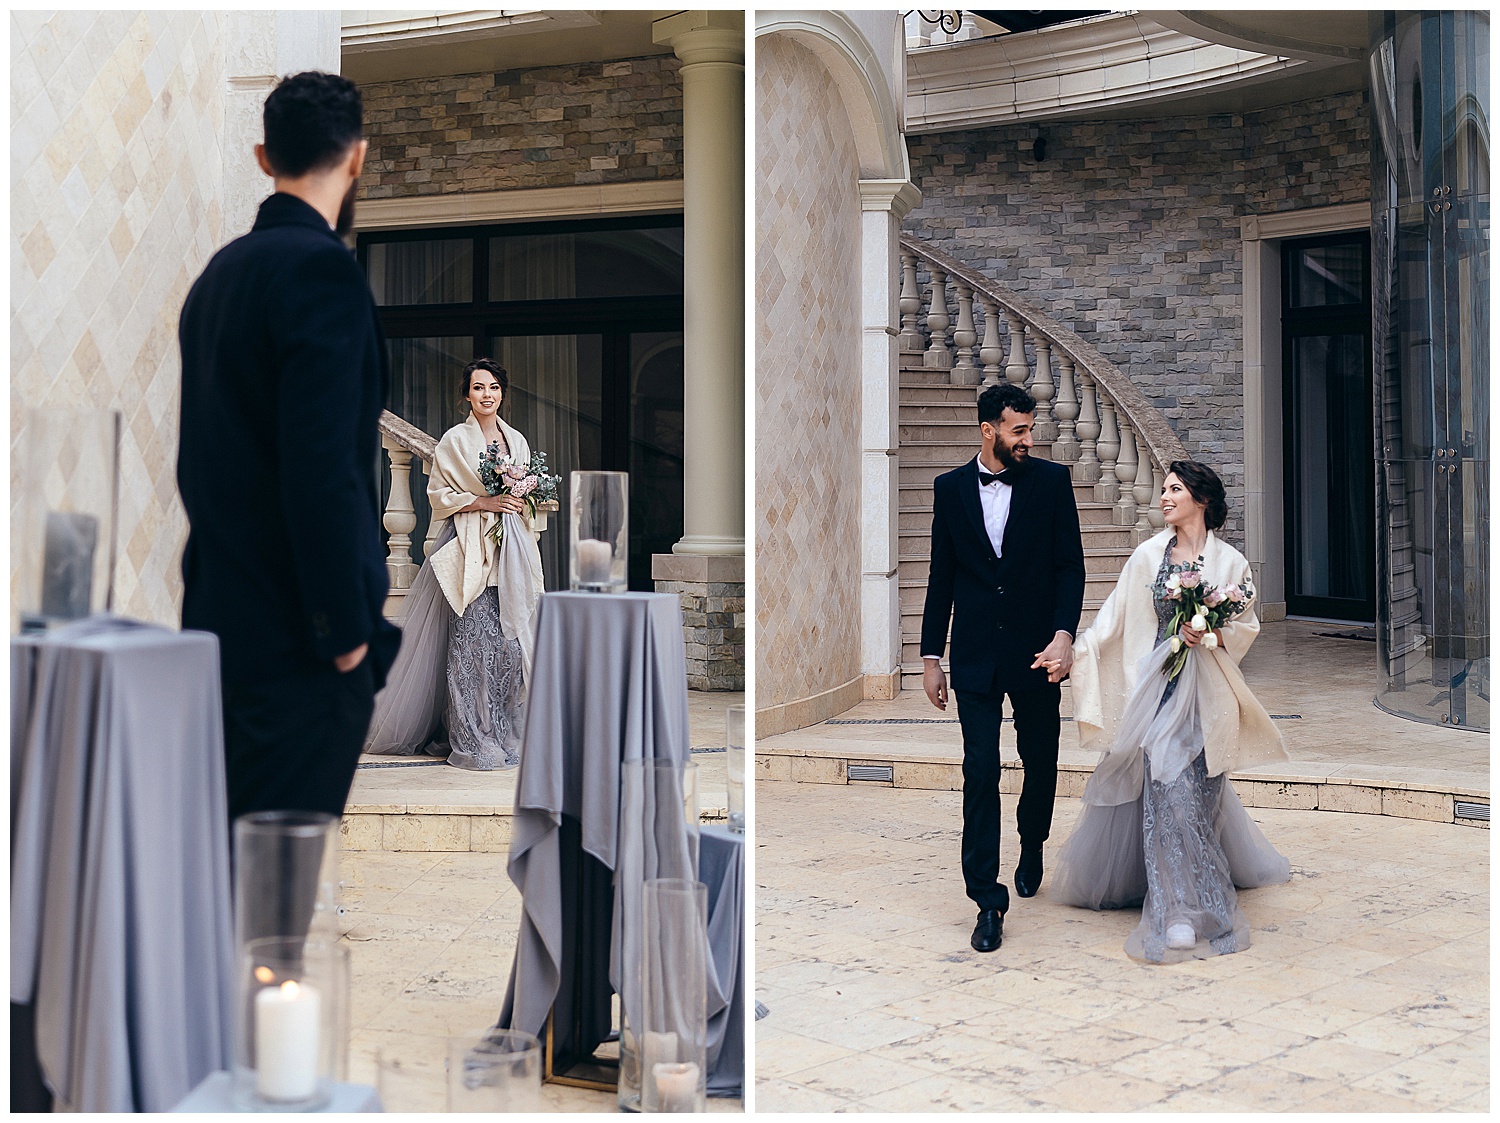
#2: The wide shot
Push in a little closer now to show more of your subject with the wide shot. Let your location and characters be equally important. However, while you see the full body of your subject, they should not fill the frame. This shot size also gives plenty of room to portray action.
Astora Studio
#ShootProofPRO Tip:
Communicate your characters’ physical or emotional relationship to their environment with intentional posing. Use the distance between you and your subject to encourage them to loosen up and move around.
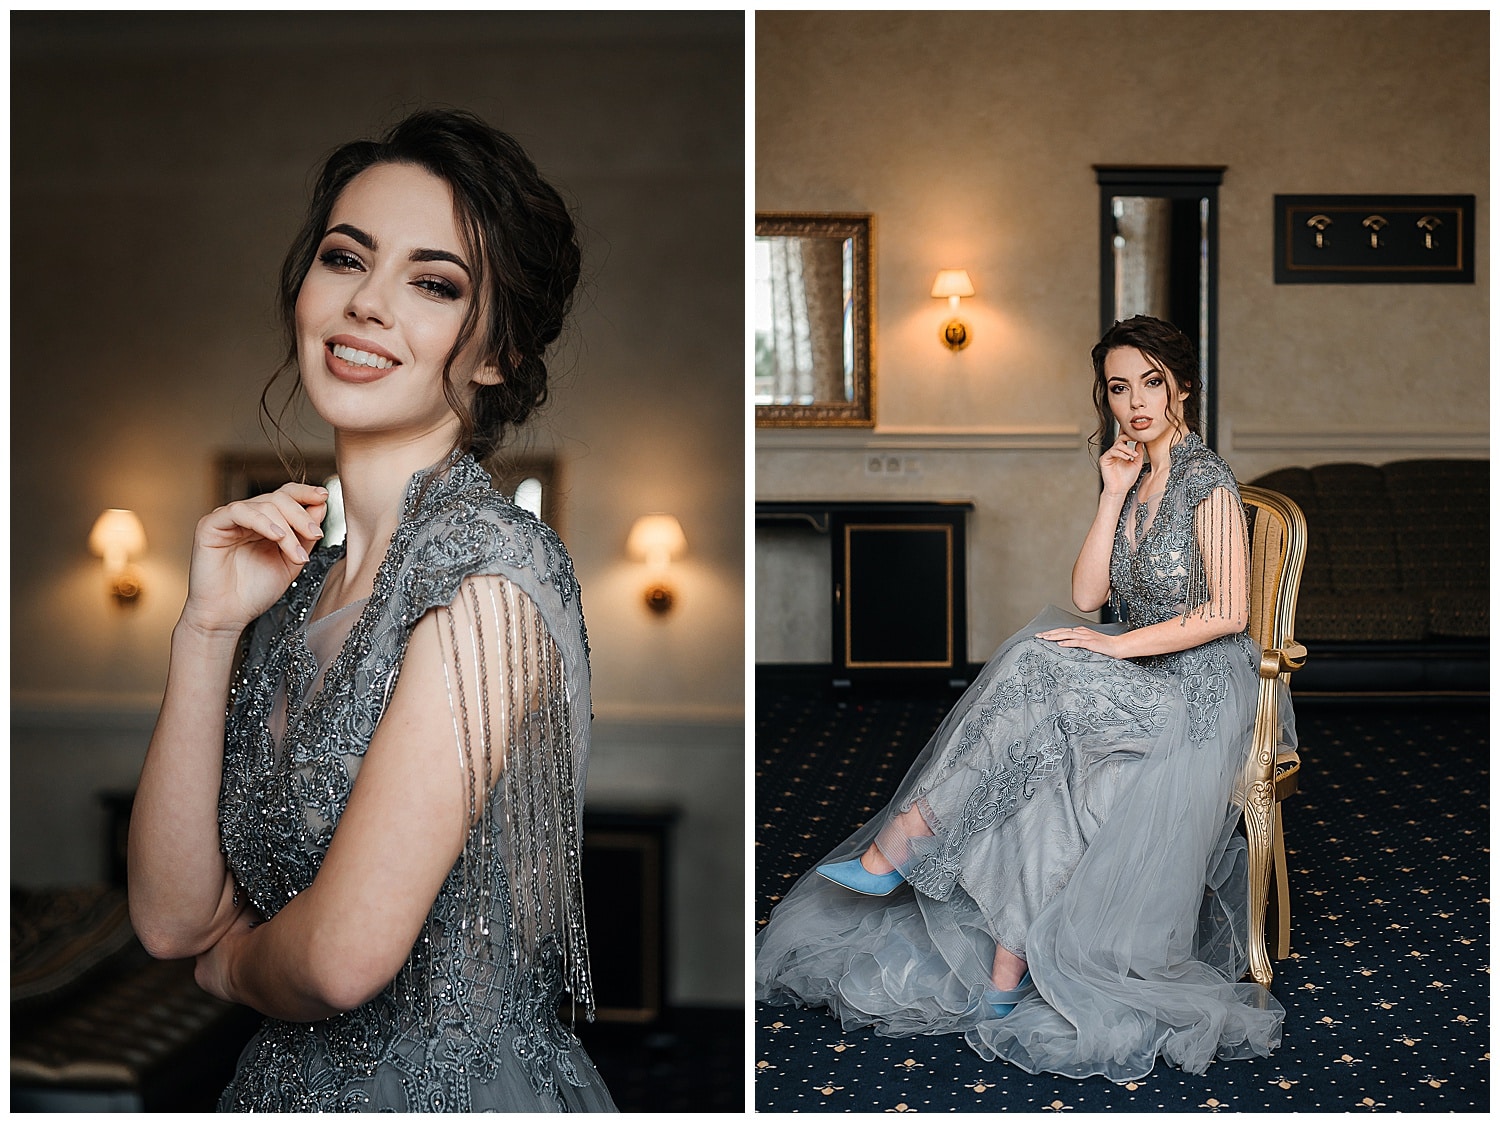
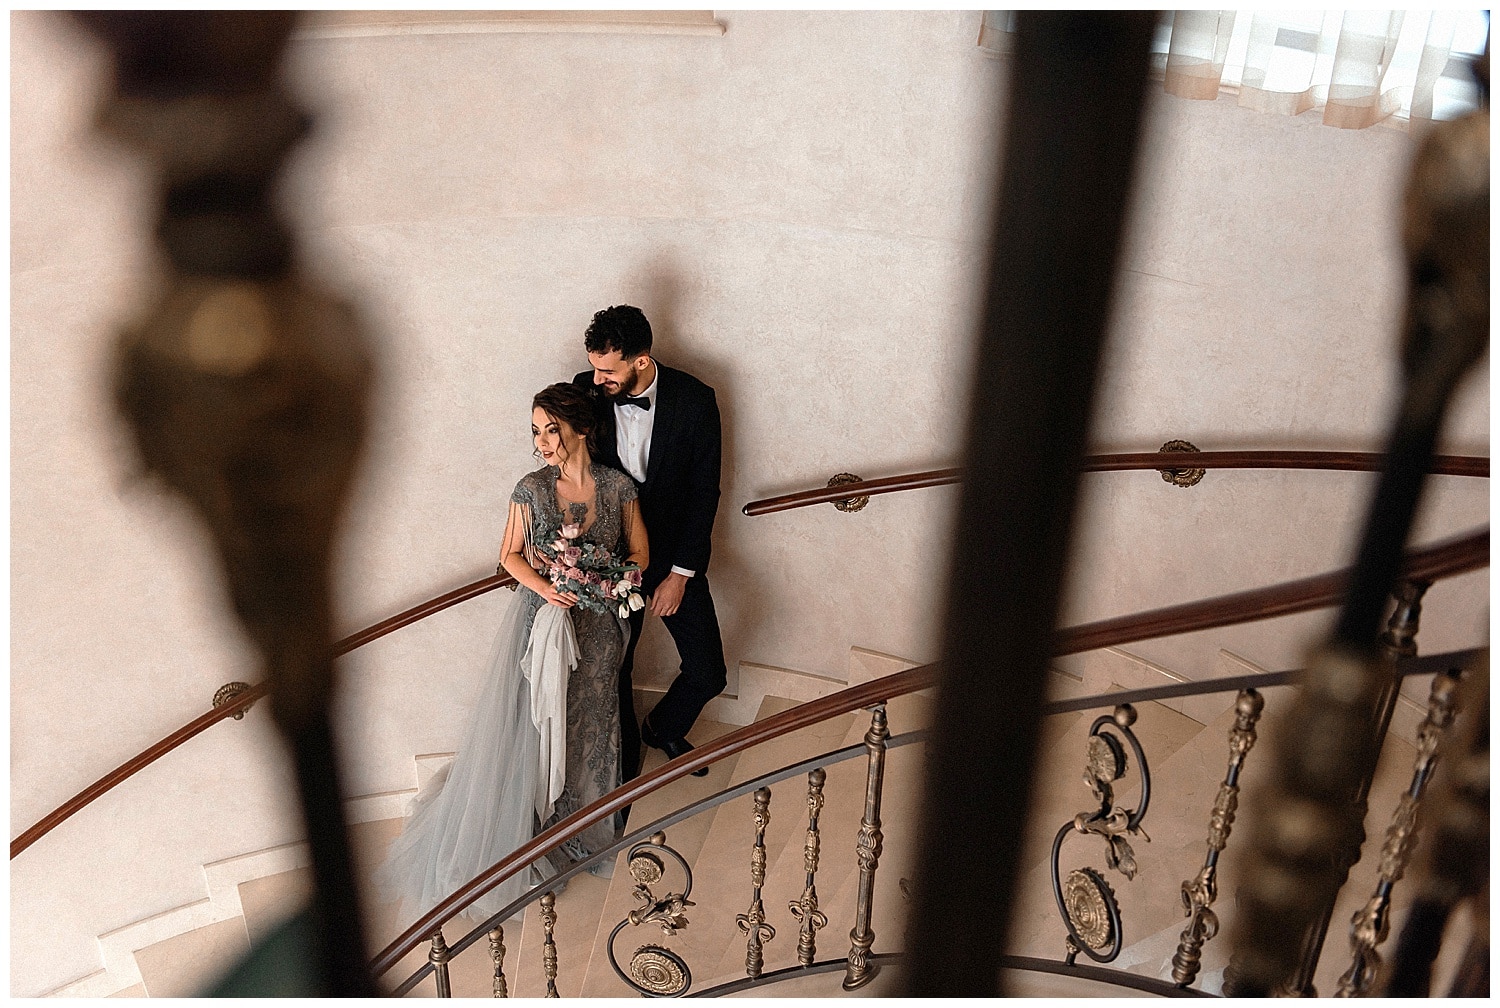
#3: The medium shot
The medium shot sometimes referred to as the mid-shot, shows the subject from the waist up. Cinematographers often use this shot size for conversation scenes. It also sets the tone by showing body language. While the focus of this shot size is the subject, the environment is still visible.
Astora Studio
#ShootProofPRO Tip:
As body language is the main highlight of this shot size, watch for the details. Avoid any nonverbal tension building up by encouraging your subjects to relax their shoulders down their back and keep their hands busy.
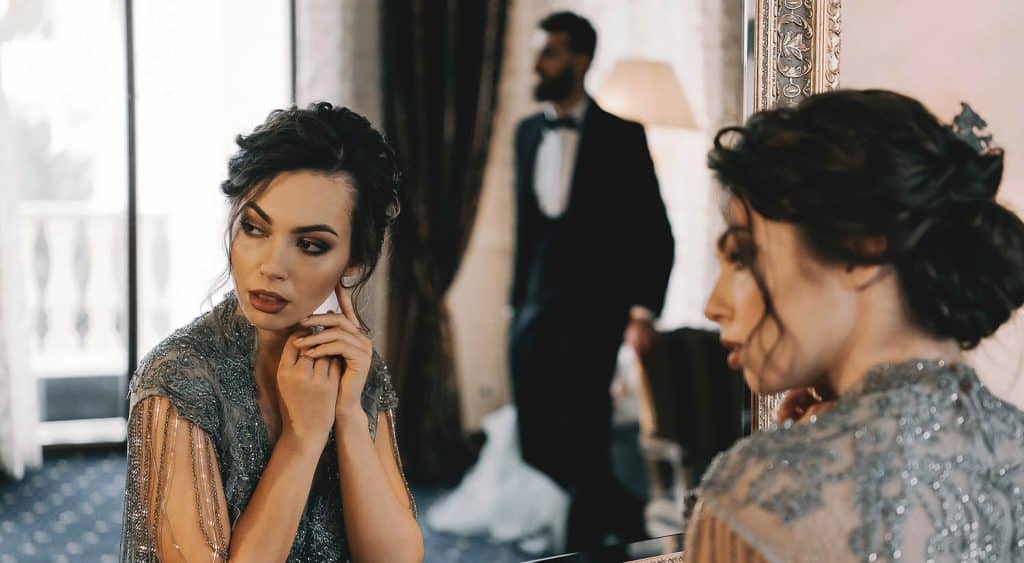
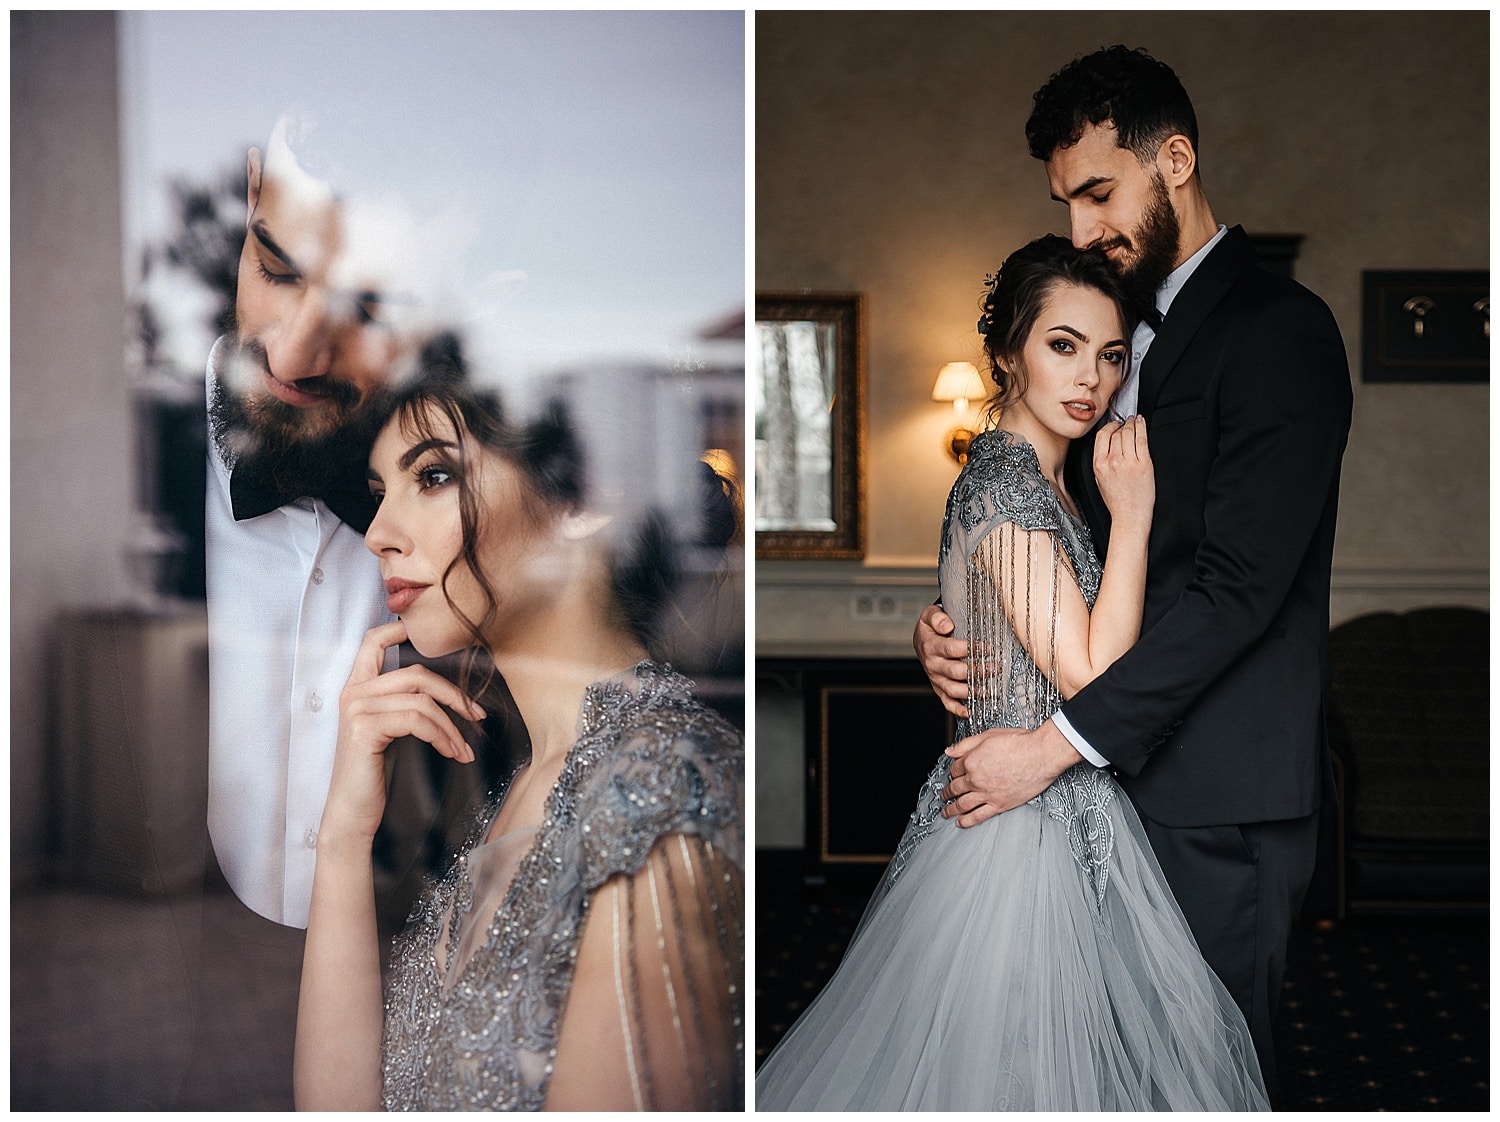
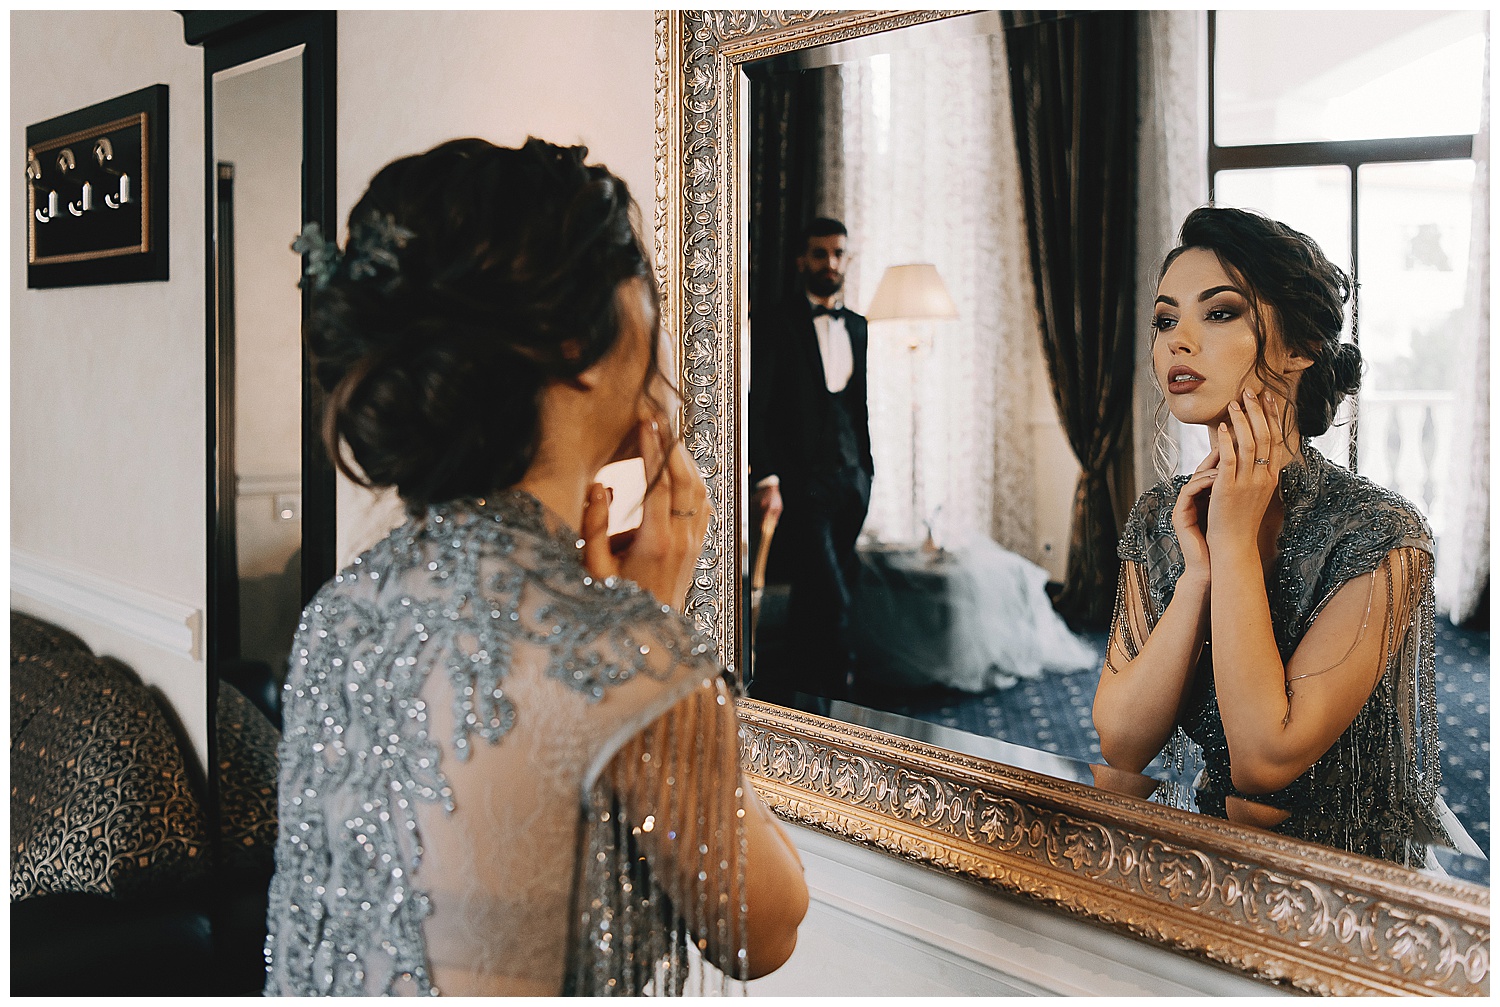
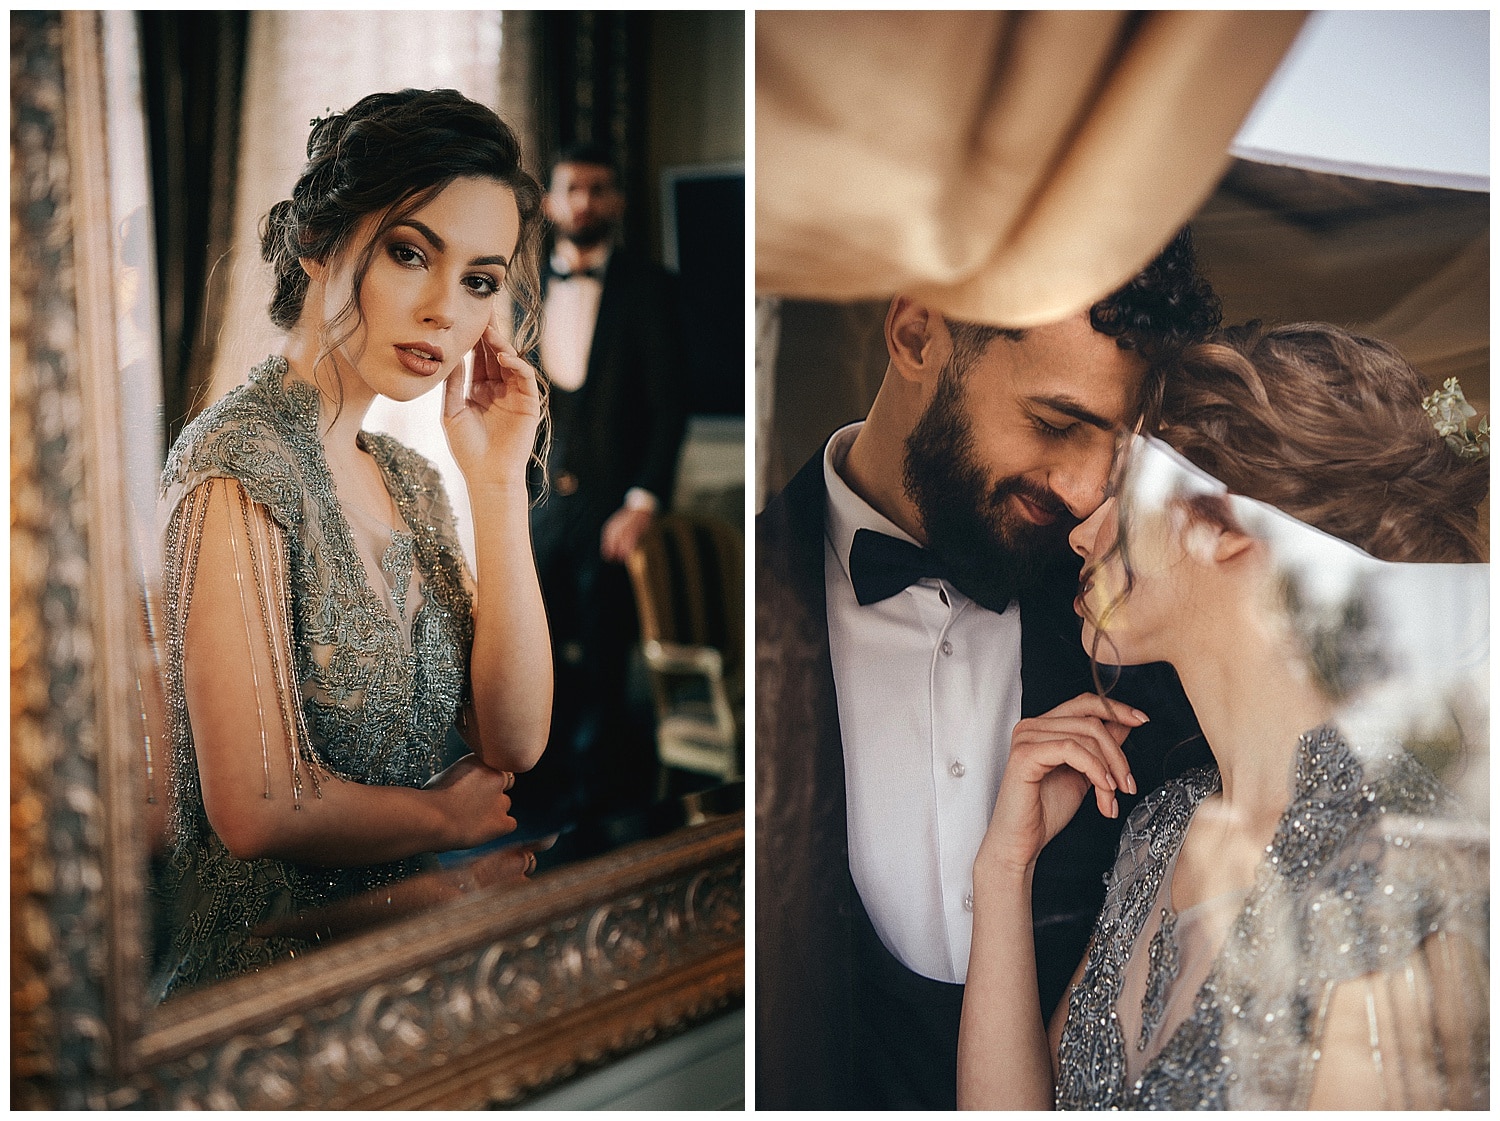
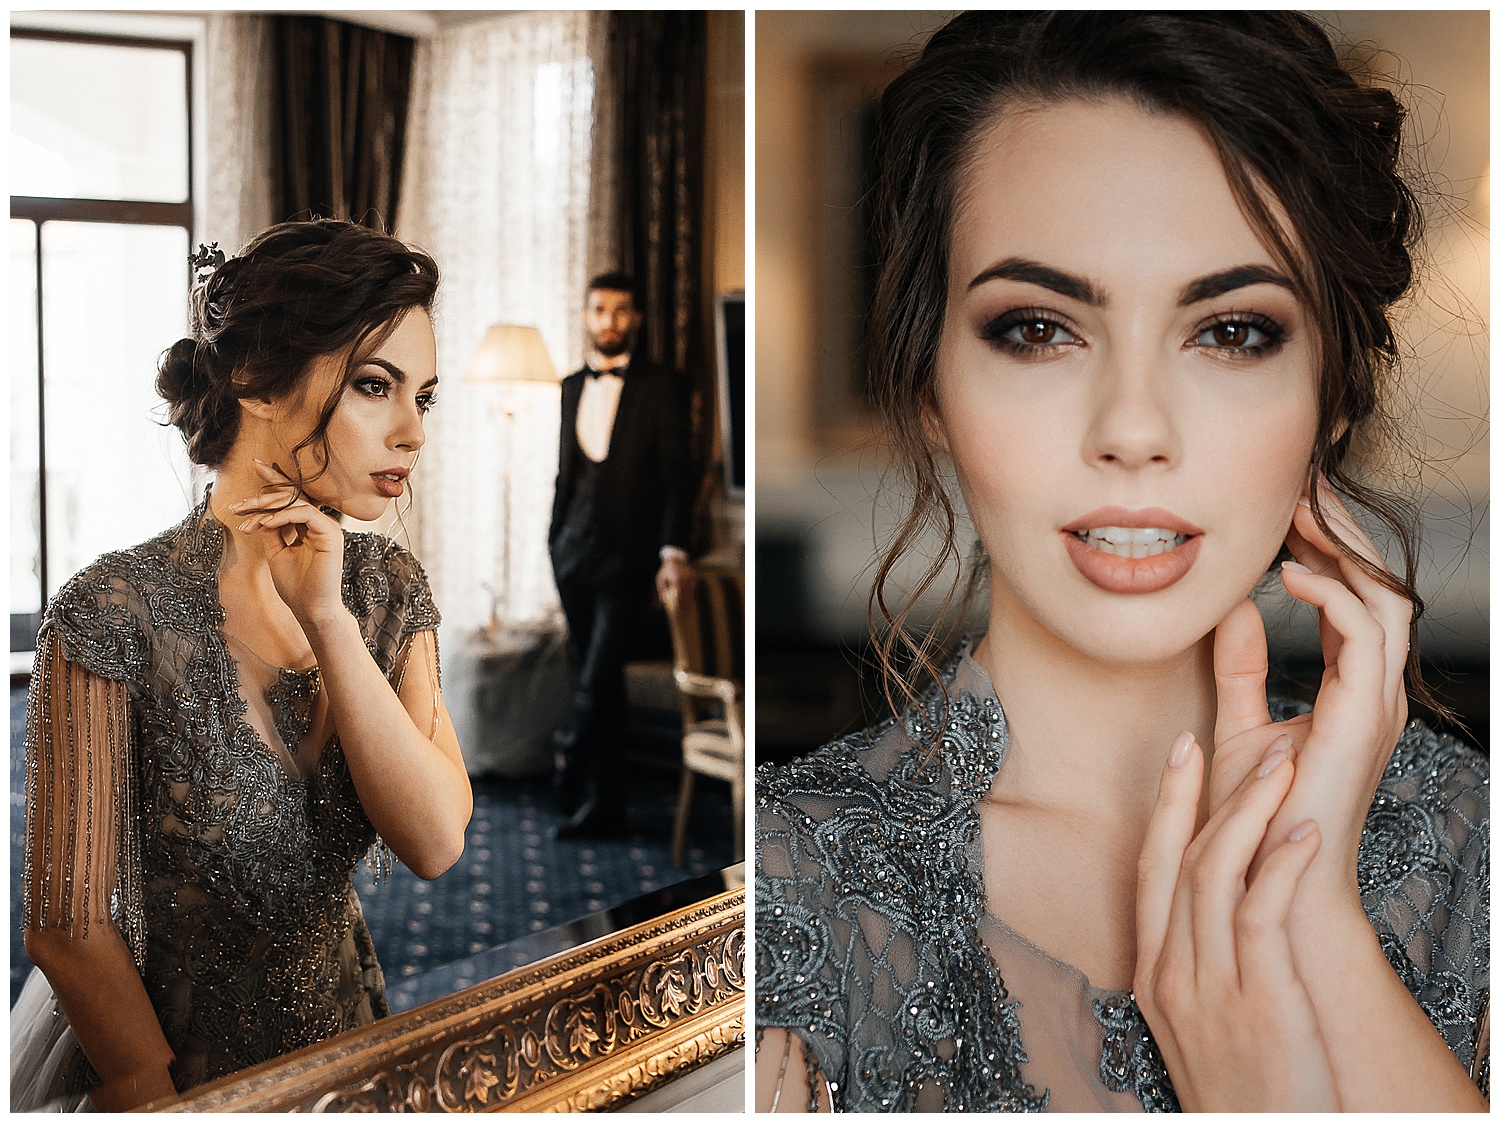
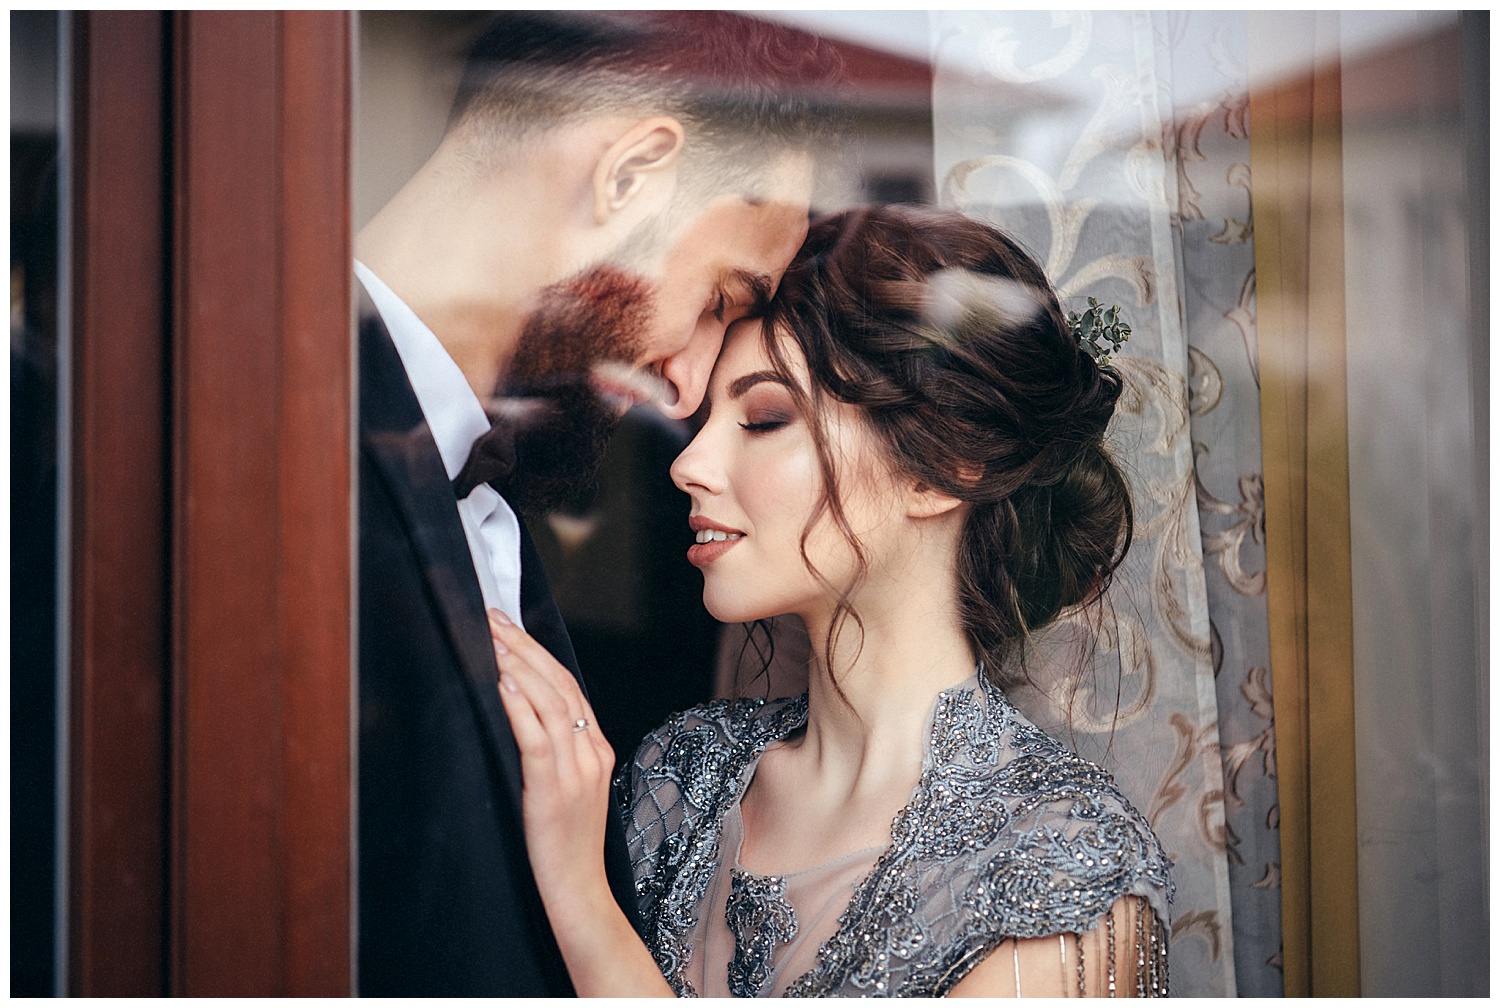
#4: The medium close-up
Bring your audience into an emotional moment by framing your characters from the shoulders up with the medium close-up. Your audience can easily identify your subjects’ facial expressions and still see a bit of the background. Nevertheless, there’s still a sense of distance from the character.
Astora Studio
#ShootProofPRO Tip:
When photographing people, allow your subject to interact with their environment. This is the perfect shot to show off important elements that contribute to your story.
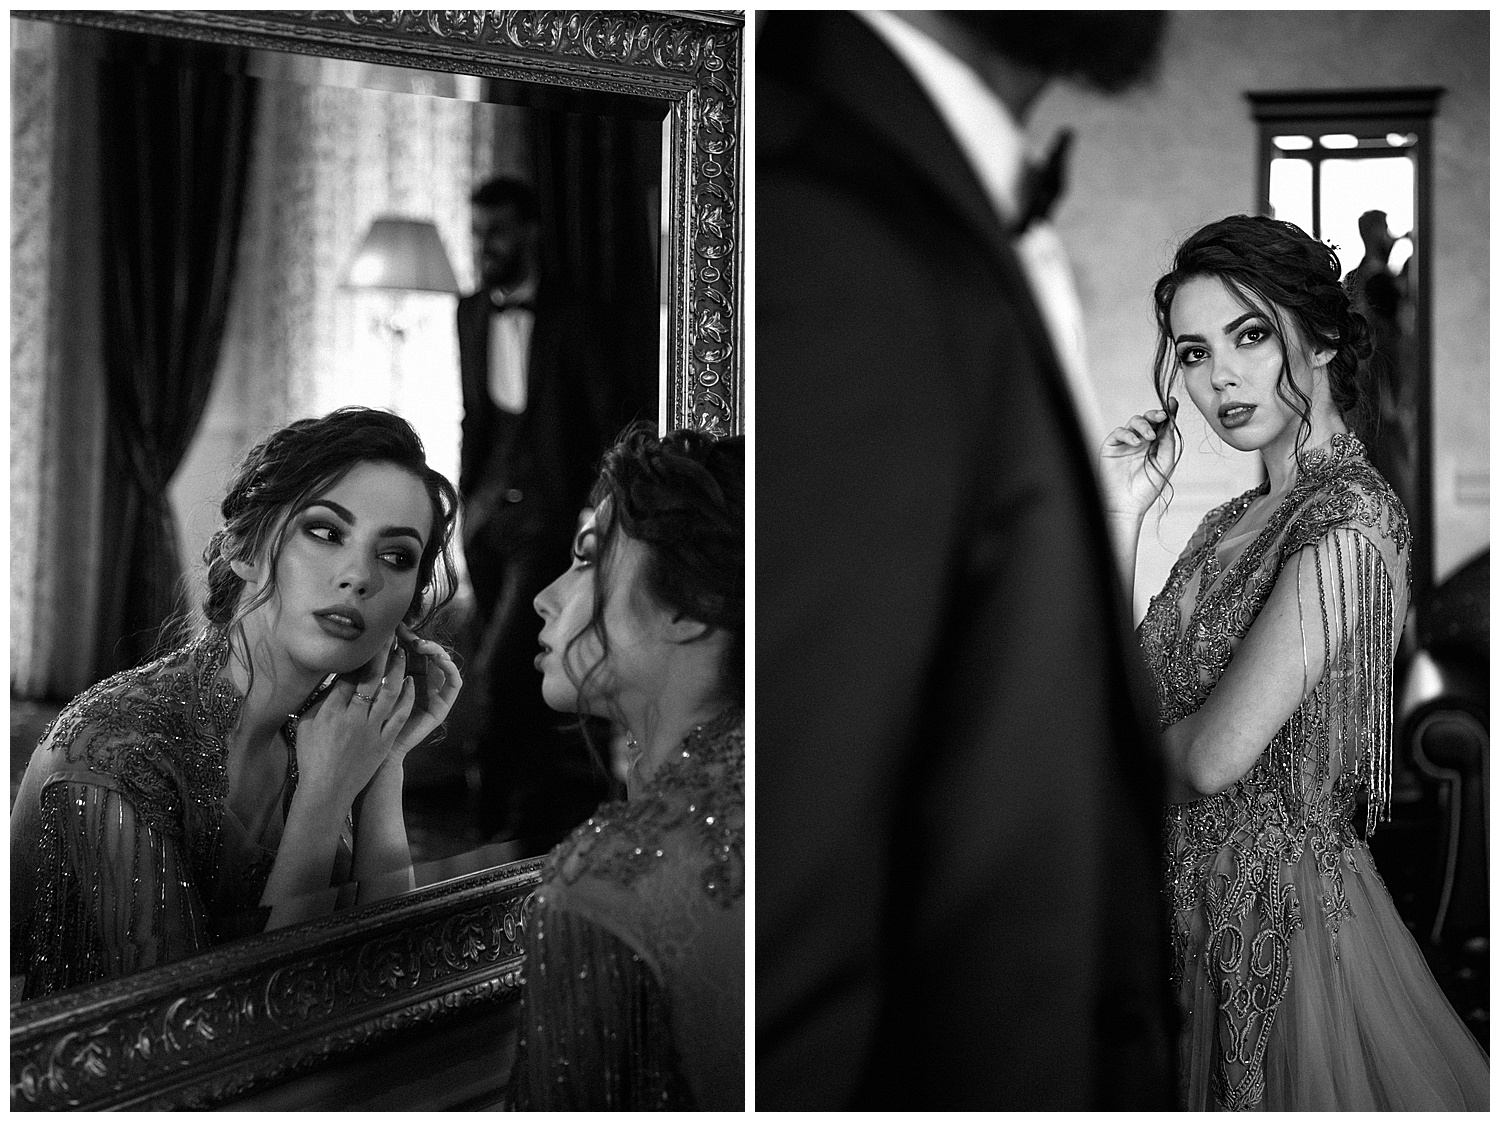
#5: The close-up
This intimate shot size, the close-up, frames the character’s face, emphasizing their emotions and reactions, however tiny they may be. Confide in your audience by highlighting details they may have otherwise overlooked.
Astora Studio
#ShootProofPRO Tip:
While the close-up often focuses on your subjects’ faces, pull your audience further into the story by drawing special attention to telling elements or moments with this shot.
#6: The extreme close-up
The extreme close-up directs attention, highlights minute facial expressions and details, encouraging your audience to feel what your character portrays. This striking shot is often very purposefully used to pursue the storyline. You will often find the extreme close-up in the B-roll or as a part of the establishing shot.
Astora Studio
#ShootProofPRO Tip:
The extreme close-up is a great way to capture tiny details that help the narrative but are too small to notice.
Bonus: the establishing shot
While not technically a different camera shot size, this shot is critical when creating a photo series. The establishing shot reveals a change of location or time, also referred to as the transition shot.
Astora Studio
#ShootProofPRO Tip:
You can use a variety of shot sizes for the establishing shot. Wide shots establish a change of location; a medium shot sets the tone of a scene, whereas a more close-up shot shows the relationship between the subject and their environment.
Take the audience on an interesting journey by varying your photos
You are well aware that taking take interesting photos requires riveting content, flawless composition, and perfect lighting. By combining a variety of shot sizes, you will also create an engaging visual narrative.
Astora Studio
Your audience is searching for the story.
Correctly sequence these various cinematic shot sizes, and you create a robust dialogue between the photos, the key to a fascinating tale.
Putting it all together to get interesting results: Make sure your first photo cuts through the noise and immediately pulls your viewer into your story. Then use the different cinematic shot sizes discussed above purposefully to keep your audience captivated. And, like any good conclusion, have your last photo summarize your narrative.
Written by RACHAEL LAPORTE | Photographs by ASTORA STUDIO WEDDING PHOTOGRAPHY via Two Bright Lights
Contributor