How To Dramatically Increase Print Sales With 3 Easy Email Campaigns

Do you use emails to improve your print and product sales? Are your emails improving your print sales? This simple email marketing approach is guaranteed to boost your bottom line. Best of all? It’s 100% automated!
A strange thing happened to me a few days ago. I was browsing a photography gear site (as I often do), checking out a lens I’ve been eyeing. After a few minutes spent reading reviews and evaluating the lens, I moved on to something else.
That’s when the strange thing happened.
Build a Beautiful Business.
The lens I had been eyeing began showing up ALL over the internet.
It appeared in ads on several different websites, and popped up on social media. It was practically begging me to buy it. I even got an email reminder from the store: “What about this lens you were looking at?”

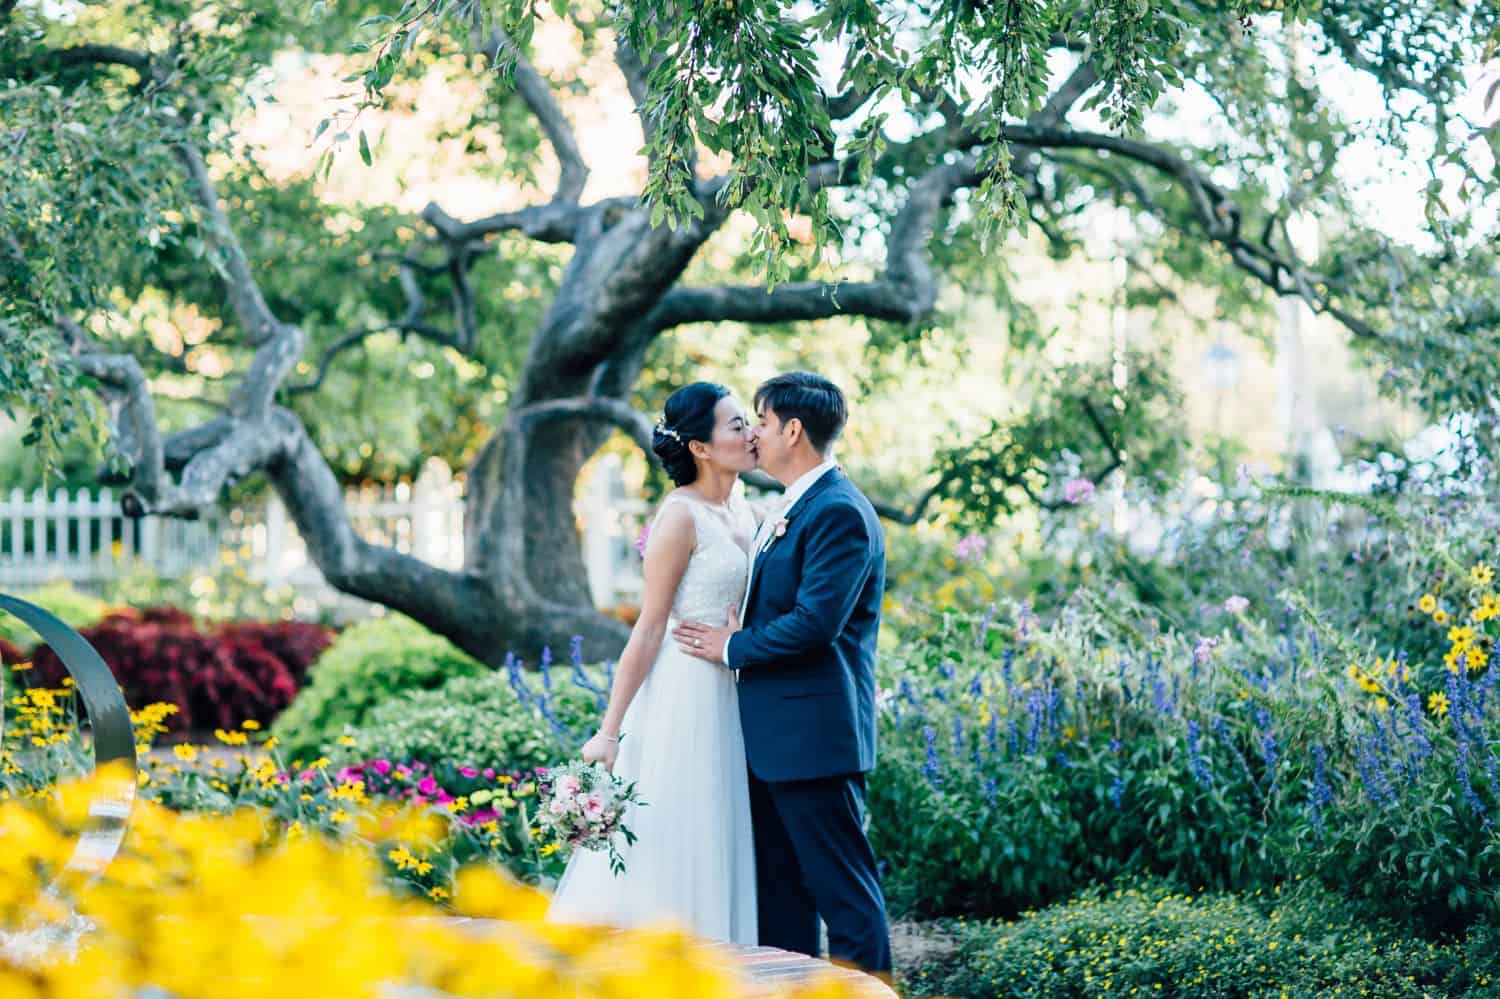
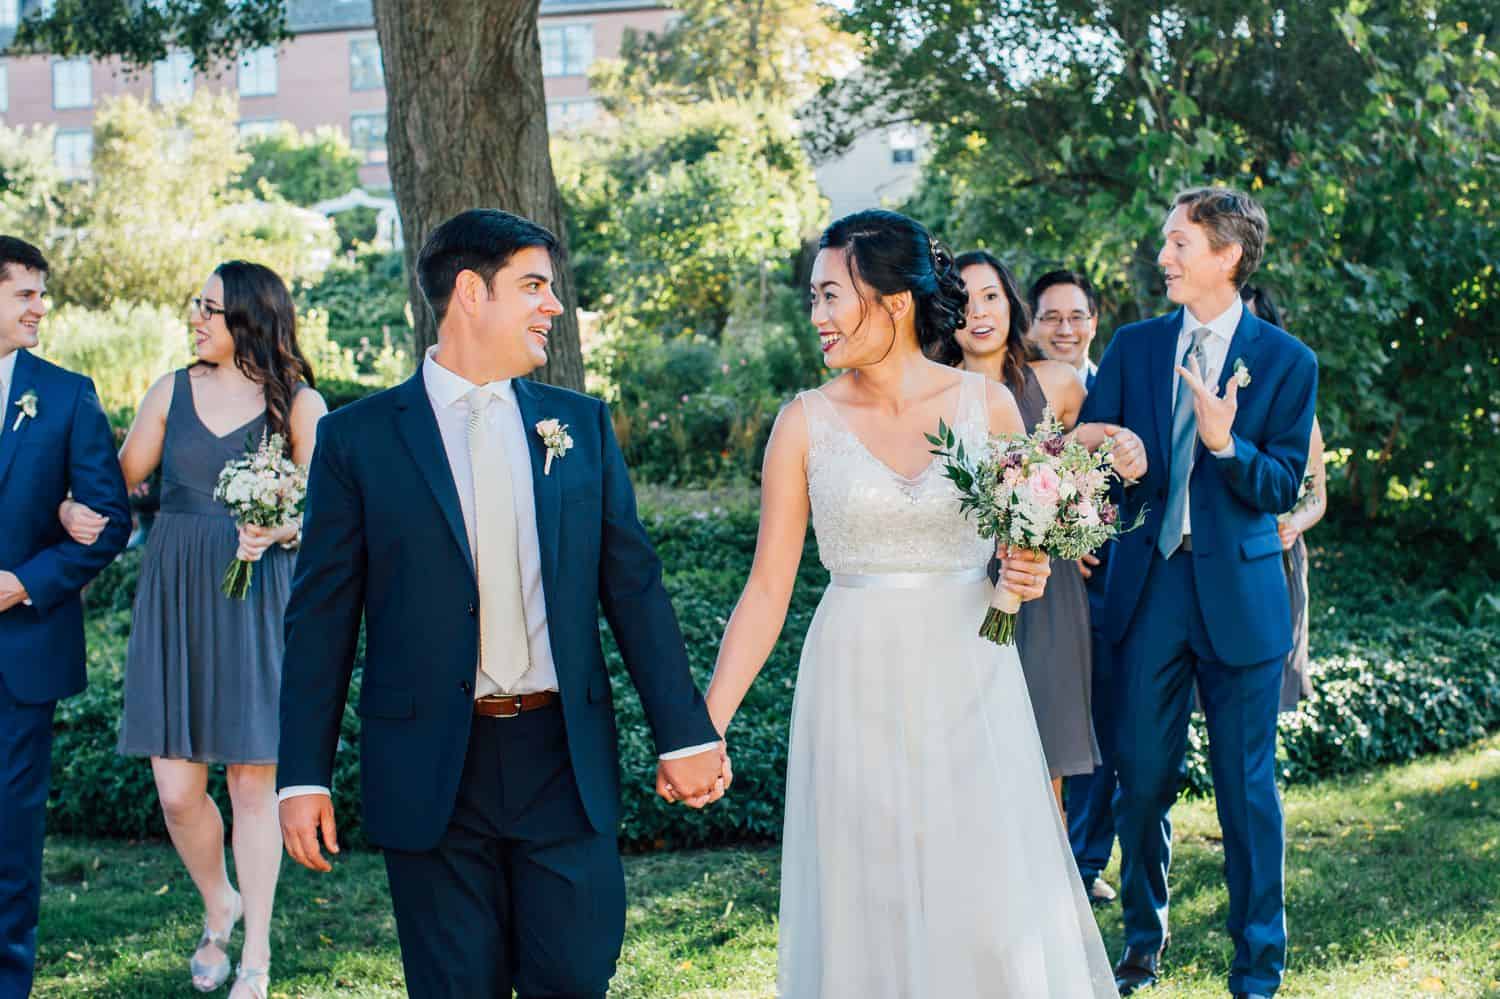
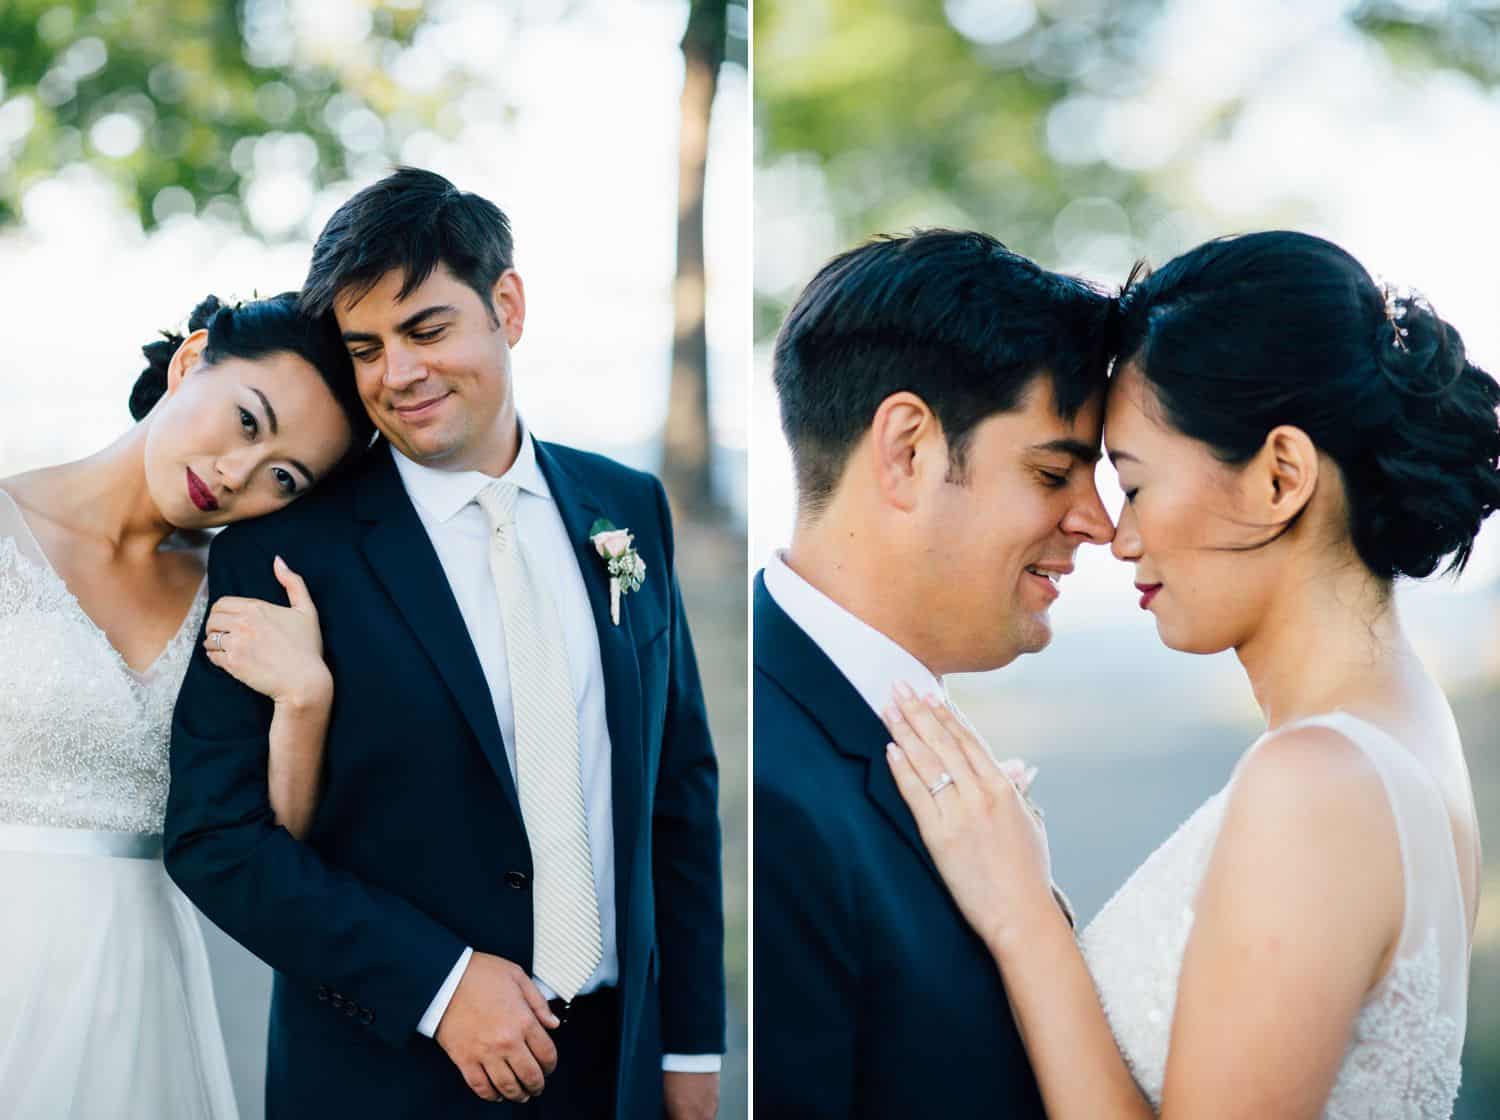
Photos: MAINE TINKER PHOTOGRAPHY
With every hint, I remembered how much I really wanted that lens. And after several days of these constant reminders, I finally did just what I was supposed to do. I made the purchase.
Our customers shop just like we do. They have busy lives, they get distracted, and they don’t follow through with purchases.
It’s up to us as business owners to creatively remind our customers of the things they want until they either ask us for alternatives, or make the purchase.
That sounds like a lot of work, doesn’t it? Lucky for us, we have tools already at our fingertips to guide our clients across the print sales finish line.
Increase Your Print Sales With These Three Types of Email Campaigns
I know it sounds too simple to be true, but adding email campaigns to your workflow really can make you a bunch of money.
I use this practice in my own photography business, and I regularly generate sales within five minutes of sending one of these emails. The best part? I’m not actually doing anything.

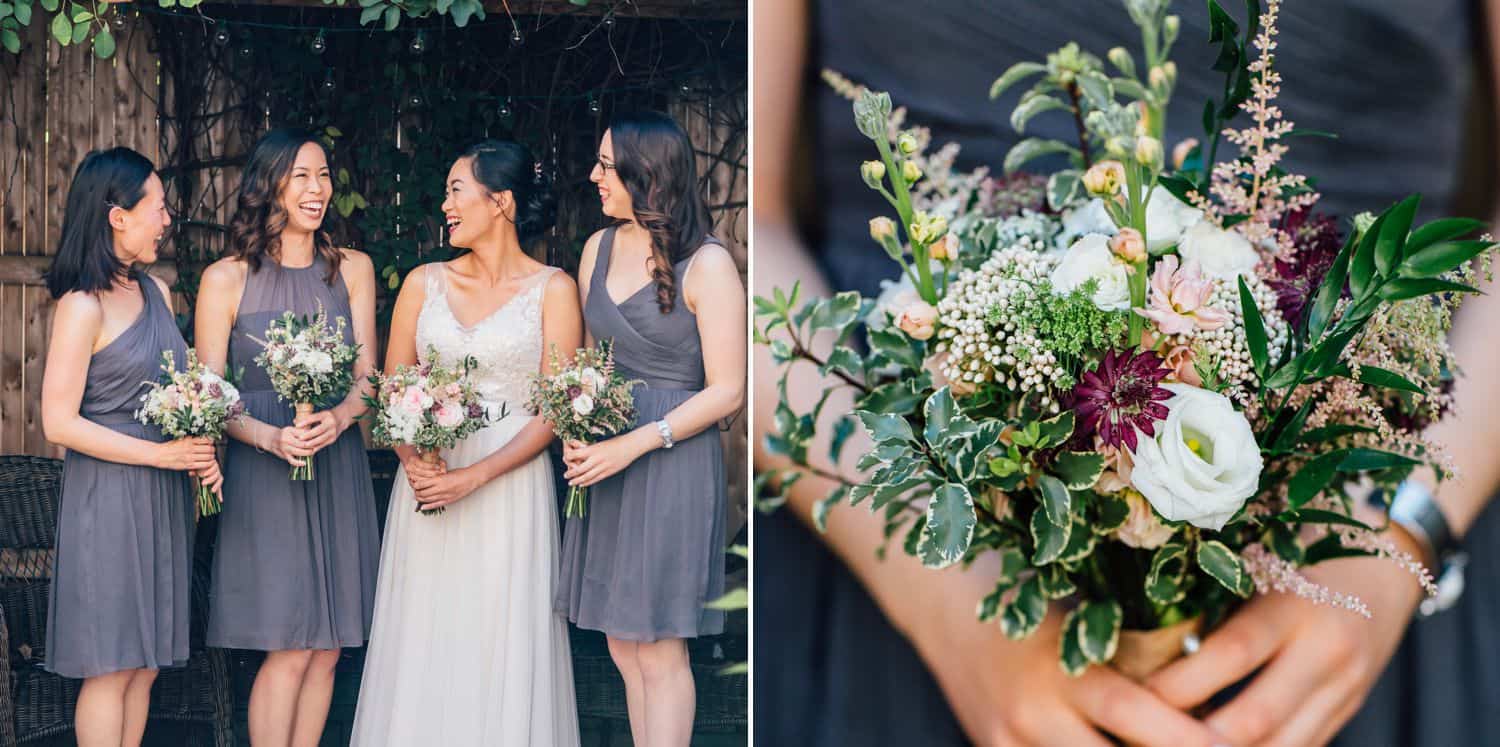
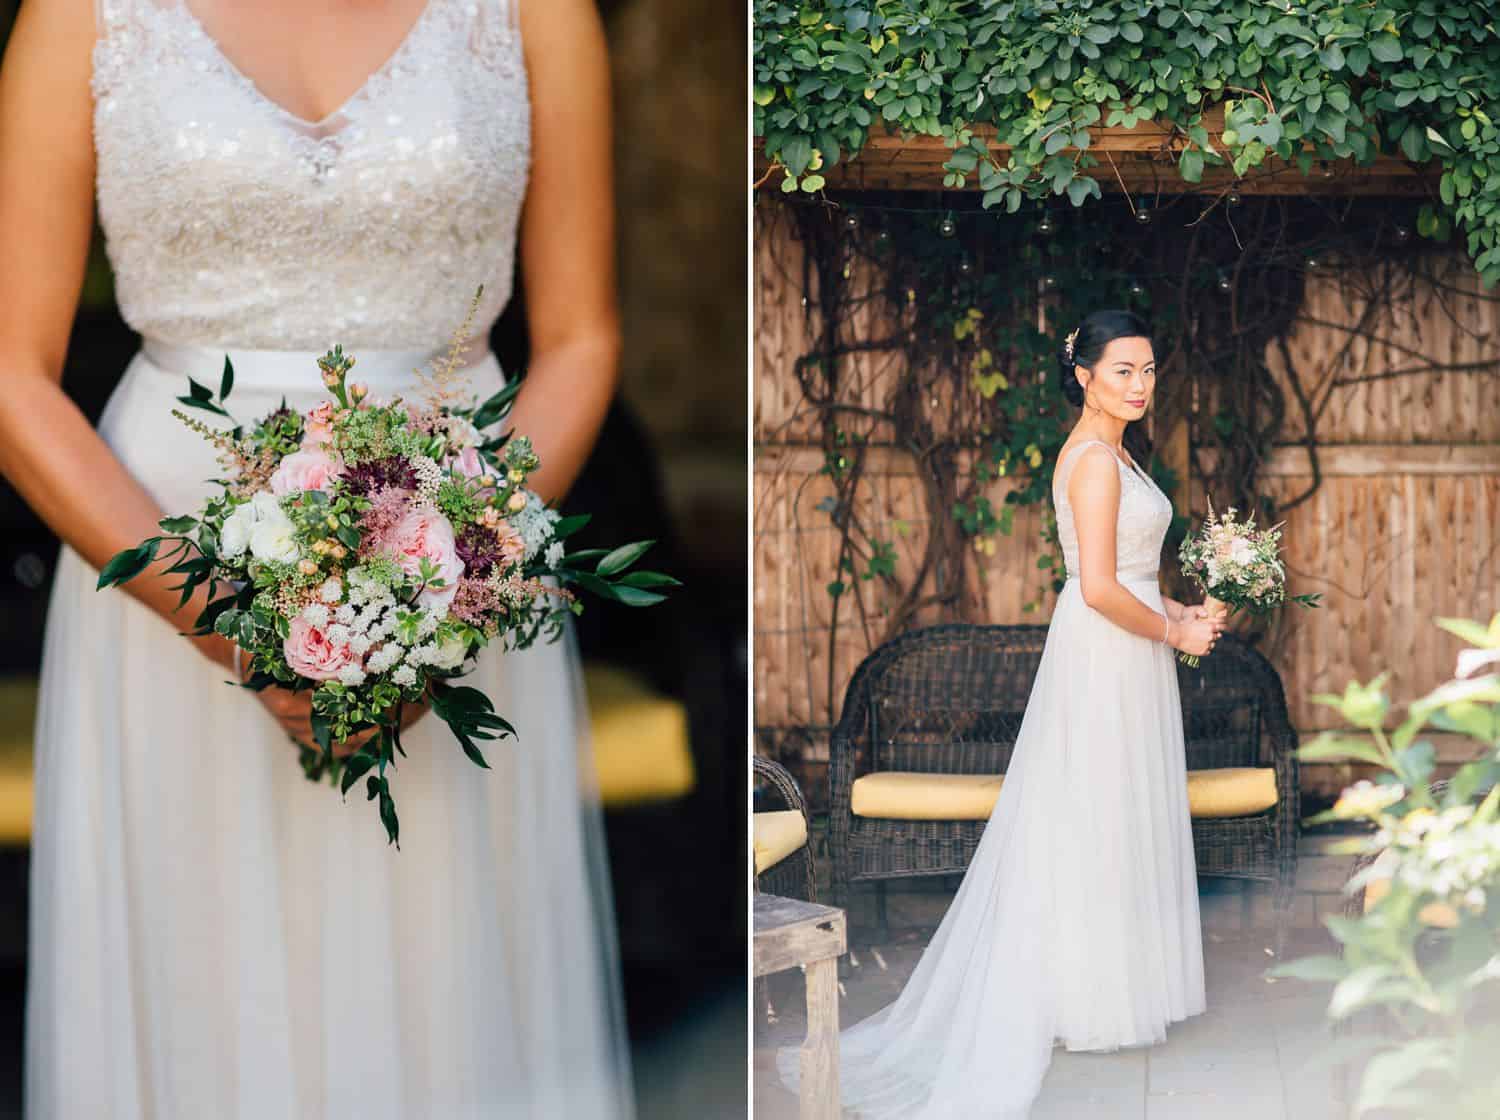
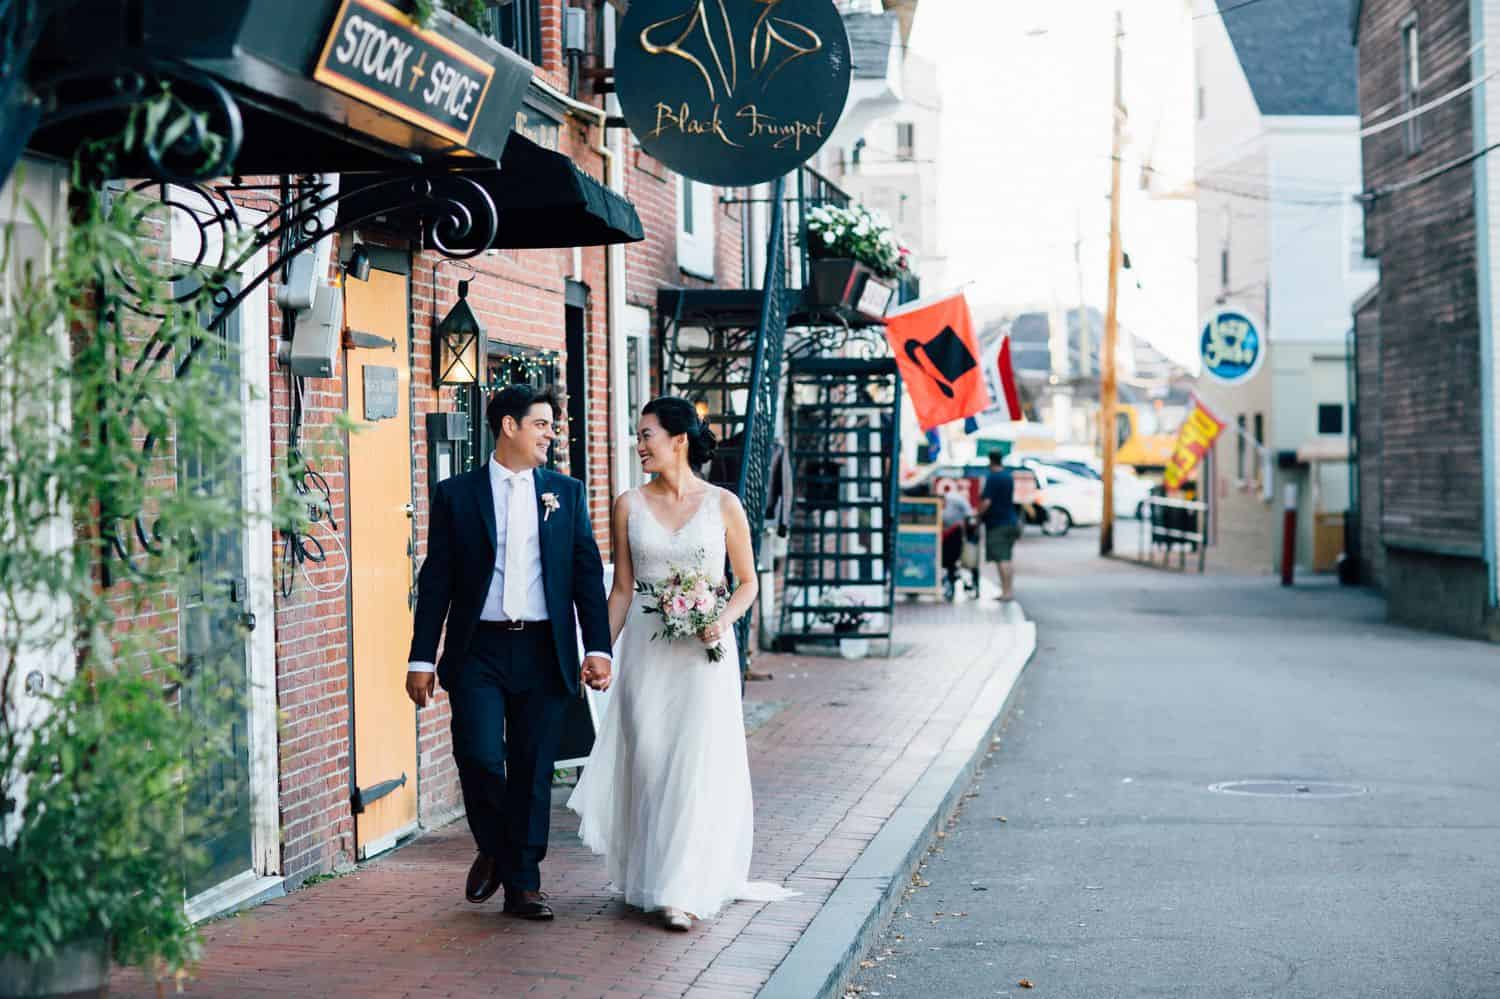
Photos: MAINE TINKER PHOTOGRAPHY
There are 3 types of Email Campaigns to choose from:
- Custom Date-Based Email Campaigns: This type of campaign allows you to choose specific dates to automatically send emails. Perfect for promoting holiday sales or celebrating occasions like client birthdays or anniversaries with follow-up emails.
- Custom Trigger-Based Email Campaigns: This type of email campaign allows you to schedule emails to send based on a certain number of days before or after certain gallery trigger dates, like Expiration Date, Gallery Release Date, or Order Due date.
- ShootProof Email Campaigns: This type of email campaign is a series of emails, based on photography genre, pre-written and pre-scheduled to send automatically, based on gallery expiration dates. If you need a little help getting started writing your emails, this is the best option for you!
Reminder Emails
I have kids, and I seem to say the same things to them over and over and over again. For example, if I don’t remind them to brush their teeth every day, it won’t happen.
They need encouragement to complete even the most basic tasks.
Reminder emails work the same way. They encourage your customers to complete a purchase.
Many times, customers will start to order prints – even add them to their shopping cart – but for some reason they don’t complete the transaction. However, if you send them a gentle reminder, you can often finalize the sale.

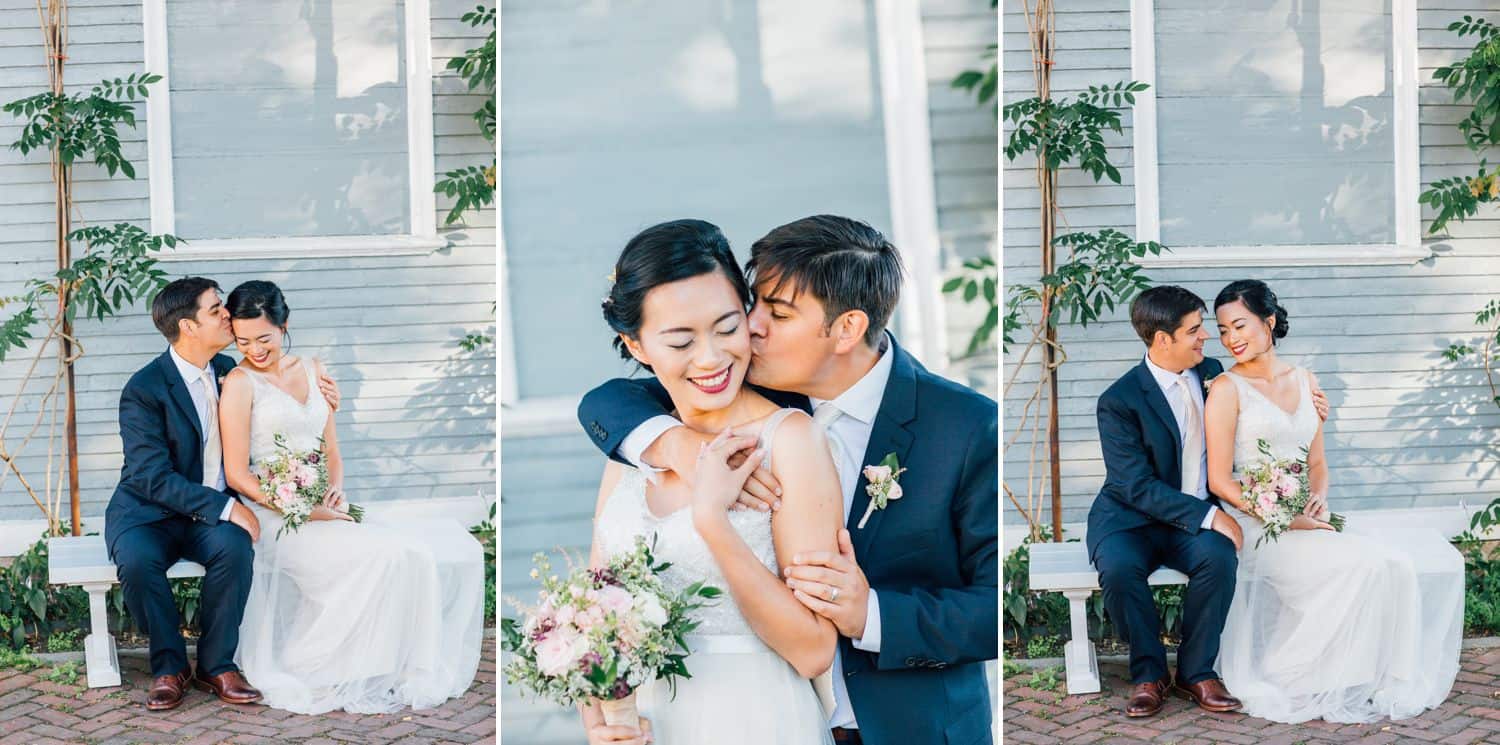
Photos: MAINE TINKER PHOTOGRAPHY
Remember: the customer has already shown interest. They just need a little nudge to push the Buy button.
Keep each reminder email short and sweet – maybe even lighthearted. Here’s how I craft and schedule my reminder emails…
First Reminder Email
I send my first reminder email four weeks before the gallery expires. This email prompts purchasing from those early gallery visitors who excitedly put items in their cart, then forgot about them.
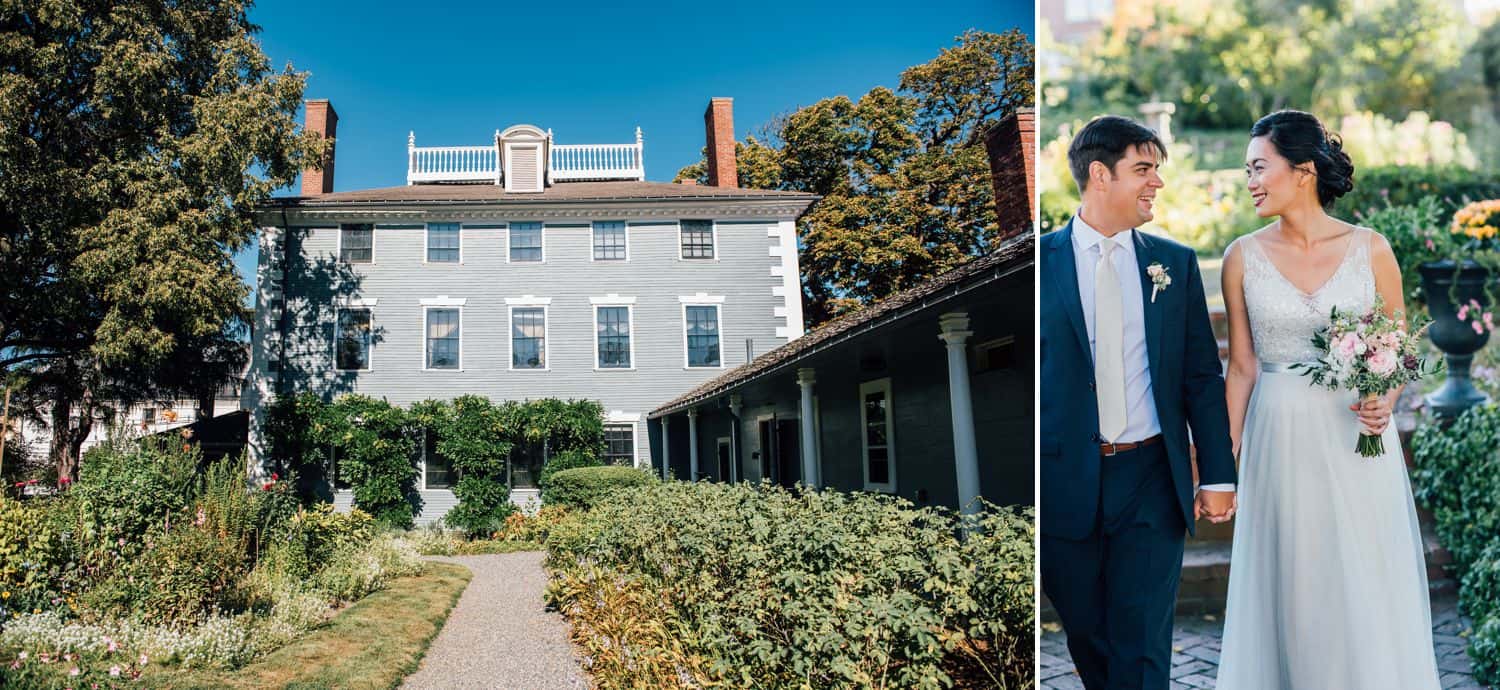
Photos: MAINE TINKER PHOTOGRAPHY
Second Reminder Email
I send a second reminder email 16 days before the gallery expires. This one grabs the attention of anyone who has added items to their cart since the first email. It also serves as a reminder to those first email recipients who still haven’t ordered the items already in their cart.
Photos: MAINE TINKER PHOTOGRAPHY
Third Reminder Email
I send a final reminder email three days before the gallery is set to expire. It’s a “last chance” email that helps nudge customers across the sales finish line.
When sending this third and final email, I often benefit from repeat buyers. These are folks who bought before, then place a second (or third) order because they were reminded!
Photos: MAINE TINKER PHOTOGRAPHY
Get That Money
Reminder emails are an easy way to attract buyers who might not buy on their own.
Depending on the client, reminder emails generate an additional $500-$4000 in additional print sales per gallery!
In my experience, it’s important to craft your message carefully. Be lighthearted; be fun! People don’t mind being reminded. You just need to do it in a succinct, low-pressure way.
Photos: MAINE TINKER PHOTOGRAPHY
The Promotional Email
The second email type is the promotional email.
Everyone loves saving money, so an email offering some kind of deal makes your clients more likely to purchase something.
Timing and targeting are critical when sending promotional emails. If you mess up these two details, you run the risk of a reduction in sales, or frustrated clients.
Photos: MAINE TINKER PHOTOGRAPHY
The First Rule of Promotional Emails: Timing Is Everything
Avoid sending a promotional email too soon. It doesn’t make sense to offer a special deal to people who would have paid full price. You’ll just lose money!
Also, don’t push promos too frequently. Your customers will ignore them, assuming you’ll send more later.
There’s a clothing store that sends me an email almost every week. They are always offering 50% off or BOGO deals.
If it’s always on sale, it’s never on sale.
Photos: MAINE TINKER PHOTOGRAPHY
The Second Rule of Promotional Emails: Target Your Audience
My second rule: create a targeted audience for your promotional emails.
Have you ever purchased an item at full price, then seen it on sale a day later? You don’t want to give your customers that experience.
Photos: MAINE TINKER PHOTOGRAPHY
There are a few ways to approach promotional emails.
One method is sending the promotional email as a reward for purchasing. This means you only send promo emails to clients who previously bought something. (Make sure to say they’re getting rewarded for their purchase!)
The second method is to send a promotional email to everyone. Timing, as we already mentioned, is important in this situation.
My approach? I first send a special promo message to customers who have already purchased. Then, shortly before the gallery expires, I send a slightly less-sweet promotional offer to those who have never made a purchase.
Photos: MAINE TINKER PHOTOGRAPHY
Are You Ready To Get Started? It’s Easier Than You Think!
You may be wondering how to put these ideas into action. With hundreds (or even thousands) of people visiting your online galleries, how can you possibly keep track of who has or hasn’t made a purchase? Then there’s the overwhelming task of sending all of those emails!
Without the right tools, managing a complex email marketing strategy like this would be daunting. That’s where ShootProof comes in.
ShootProof’s Email Campaigns makes this possible.

Photos: MAINE TINKER PHOTOGRAPHY
Your ShootProof Strategy for Sales Success.
Implementing an email marketing strategy for your print sales is simple with ShootProof. You can set up your emails in less than an hour, then use them over and over for future galleries.
Here’s how I did it…
Create Your First Email
From within your Studio Panel, select Studio > Email.
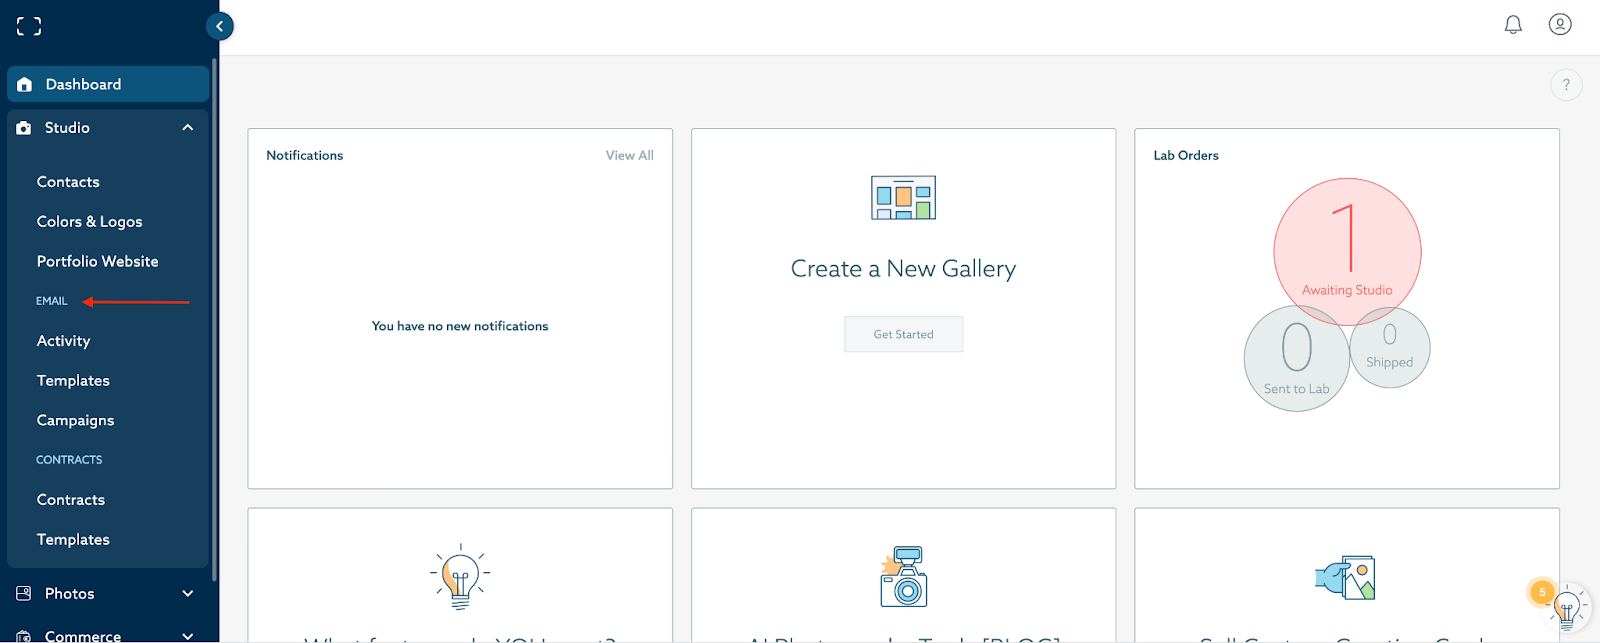
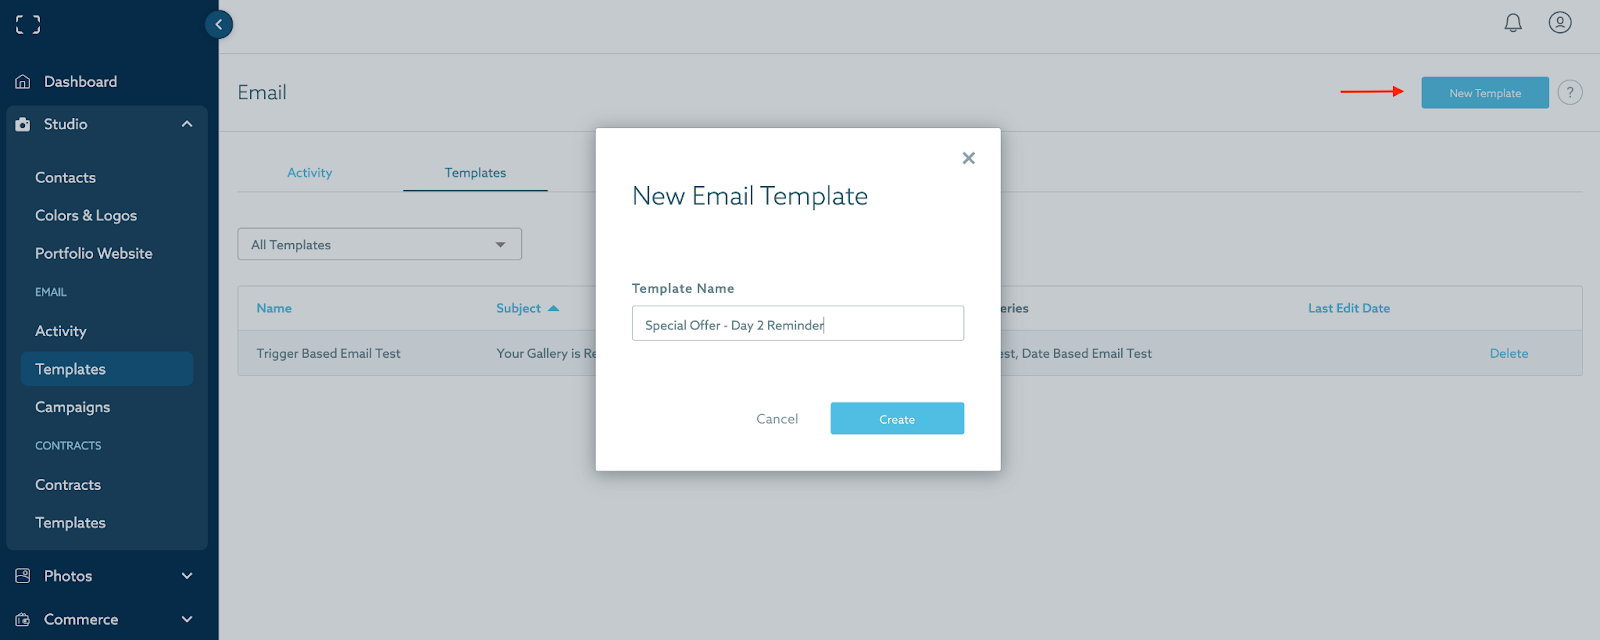
Now you can select one of three sections: Activity, Templates, and Campaigns. You want to create emails you can use over and over again, so select Templates.
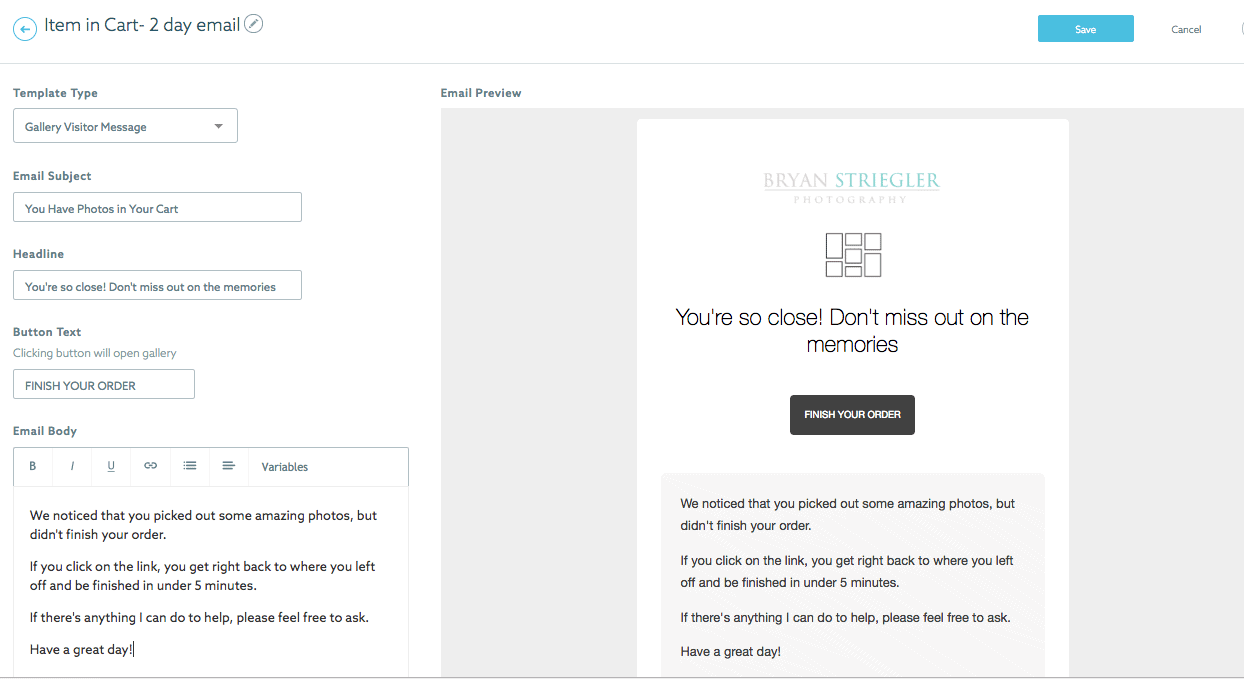
Click the blue button in the top right corner: New Template. Give your template a name (e.g., “1st Reminder To Buy – 4 Weeks Pre-Expiration”), and click Create.
A new page will open. On the left side, you’ll see options and checkboxes. On the right, you’ll see a preview of your email.
Choosing the Template Type
To begin, choose a Template Type. The Template Type determines what kind of link will be included in the email, and also auto-populates some other standard text. From there, you can customize to fit your voice and brand.
The Template Type I use the most is the Gallery Visitor Message, because it enables an immediate personalized connection with my gallery visitors.
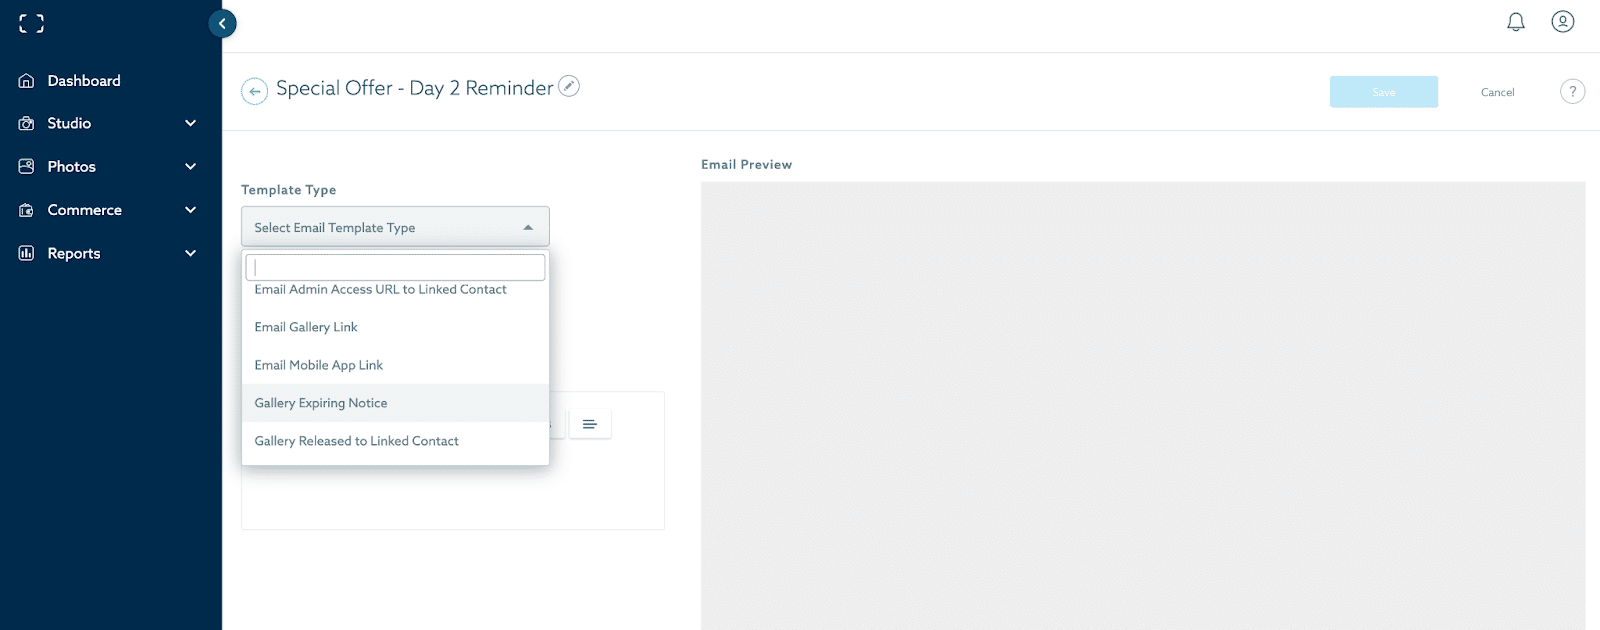
It’s also quick and easy to set up reminder emails for gallery expiration. Choose Gallery Expiring Notice from the Template Type menu, and your email will automatically include basic info like
- the gallery name
- expiration date
- your business name
Here, I’ve retained those details, but I updated the subject lines and headlines to fit my brand.
Once you’re done, click Save.
Rinse & Repeat
Repeat using the Gallery Expiring Notice Template Type to create your second and third reminder emails, with different headlines and text. Remember, keep the messaging short and sweet!
Next, create your Promotional Emails. (I use the Email Gallery Link Template Type for these.)
Use the same process: customize the headlines and body text, then repeat any additional Promotional Emails.
Turn Your Templates Into An Email Campaign
Templates are time-savers. Automations are sanity-savers!
Here’s how to use automations in your sales strategy.
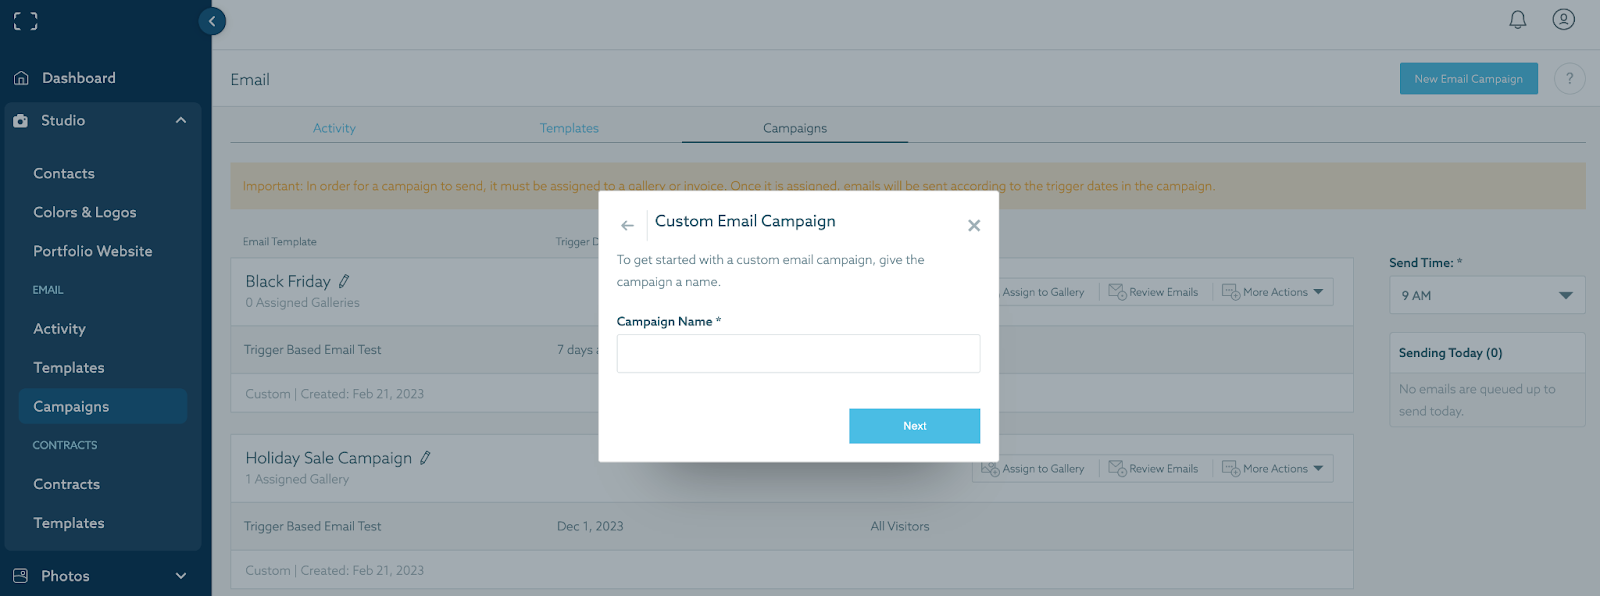
Create Your First Email Campaign
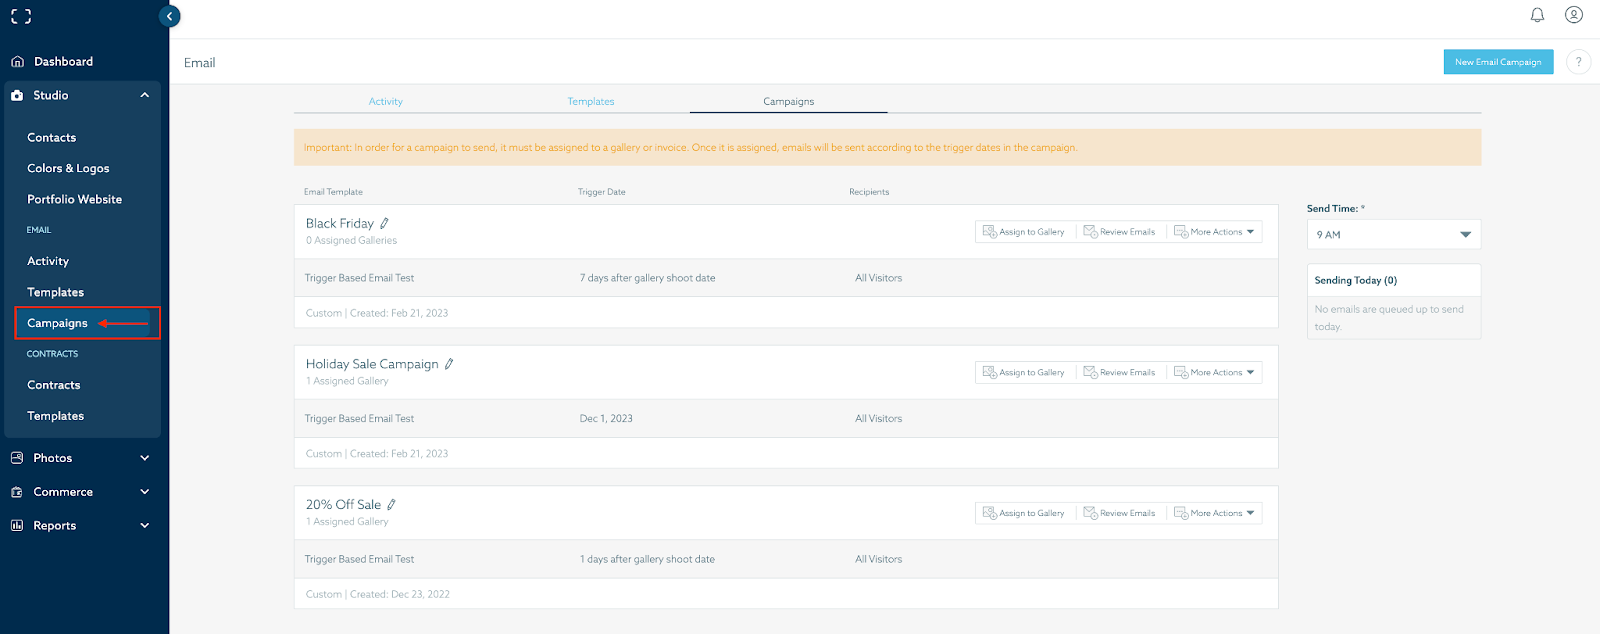
Once again, visit the Studio > Email area. Select the far right tab: Campaigns.
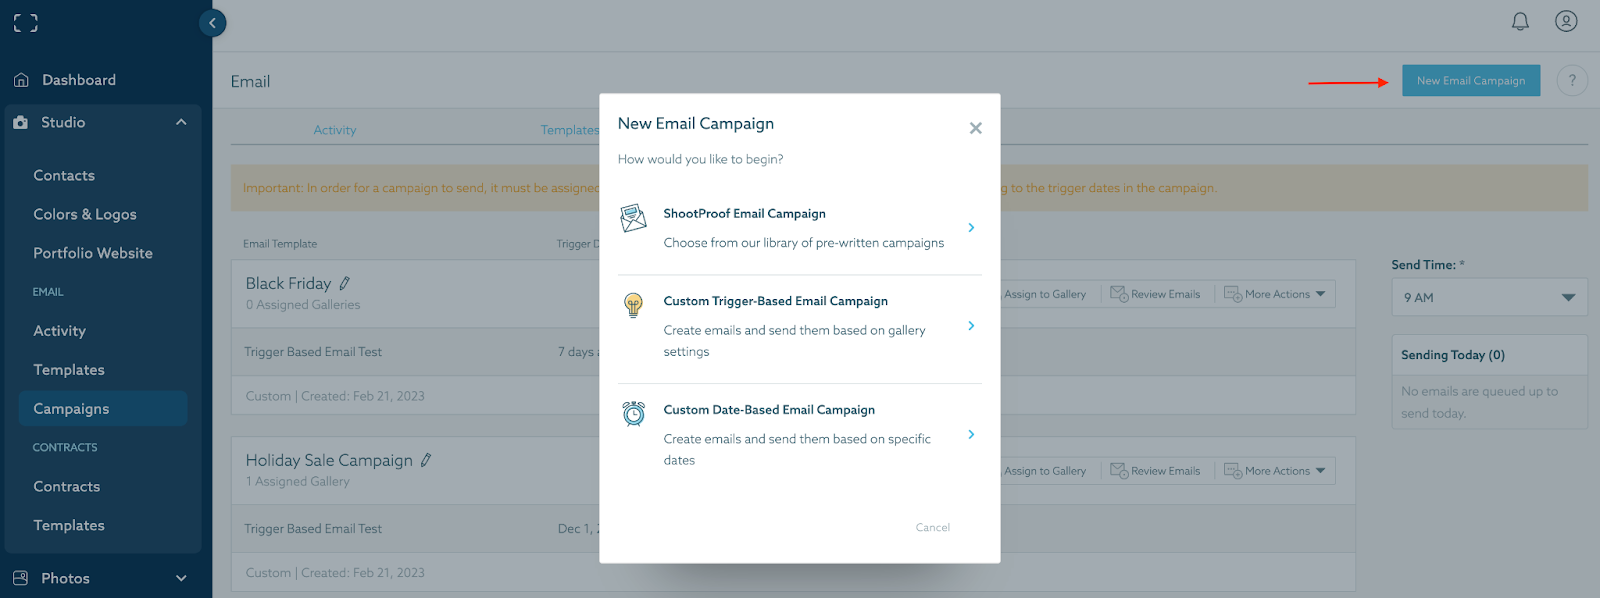
Click New Email Campaign at the top, and select Custom Trigger-Based Email Campaign, since we want to schedule the emails to send a certain number of days before Gallery Expiration.
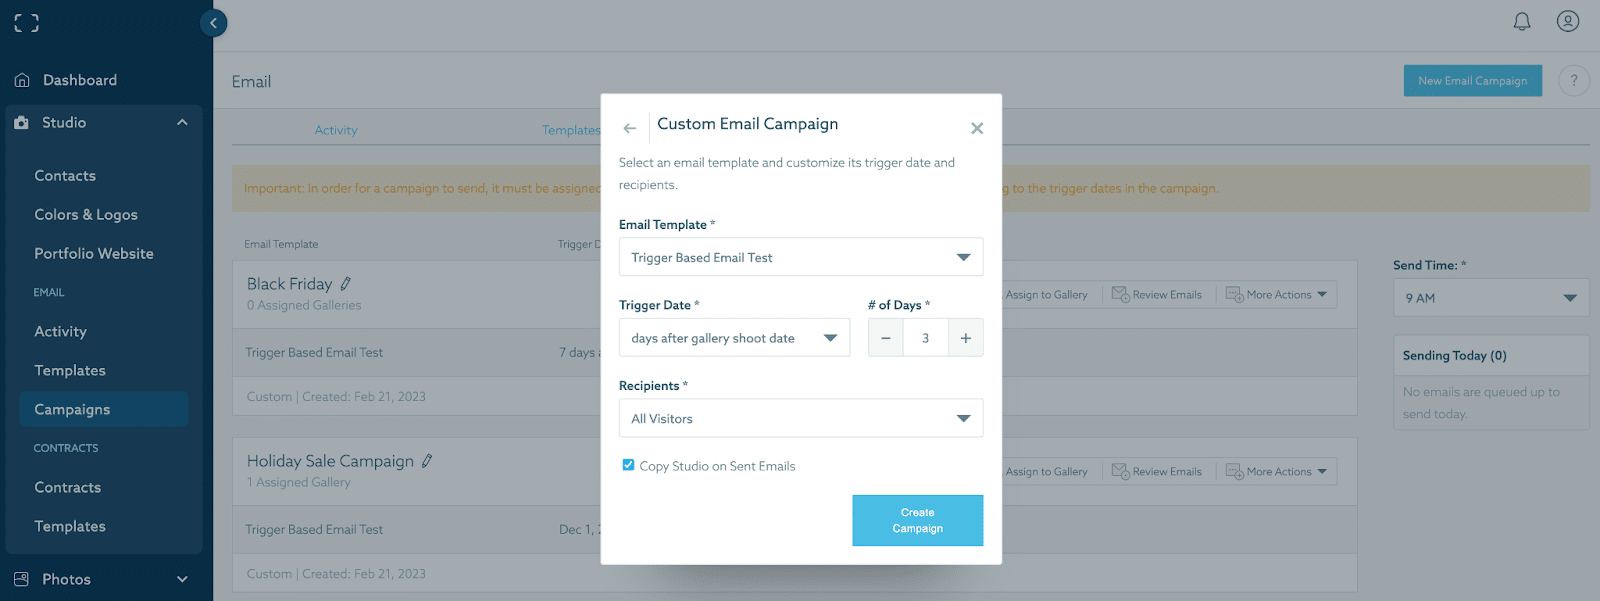
Next, name the series, and select the Email Template you’d like to send first. Under Trigger Date, select “days before gallery expiration”, enter the number of days before expiration that the email should send, and indicate to who the email should be sent. Finally, click Create Campaign.
Now, build upon the Campaign: click More Actions, and Add new Email. Select the next Email Template you’d like to send, then repeat the steps for each Email Template you’d like to add to your series.
Once your campaign is complete, click Assign to Gallery and select all the galleries you’d like to apply this campaign to.
PRO TIP: Get Set with Presets
Add your email campaign to a Gallery Preset…. so all future galleries of this type will include your preferred Settings and Campaigns from the minute they’re uploaded!
PRO TIP:
Use Bulk Actions to apply changes to multiple galleries at once. Select all the galleries you’d like to add a campaign to.
Next, click Actions > Bulk Actions from the top right corner of your screen. From the pop-up window, select Advanced Settings, and choose the Email Campaign from the dropdown. Apply Changes, and those galleries will be set up to send emails!

Now you have a sales strategy for communicating with your customers! Try this with your next gallery and see how it impacts your sales.
Written by BRYAN STRIEGLER | Photographs by Siobhan Bogle of MAINE TINKER PHOTOGRAPHY via Two Bright Lights
Contributor