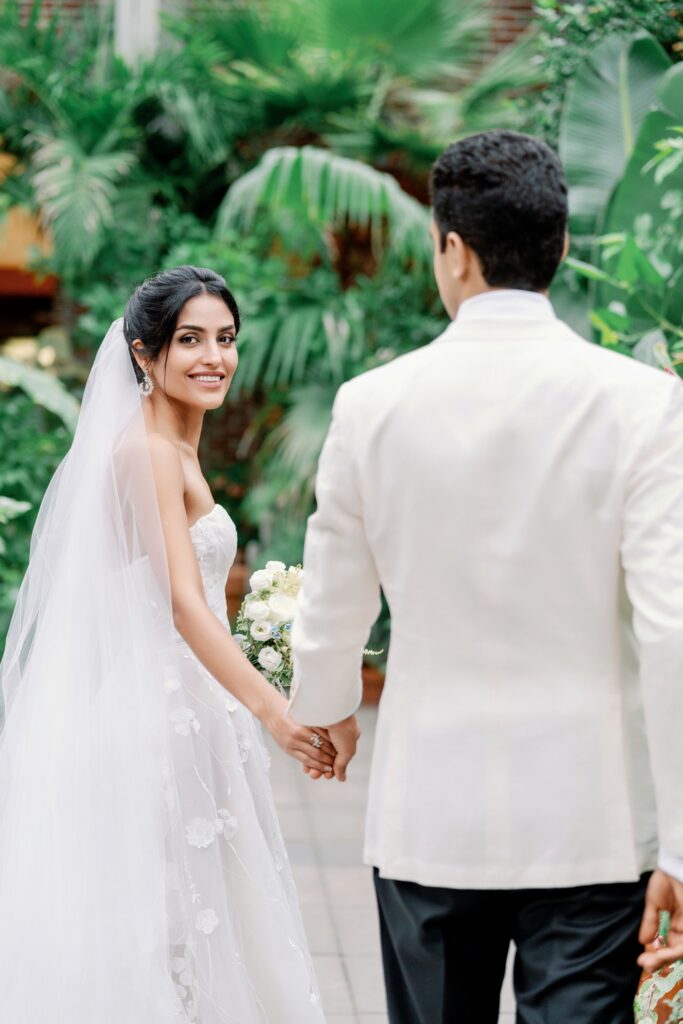
Not into dim, moody photos? Learn how a bit of fill flash outdoors can banish gloomy skies and deliver gorgeous, glowing portraits. (Featuring: ADOR PHOTOGRAPHY)
Natural light is beautiful; but most of all, it’s easy. There’s no need to set up flashes or strobes, and you can leave the batteries at home. But what if your naturally-lit photographs are looking a bit too gloomy? Say hello to fill flash.
There are endless possibilities for adding light to your images. Here, we’ll look at how a simple, straightforward fill flash can take your outdoor images from gloomy to glowing.
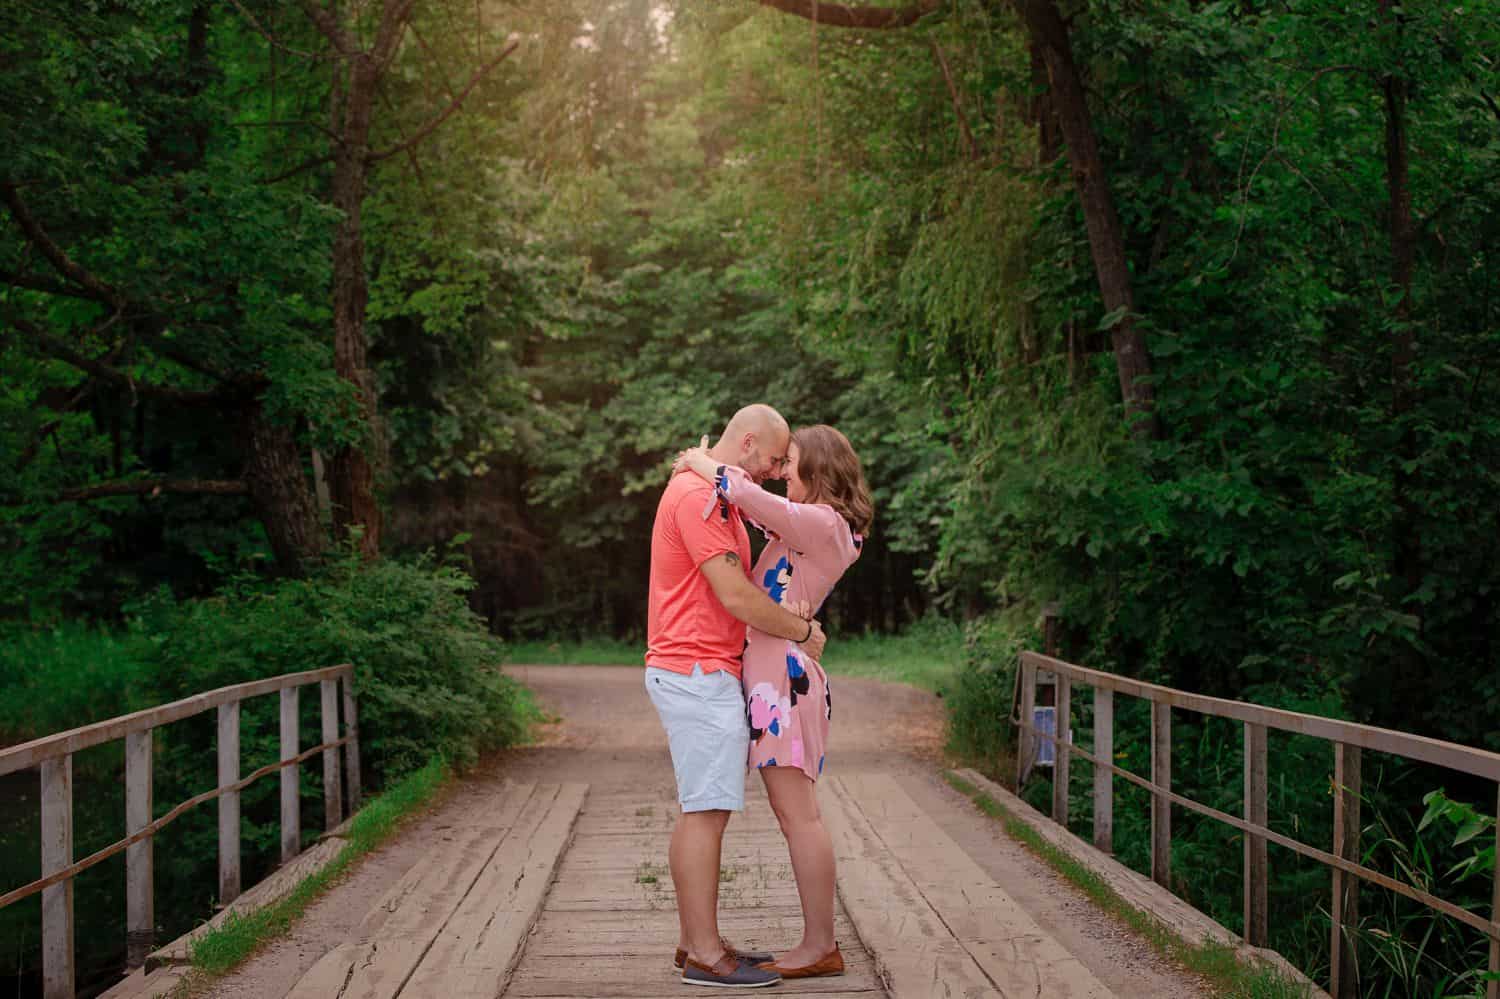
Image by ADOR Photography
What is Fill Flash Photography?
Fill flash is a technique photographers use to brighten deep shadowed areas, especially on gray days or extremely sunny sessions. As the term suggests, fill flash adds light to deep shadows cast harsh lighting.
You can use fill light whenever the background is brighter than the main subject of the photo. Think of it as a supplementary light source that can reduce harsh ambient light.
For example, you can set your camera up to expose for the background perfectly. Once you click the shutter, you may have a well-exposed background; however, your main subject may appear dull or underexposed. To fix this, you can add a flash on the subject to ‘fill’ them with light.
Solve Problems with Simple Fill Flash
Minnesota photographer Katie Cabak established her brand, ADOR Photography, with warm, well-lit photos at the forefront. It requires a bit more effort than an all-natural lighting approach, but the work is worthwhile if you love the evenly-lit look. Fill flash is more than a style; it’s a solution to the challenges photographers face at every session:
- “Make me look younger!” When it comes to minimizing the appearances of wrinkles and under-eye shadows, nothing beats
Botoxfill flash. It’s like using a reflector, but you don’t need an assistant. - “Photograph me in front of this super-bright background!” Clients LOVE snow-capped mountains, shimmery lakes, and sun-dappled forests. Unfortunately, it can be hard to create stunning skin tones and expose for a bright background. Fill flash to the rescue!
- “Immediately take a perfect portrait of me standing under these hideous fluorescent lights!” Event photographers in particular get called upon to make portraits in the most unpleasant lighting conditions. Fill light empowers you to retain the location’s ambient light, while illuminating your clients with more flattering controlled lighting.
Images by ADOR Photography
Two Exposures, One Solution
When you add flash to your photo setup, you’re actually managing two different exposures:
- the ambient exposure (the existing light, without any flash)
- your flash exposure (the light created by your flash)
Begin by setting your camera to best capture the ambient light. This means your background should look terrific without the use of a flash.
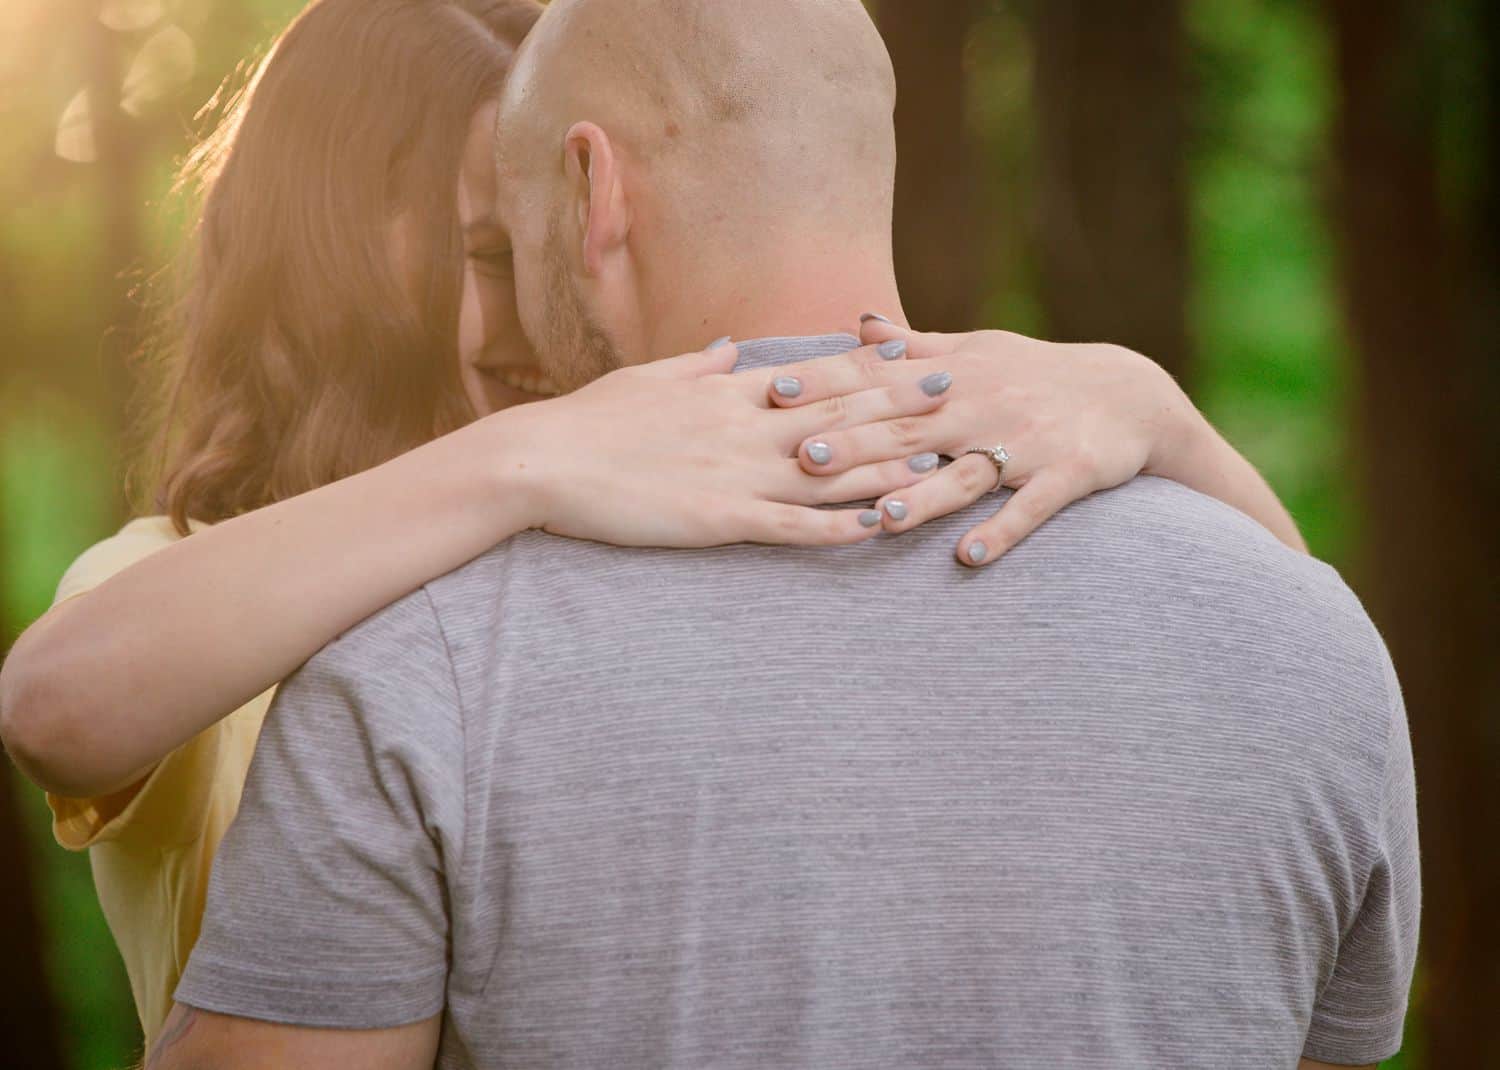
Image by ADOR Photography
Next, turn on your flashes and adjust them until they’re providing the right kind of light on your subjects – light that complements both your clients and the background behind them.
See how this photo perfectly blends both the foreground and the background? This is no accident. It’s a setup that Katie created with intention and foresight. Don’t leave your exposures to chance! Decide how you want your pictures to look, and make it happen!
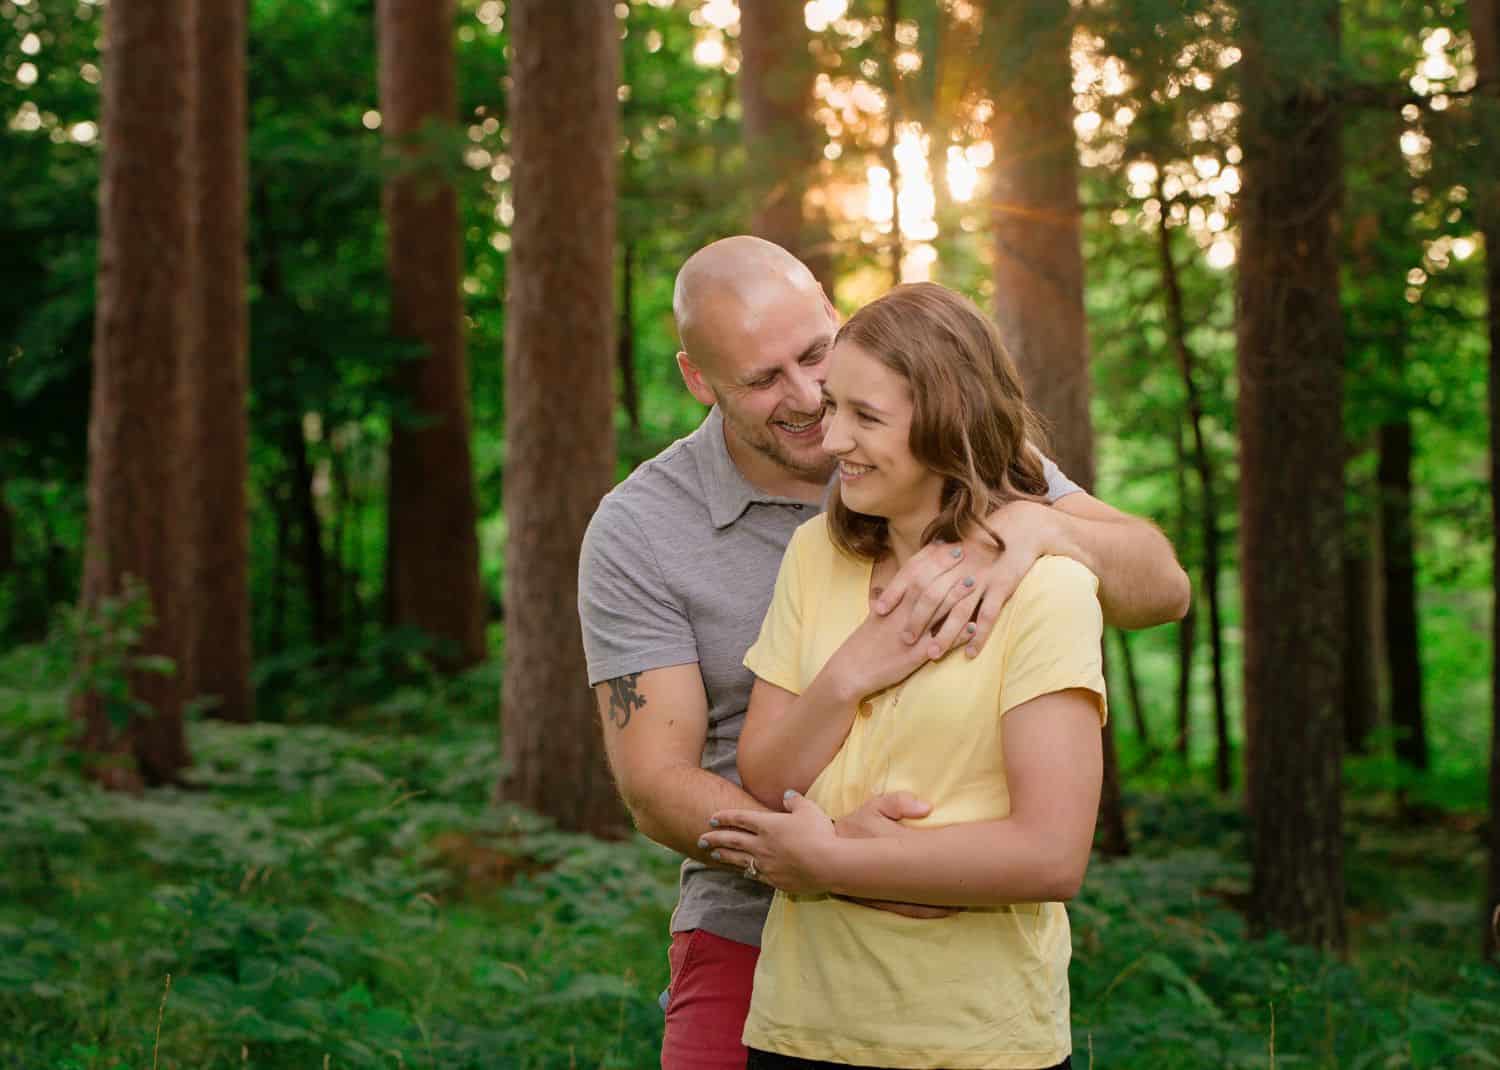
Image by ADOR Photography
How to Create Great Fill Flash
Katie keeps her setup simple and portable, so she can shoot all by herself.
“For my lighting set-up, I use two Canon Speedlite 600EX-RTs on tripods and trigger them with the Canon ST-E3-RT,” explains Katie. “I use the natural light behind my subjects as a rim light, then I underexpose the background by a few stops and use the Speedlites for fill flash.”
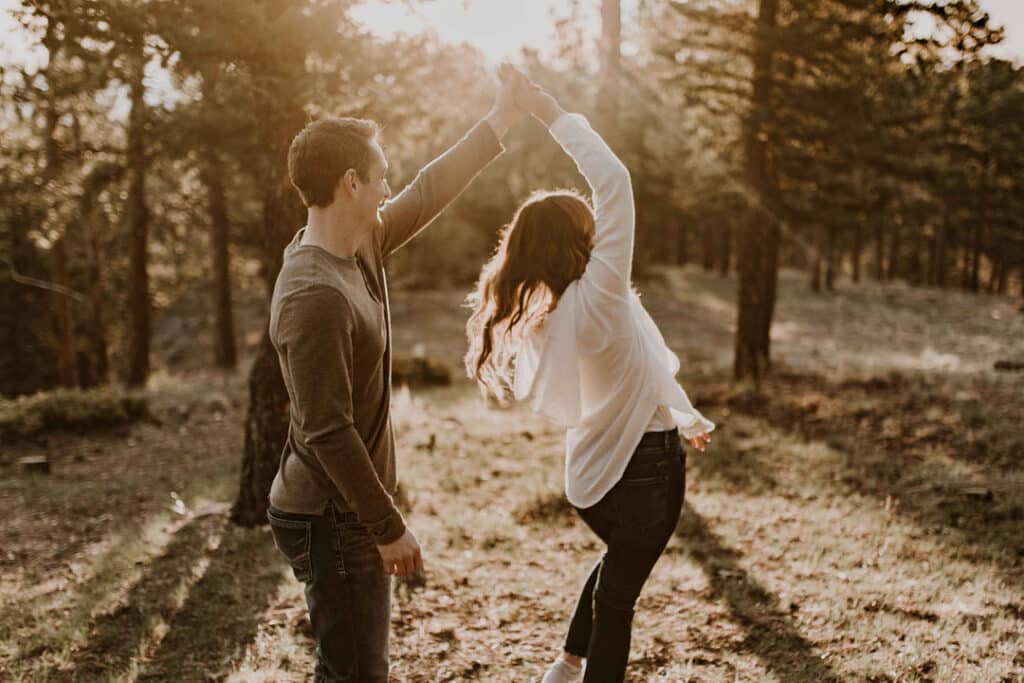
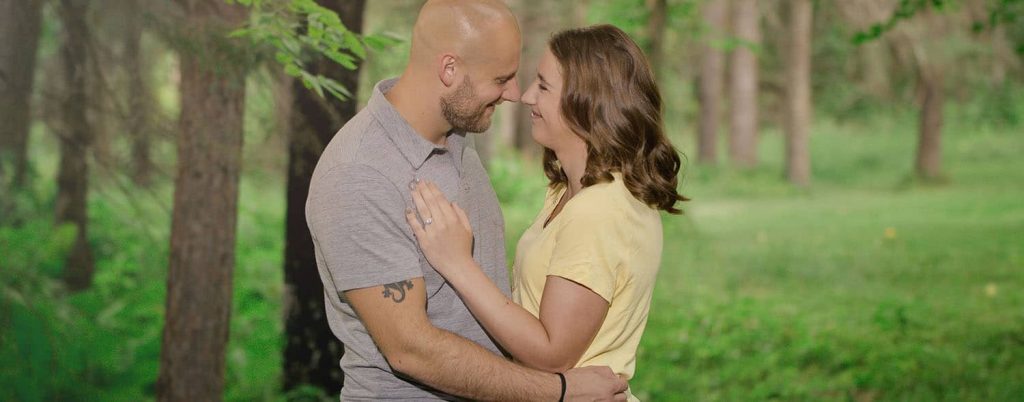
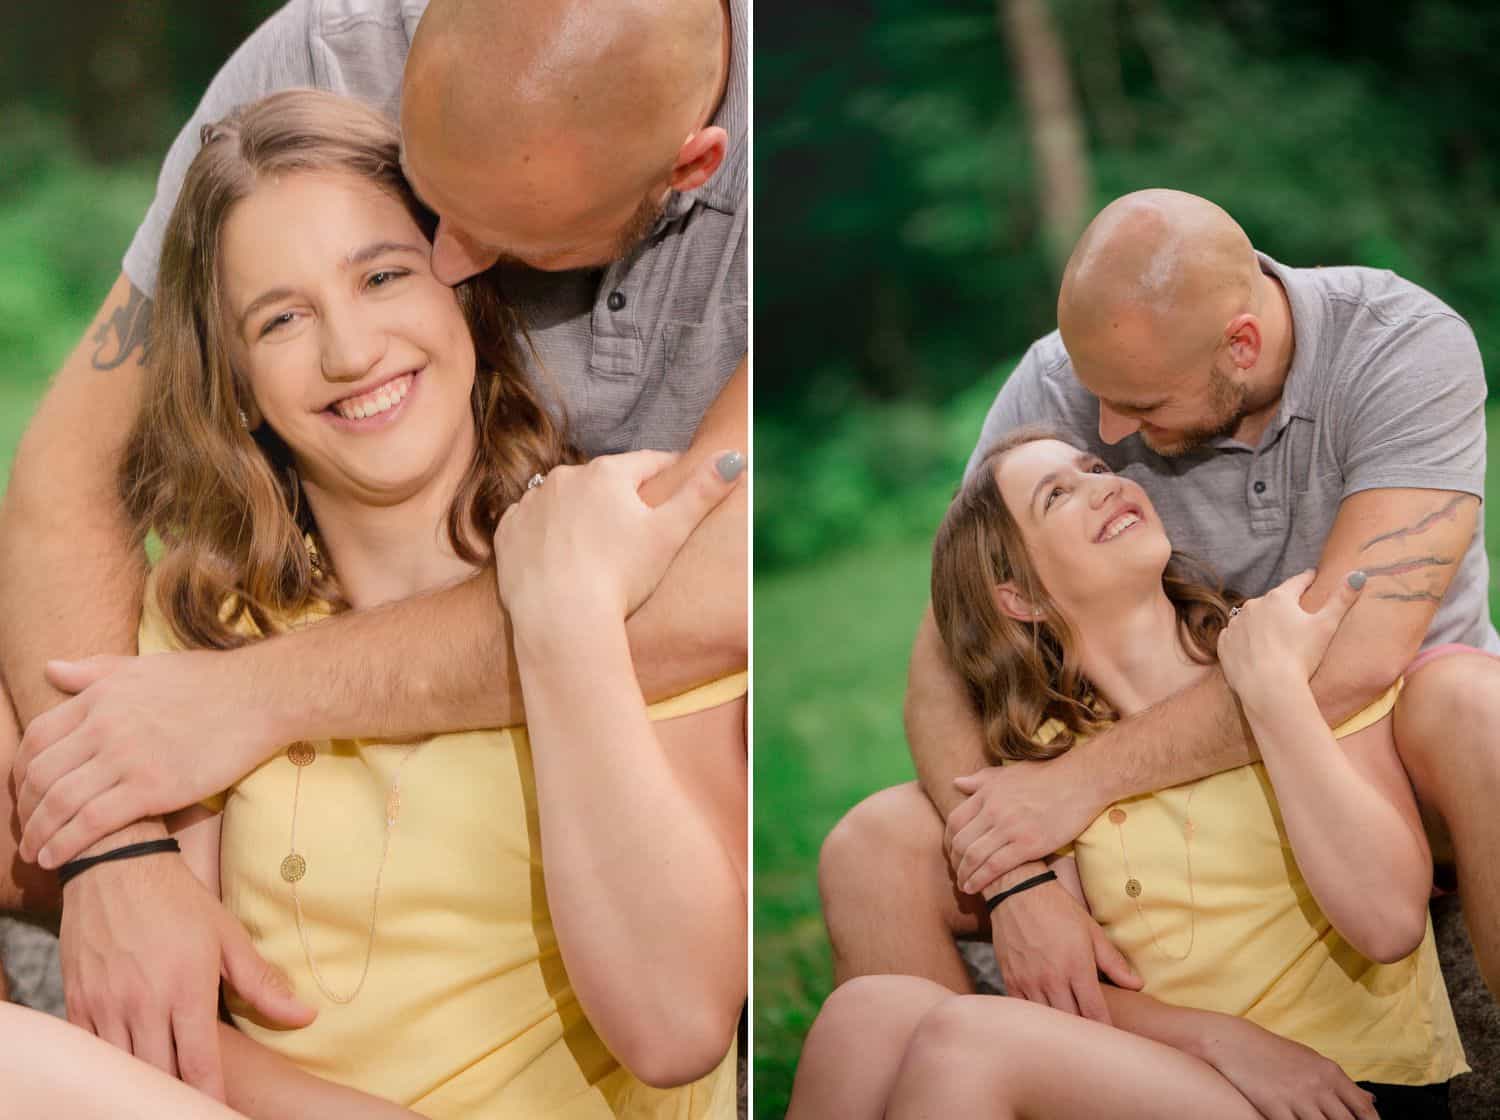
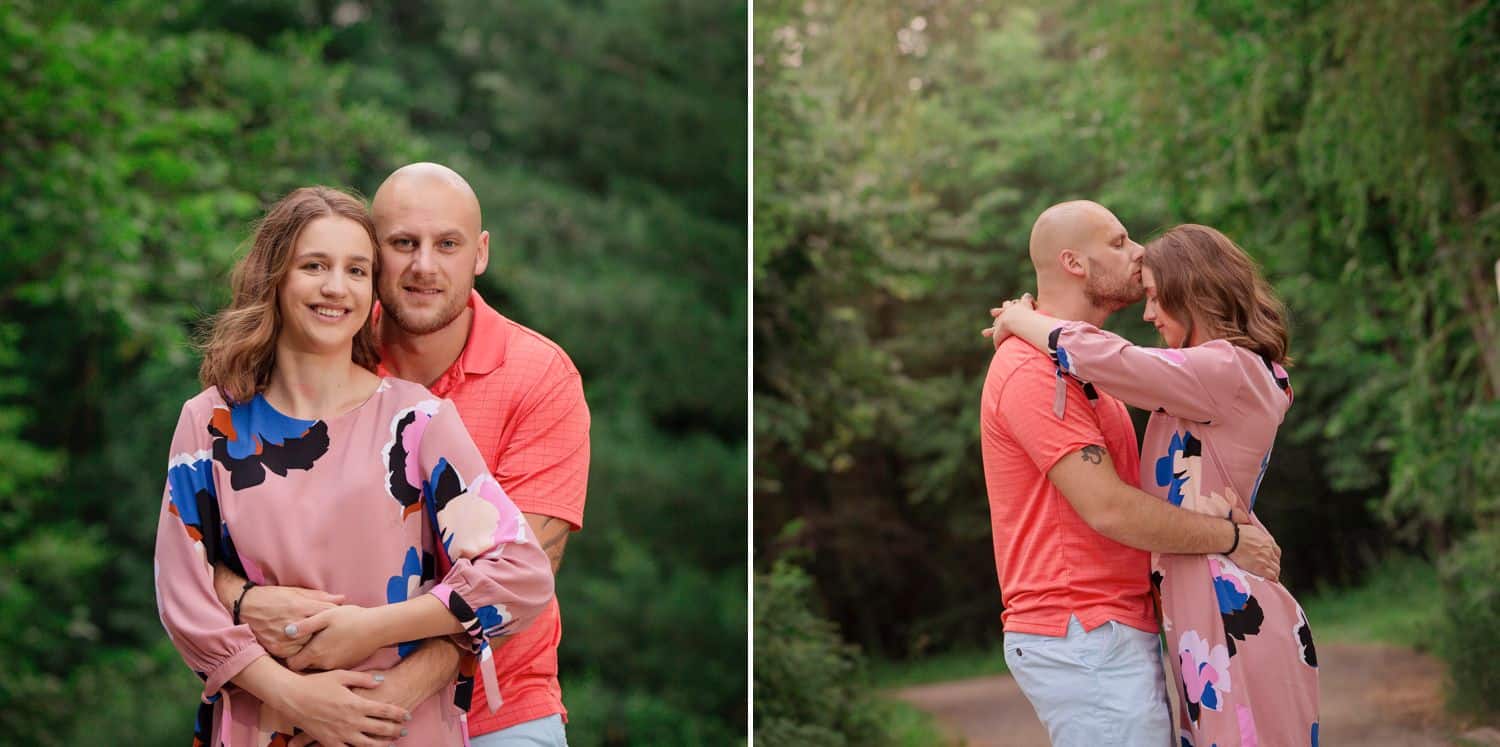
If that was Greek to you, allow us to break it down. Here you see two nearly identical photos. One is exposed beautifully, while one is underexposed.
Above LEFT and RIGHT Images by ADOR Photography
Left Photo: f/4, 1/60″, ISO 400, 83mm Focal Length
Katie’s telephoto lens adds depth and bokeh to her f/4 exposure, while the slower 1/60″ shutter speed and 400 ISO allows the background to shine.
Right Photo: f/11, 1/100″, ISO 400, 86mm Focal Length
Even with a long lens, f/11 is too closed-down to allow any bokeh in this image. The 1/100″ shutter speed is still slow enough to sync with Katie’s flashes, but paired with the 400 ISO and smaller aperture, both the background and the subjects are underexposed.
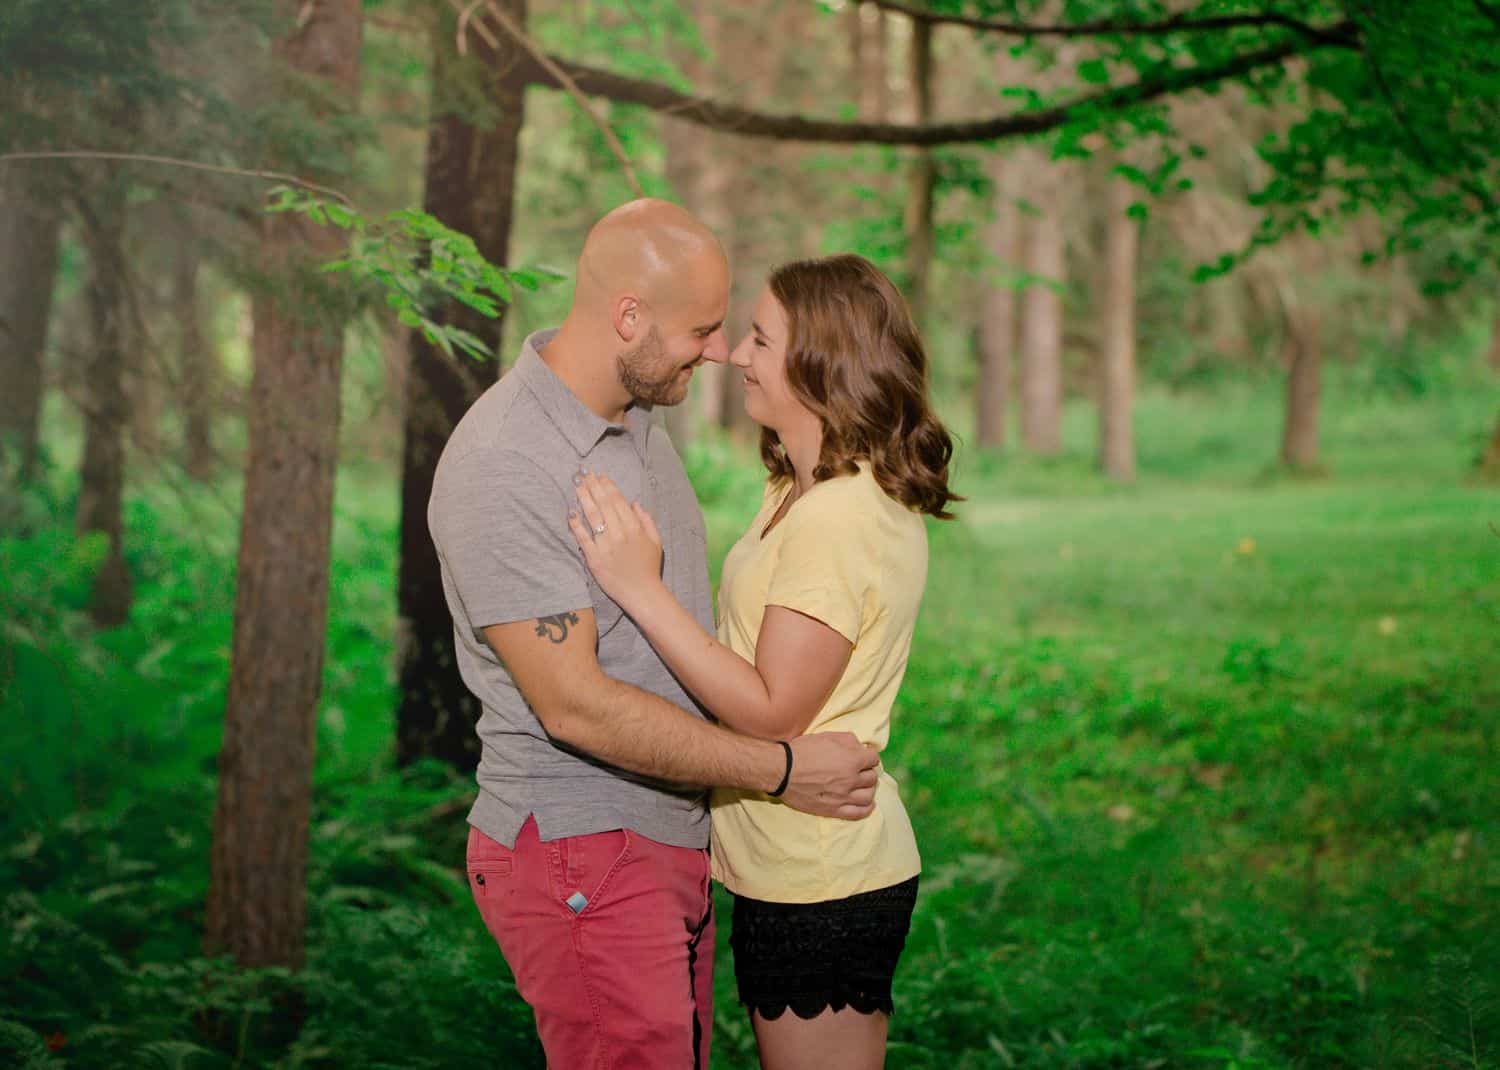
Image by ADOR Photography
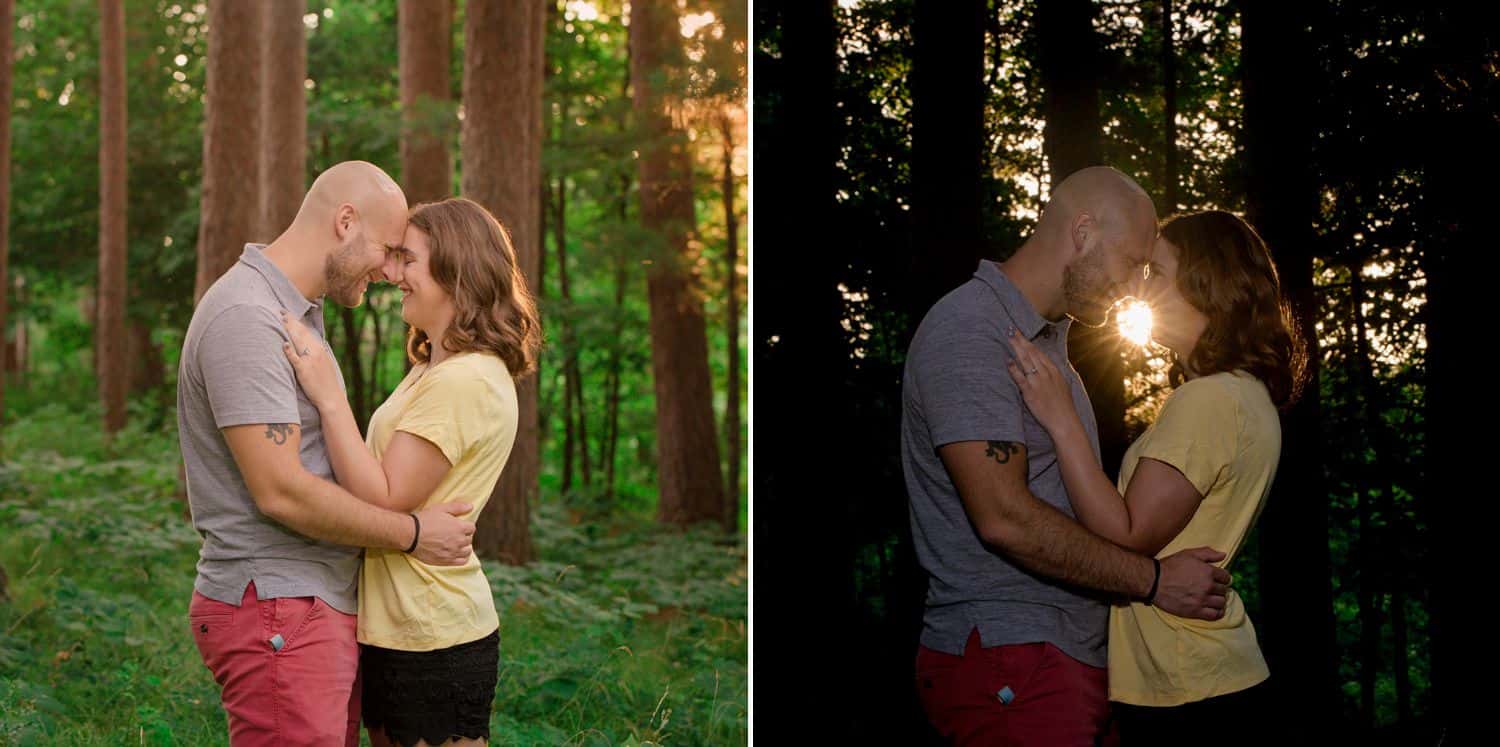
Fix the Photo
In the right-side photo, the shadows are entirely too dark, and the subjects are nearly lost due to underexposure. The sun flare looks great, but your clients are unlikely to want an entire session of this photo style. To create a more traditional look, try one of these solutions:
- Shutter Speed = More Ambient Light. Slow your camera’s shutter by one stop, from 1/100″ to 1/60.” This will add one stop of ambient light to your photograph.
- Aperture = More Ambient and Flash Light. Open your aperture by three stops, from f/11 to f/4. This will add three stops of ambient and fill flash light to your photograph.
- Flash Power = More Flash Light. Turn up your flash power. This will add fill flash light to your photograph. To add a full stop of light from your flash, you’ll need to double its power. You can incrementally double your flash power from 1/16 to 1/8, from 1/8 to 1/4, from 1/4 to 1/2, and from 1/2 to full power. If you still need more light on your subjects, add a second flash!
- Less Distance = More Flash Light. Move your flashes closer to your clients. If your flash is 10 feet away from your subject and you need an extra stop of light, move your flash to only five feet away. If you need two additional stops of light, move your flash to two-and-a-half feet away.
Images by ADOR Photography
What’s Flash Ratio?
If it’s your first time using fill lighting, you’ve got an opportunity to master flash ratio. In general, the ratio dictates how strong the flash is in a particular direction. It is the mathematical ratio of light that falls onto a subject between two light sources.
Ratio simply means ‘light required: exposure,’ with the exposure being constant at 1. For instance, if you set your key light to the same power as the fill, the fill lighting now has the same strength as your key light when filling in shadows. Hence, it produces a 1:1 ratio.
Take a look at some common ratios you should use for outdoor photography flash:
Ratio of 1:1
A 1:1 ratio is even lighting on both sides of the subject–there’s no difference in the meter reading. As a result, there aren’t many shadows. This technique works best for beauty and fashion shoots.
When you’re planning to use this ratio, you’ll need to practice using a reflector because the flash might overpower the ambient light. Experiment with stepping closer to subject, so that you can’t see shadows.
Ratio of 2:1
A 2:1 ratio implies having a one-stop difference from light to shadow. In this ratio, the side of the flash may be twice as powerful as the sun.
This ratio works well for newborn and family photos because the light is even enough to add a bit of dimension, yet soft enough to create shadows.
Ratio of 3:1
Bump up the contrast! A 3:1 ratio is best used for black-and-white portraiture because it yields an exposure with excellent highlights and shadow details.
Ratio of 4:1
This ratio gives you a two-stop difference from light to shadow. This lighting technique is best for portraits because it creates a slimming effect on the subject.
In a 4:1 ratio, the side of the subject’s face that’s in shadow loses its glow while the accent of the portrait becomes the highlight. If you want to get richer tones and a darker background while still illuminating your subject, this ratio is a good starting point.
Ratio of 5:1
Create some drama! A 5:1 ratio makes the main light three stops brighter than the fill lighting. Since this is a super high-contrast technique, use it for stylized portraits and dramatic compositions.
Just remember, you’ll get minimal detail in the shadows!
Ratio of 8:1
This ratio implies you get a four-stop difference from light to shadow. This truly dramatic lighting is best for headshots or stage photography.
When using flash for outdoor photography, the sun will probably cause harsh lighting. With an 8:1 ratio, there will be about eight times more light hitting the brighter part of the subject’s face than the shadow part of their face.
Try a Diffuser on your Flash
A flash diffuser is a rectangular, snap-on dome box that attaches to the upper part of an external flash. Its white, semi-transparent plastic material creates a diffused bare bulb effect.
Shooting with a flash can cause harsh shadows, washed-out color, and flattened details. That’s why a diffuser is a great tool to try. Using a diffuser on your flash can soften the light and yield flattering results for your clients.
When using a diffuser, simply adjust your flash to an angle that enables you to bounce light off a reflective surface, such as a wall or reflector when you’re outdoors. Visualize the direction the light will take once it fires off and bounces against something.
Where to Put Your Lights
Katie’s two-flash setups are easy to replicate. With the sunlight behind her clients as a rim light (or “hair light”), her fill light is only responsible for filling in the shadows on her clients themselves. Duplicate this setup by mentally establishing a triangle shape. Your clients are at one point of the triangle, and the flashes occupy one or both of the two other points.
Bounce It
On newer models of flashes, there’s a small white pull-out bounce card that helps you point the light in a specific direction. If you’re shooting outdoor photography with flash and have nothing else to bounce light off of, just use the bounce card to deflect the light coming from the flash.
When the setup involves positioning two speedlights opposite each other in a location, point the flash head upwards and pull out the diffuser. In this way, all the reflected light points toward the center of the room.
Angle It
Most speedlight heads can swivel right and left up to 90 degrees, forward, upward, and in incremental angles. This nifty feature lets you angle the light carefully. It allows you to make quick and easy micro adjustments to the direction your light is angled so that you can properly light your subjects with the filler light.
PRO TIP: Learn to Light
If you’re STILL confused, take a look at Cole’s Classroom’s detailed tutorial on using fill flash outdoors, and their easy article on off-camera flash!
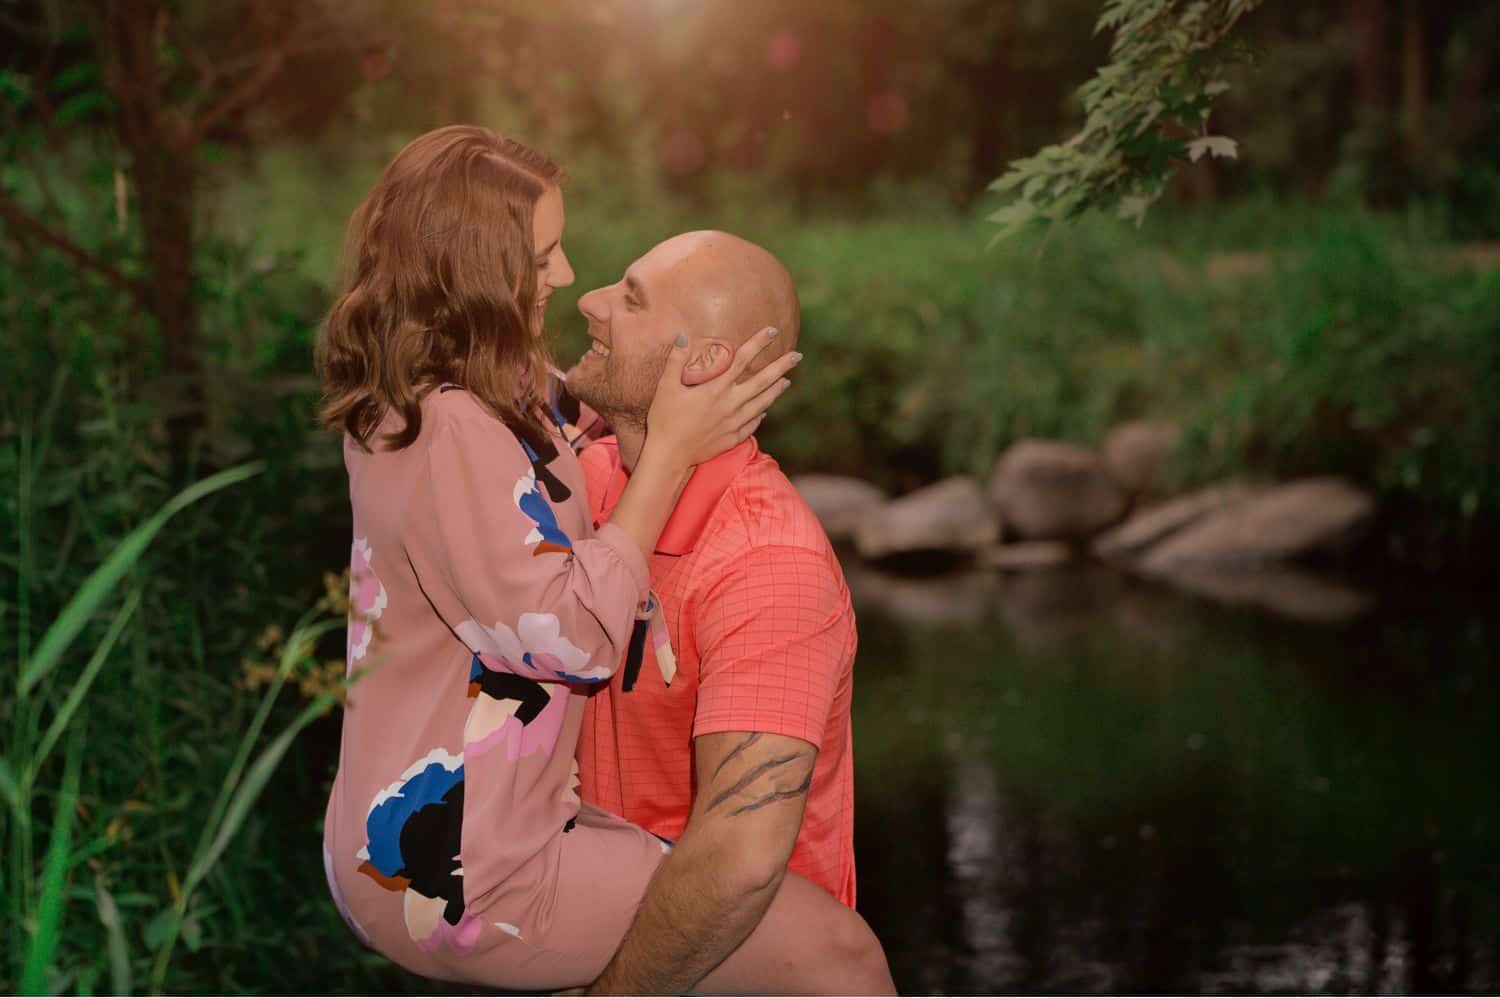
Image by ADOR Photography
Fill Flash for Everyone!
Whether you’re inside or outside, fill flash can help you create a look that is consistent and flattering to every client.
Do you use fill flash already? Share your setup in the comments below!
Written by ANNE SIMONE | Featuring KATIE CABAK with ADOR PHOTOGRAPHY

You May Also Like…
Contributor