Silhouette photographs are a gorgeous addition to any collection of images. Here, we show you step-by-step how to make your own! (Featuring GEMMA GRIFFITHS PHOTOGRAPHY)
Here’s How to Make Stunning Silhouette Photographs
In the breathtaking seaside landscape of South Wales, family and portrait photographer Gemma Griffiths’ style is marked by her stunning silhouette photographs. We asked Gem to share her tips for crafting the perfect silhouette portraits for your own clients!
#1: Scout Your Location
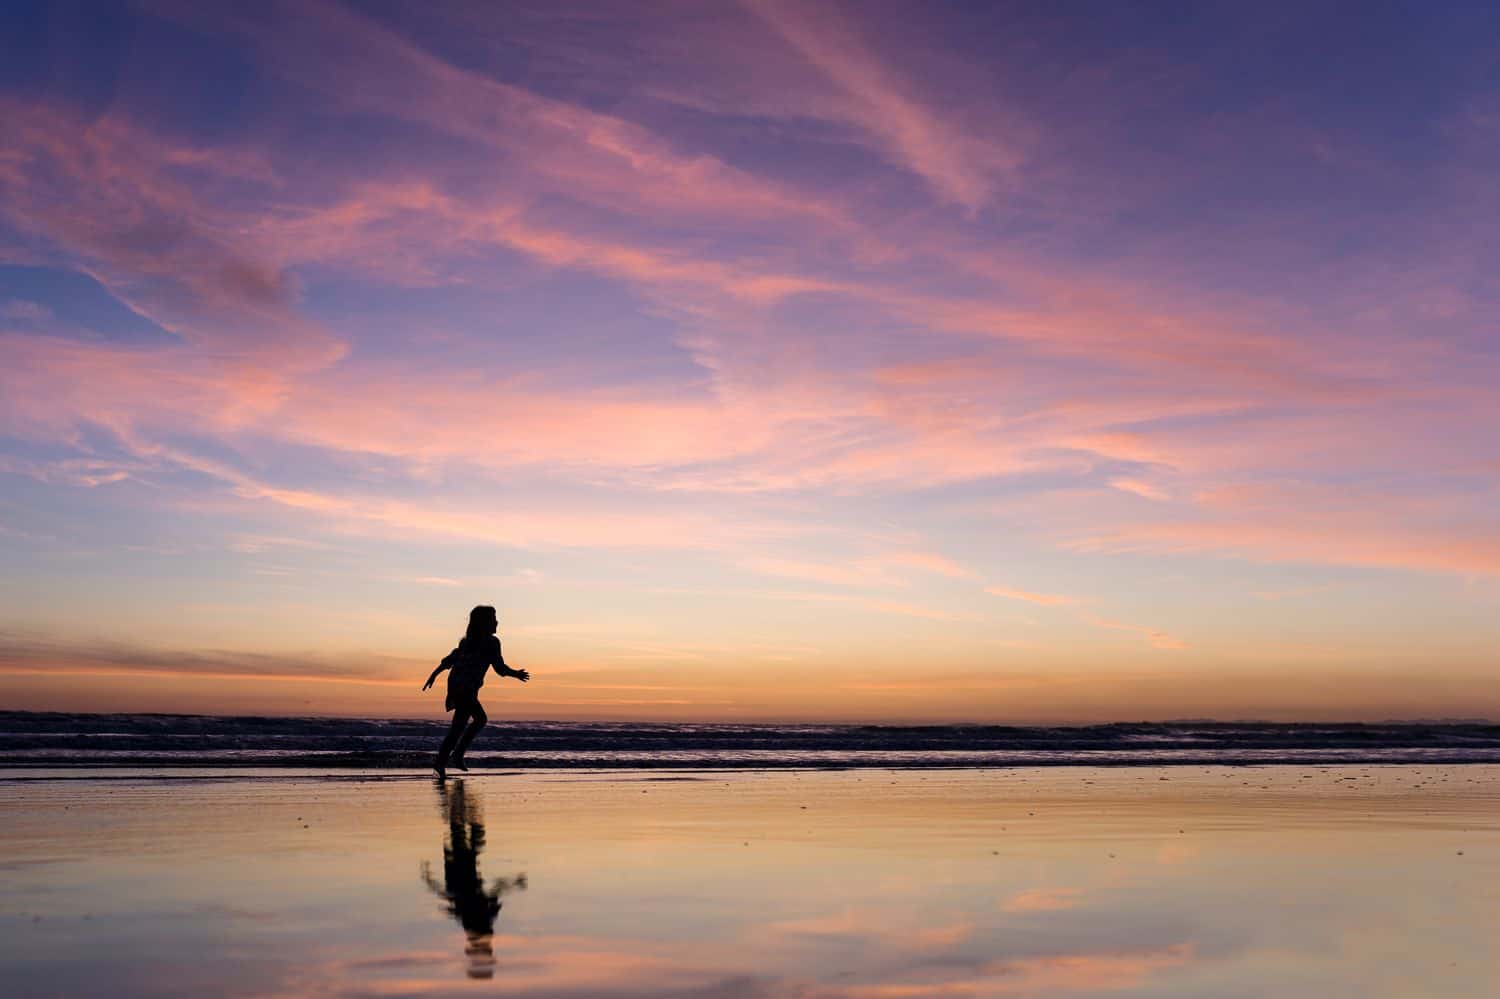
Image by Gemma Griffiths Photography
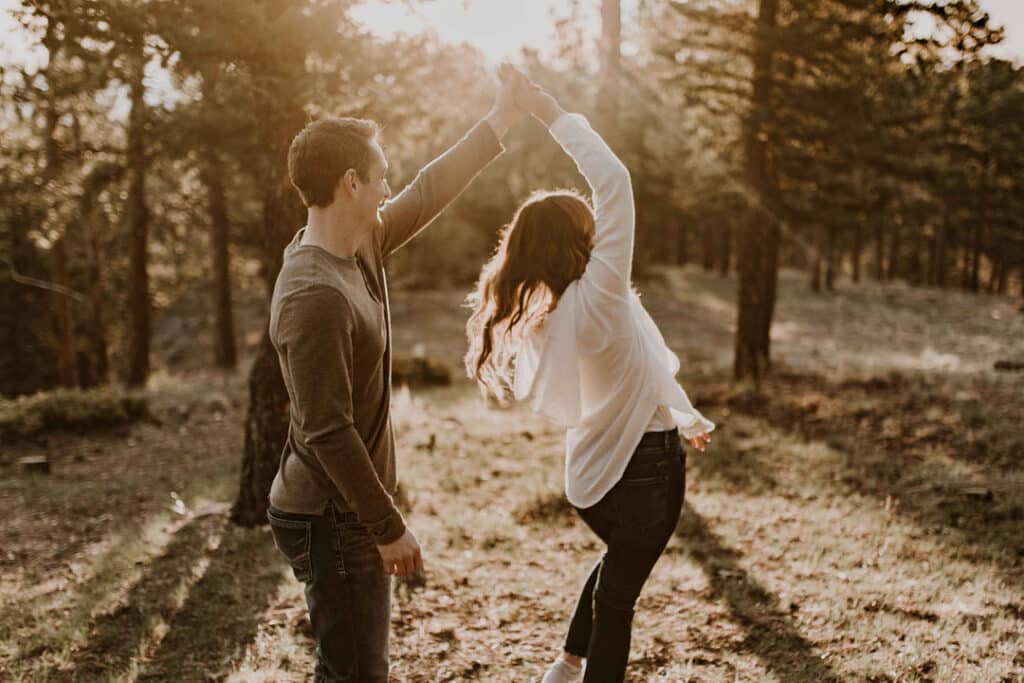
As with any photo session, it’s best if you can visit the shoot location in advance. “Observe where the sun sets,” Gemma recommends, “and look for interesting areas that you can use for framing or reflections to add an extra layer to your silhouette photographs.”
#2: Backlight Your Subject
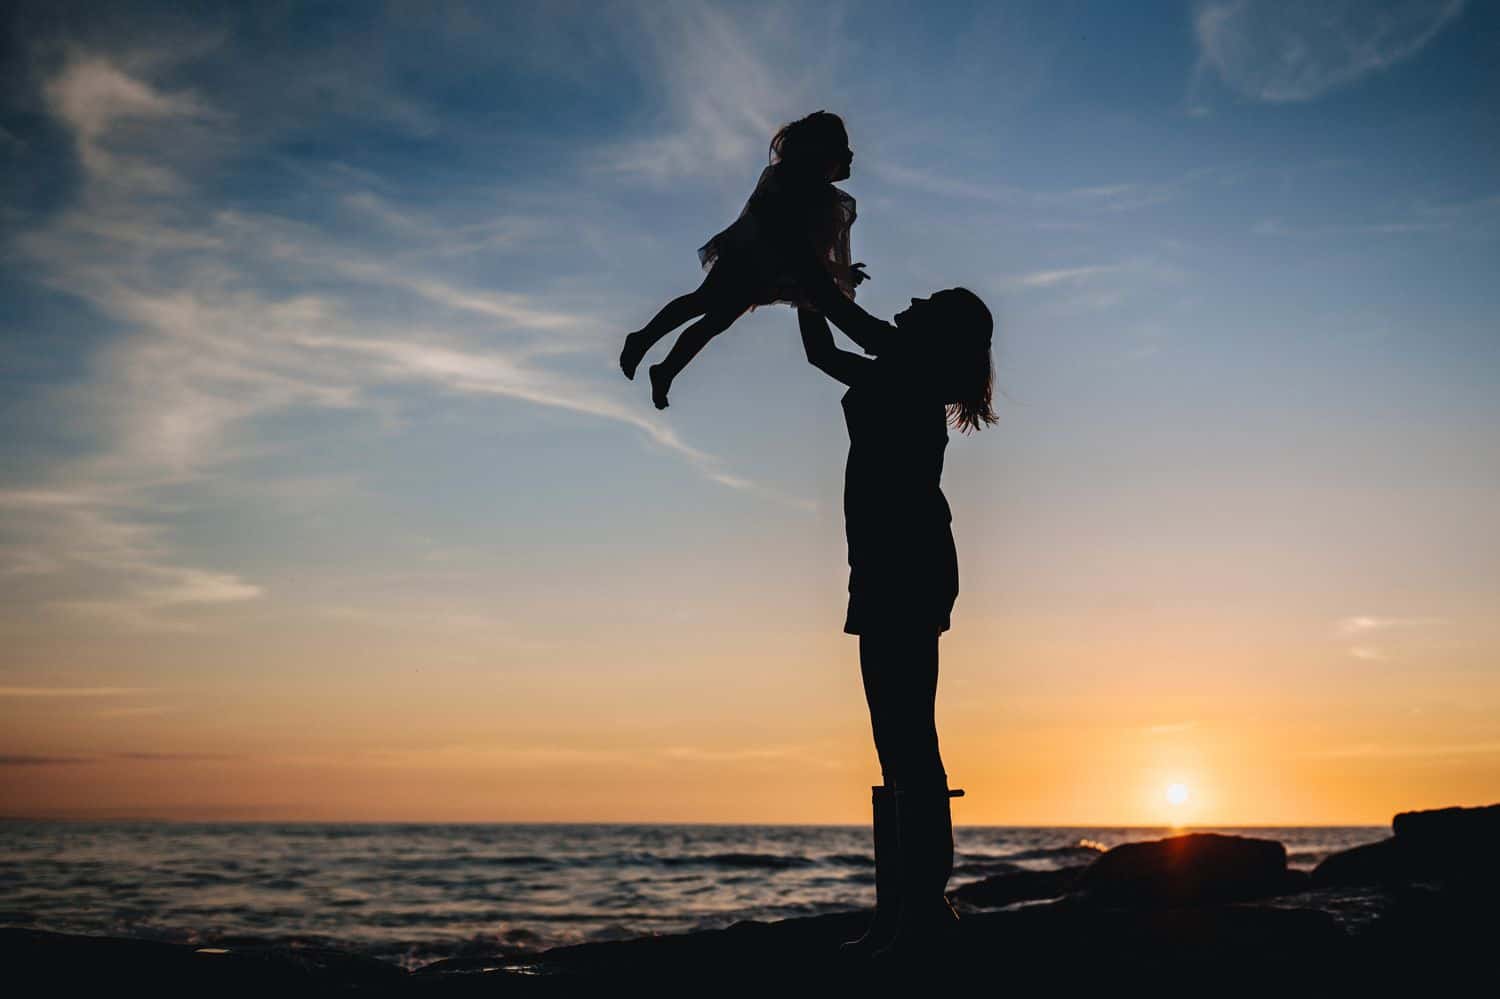
Image by Gemma Griffiths Photography
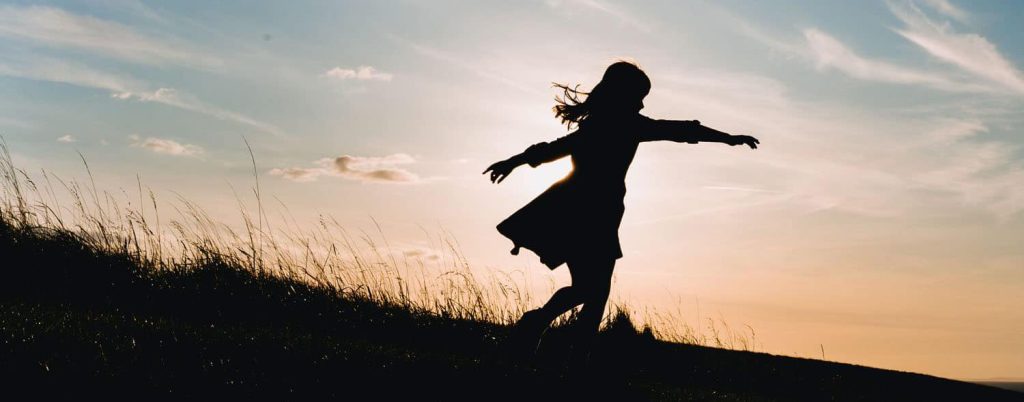
The silhouette effect is only possible when there is no direct light highlighting the side of your clients that you’re photographing. Therefore, to create a silhouette, you’ll need a strong light source behind your clients. “Sunset is one of the best times to shoot a silhouette,” says Gemma. “because the sun is low in the sky and easy to position behind your subject.”
#3: Find an Uncluttered Background
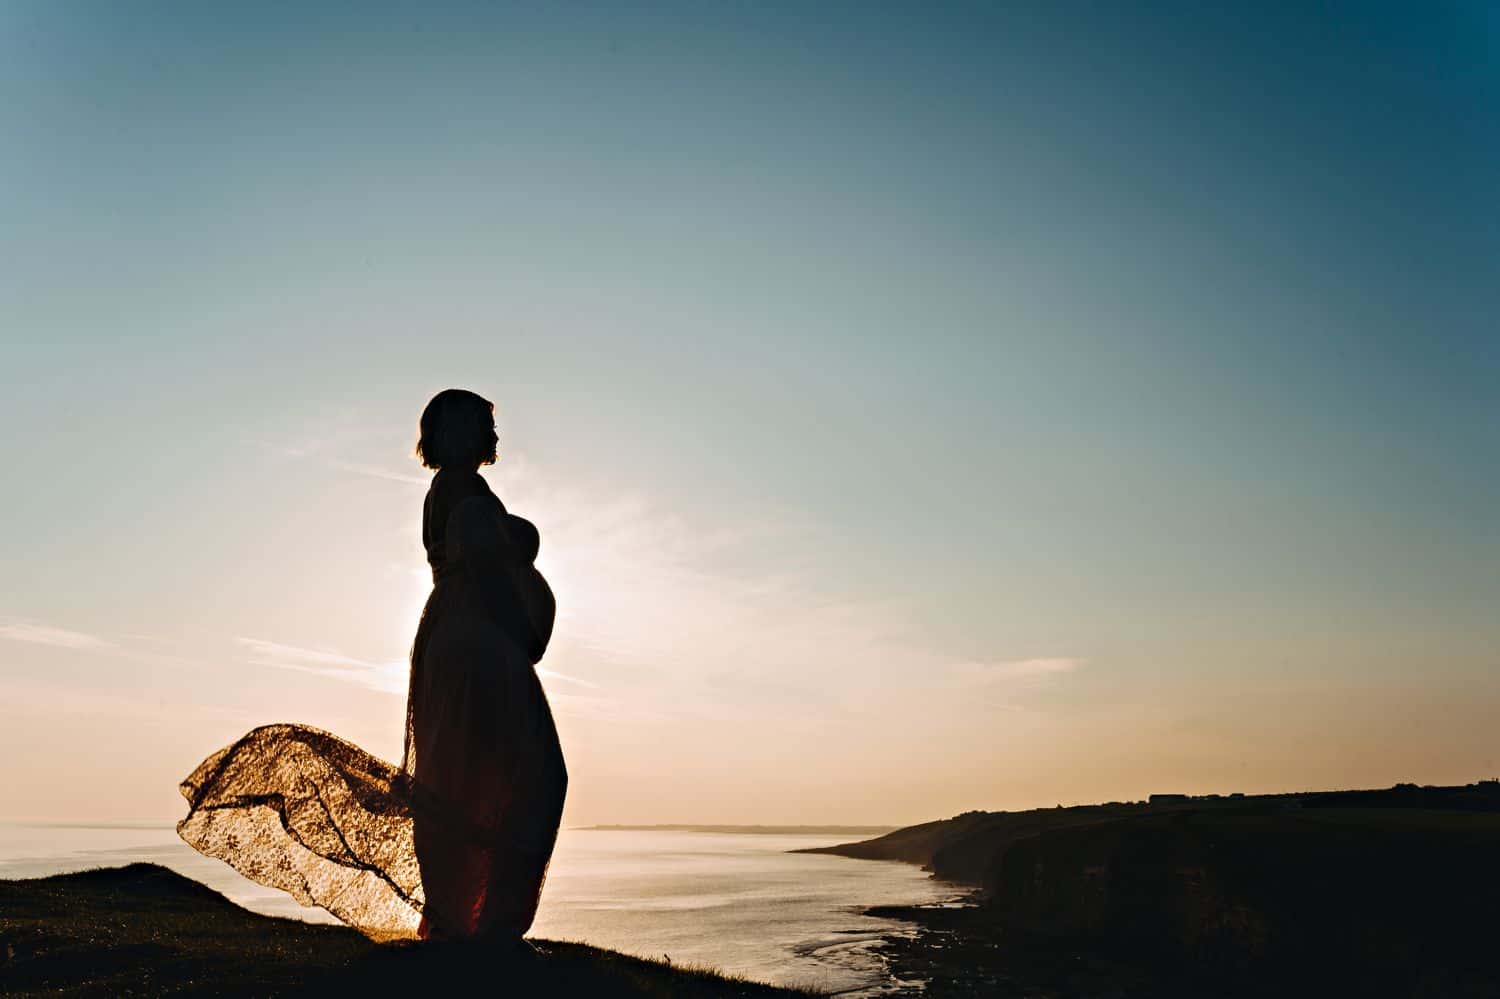
Image by Gemma Griffiths Photography
Gemma makes most of her silhouette photographs on the beach or atop the seaside cliffs, where a bright, clear sky provides an uncluttered backdrop. “This is necessary in order to see the outline of your shape clearly,” she explains. If you’re nowhere near the ocean, create clear views of the sky by shooting on rooftops, hills, mountains, or other elevated surfaces.
#4: Plan Your Poses in Advance
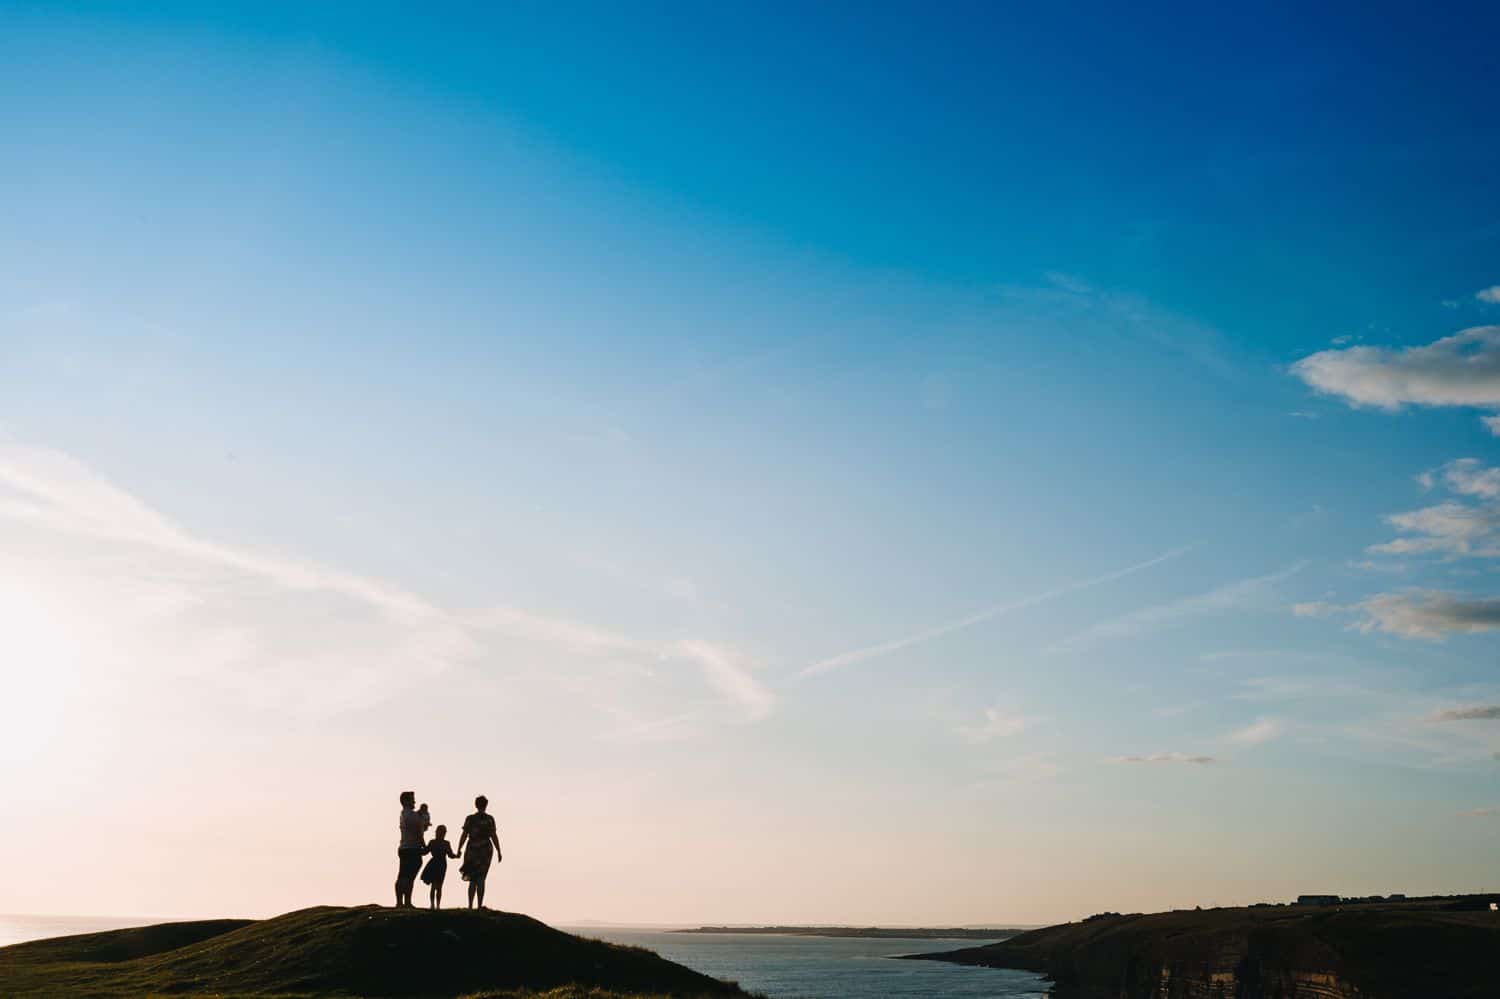
Image by Gemma Griffiths Photography
“Think about the image you’d like to create BEFORE the shoot,” recommends Gemma. Poses that look beautiful in a regularly-exposed image may not work in a silhouette photograph. “Make sure you can see their outlines and that they aren’t standing too close together,” she says. “A hug, for example, could look like a big clump!”
#5: Involve Your Clients in the Creative Process
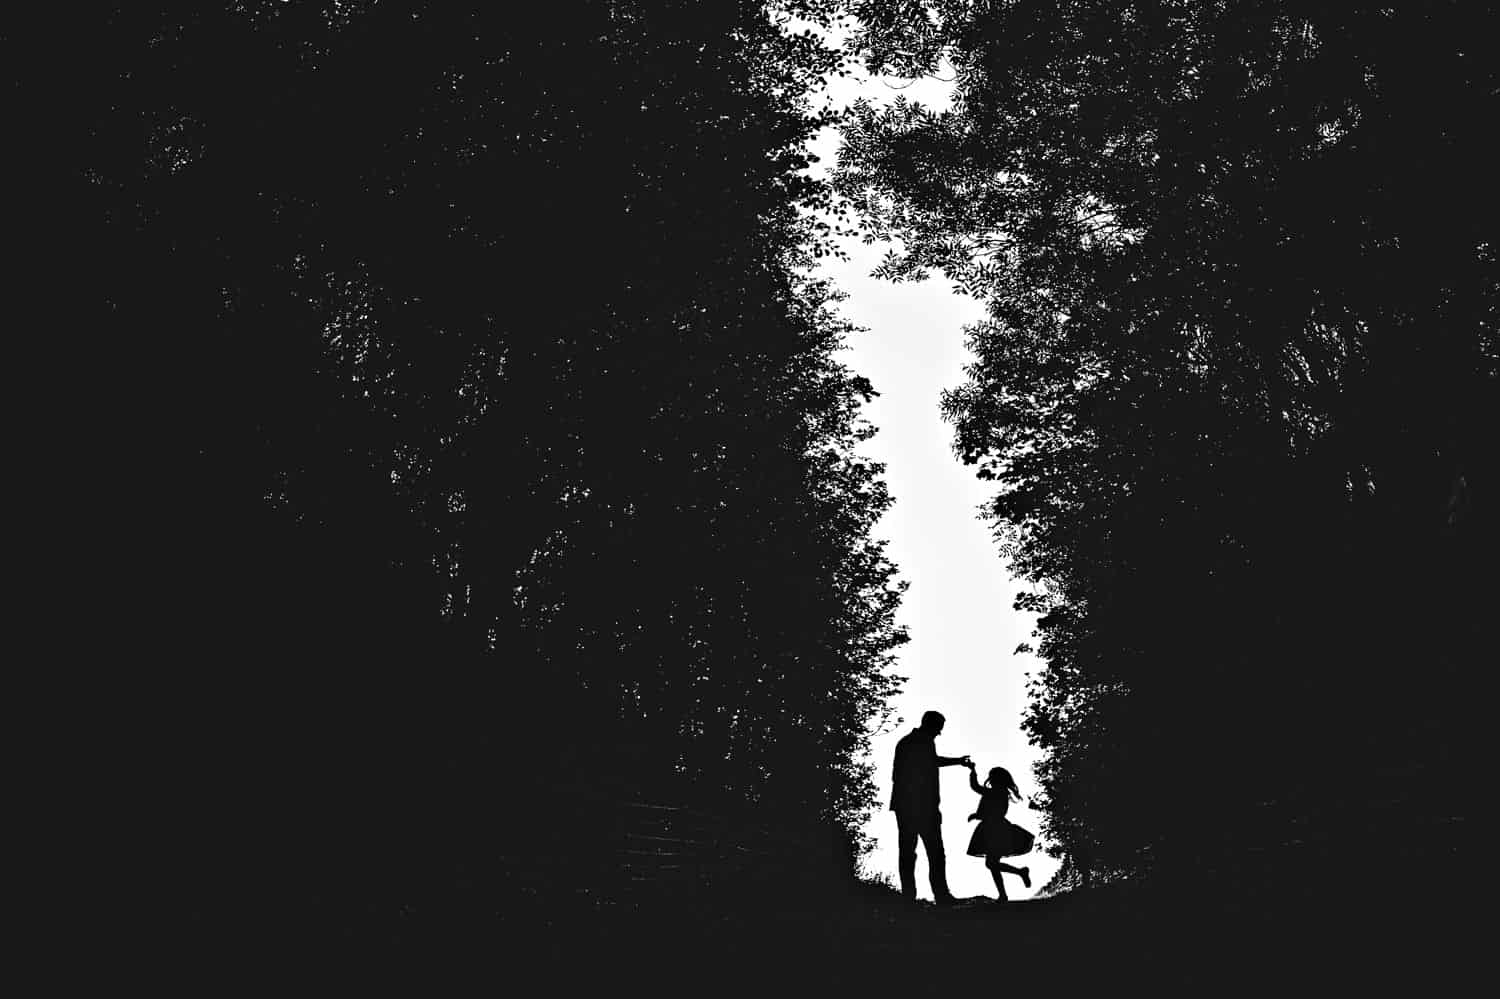
Image by Gemma Griffiths Photography
Your clients may not understand the mechanics of silhouette photographs, so take the time to involve them in the creative process. “Show them the back of your camera after a few attempts,” suggests Gemma, “so they understand what you’re trying to accomplish. It’s very important to direct your subjects and explain what you’d like them to do.”
#6: Add Movement to Your Silhouette Photographs
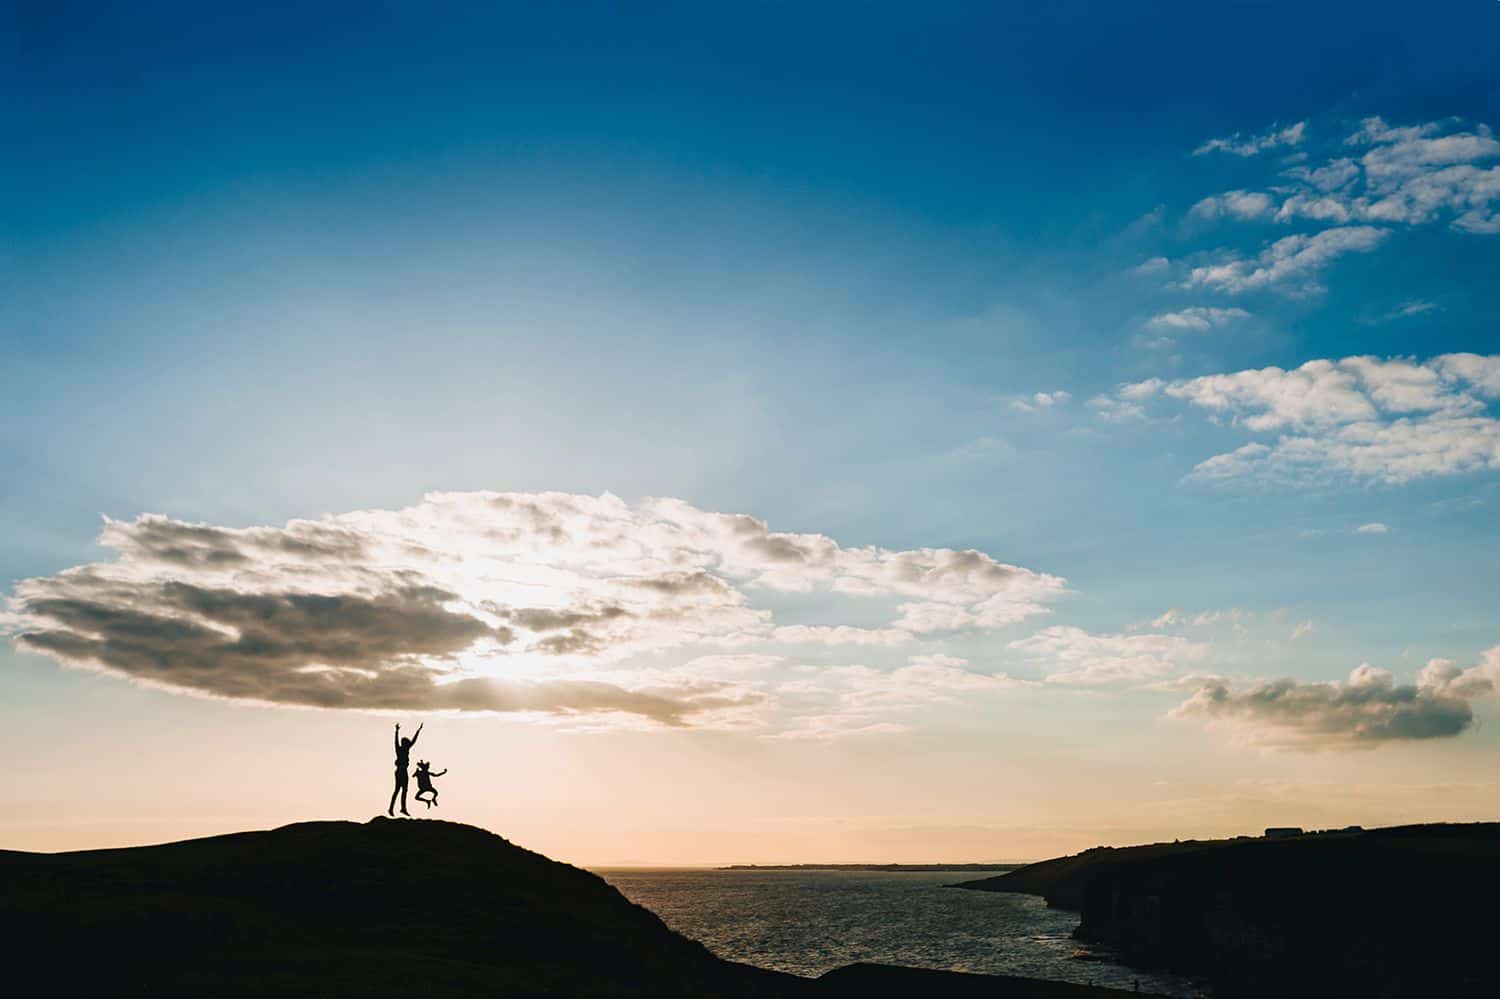
Image by Gemma Griffiths Photography
“Silhouettes that capture movement look great!” says Gemma. She’ll ask her clients to jump, twirl, or strike a pose at the count of three – anything that creates clear separation between your subjects and neatly defines their heads, arms, legs, and torsos.
#7: Enhance the Images with Props and Clothing
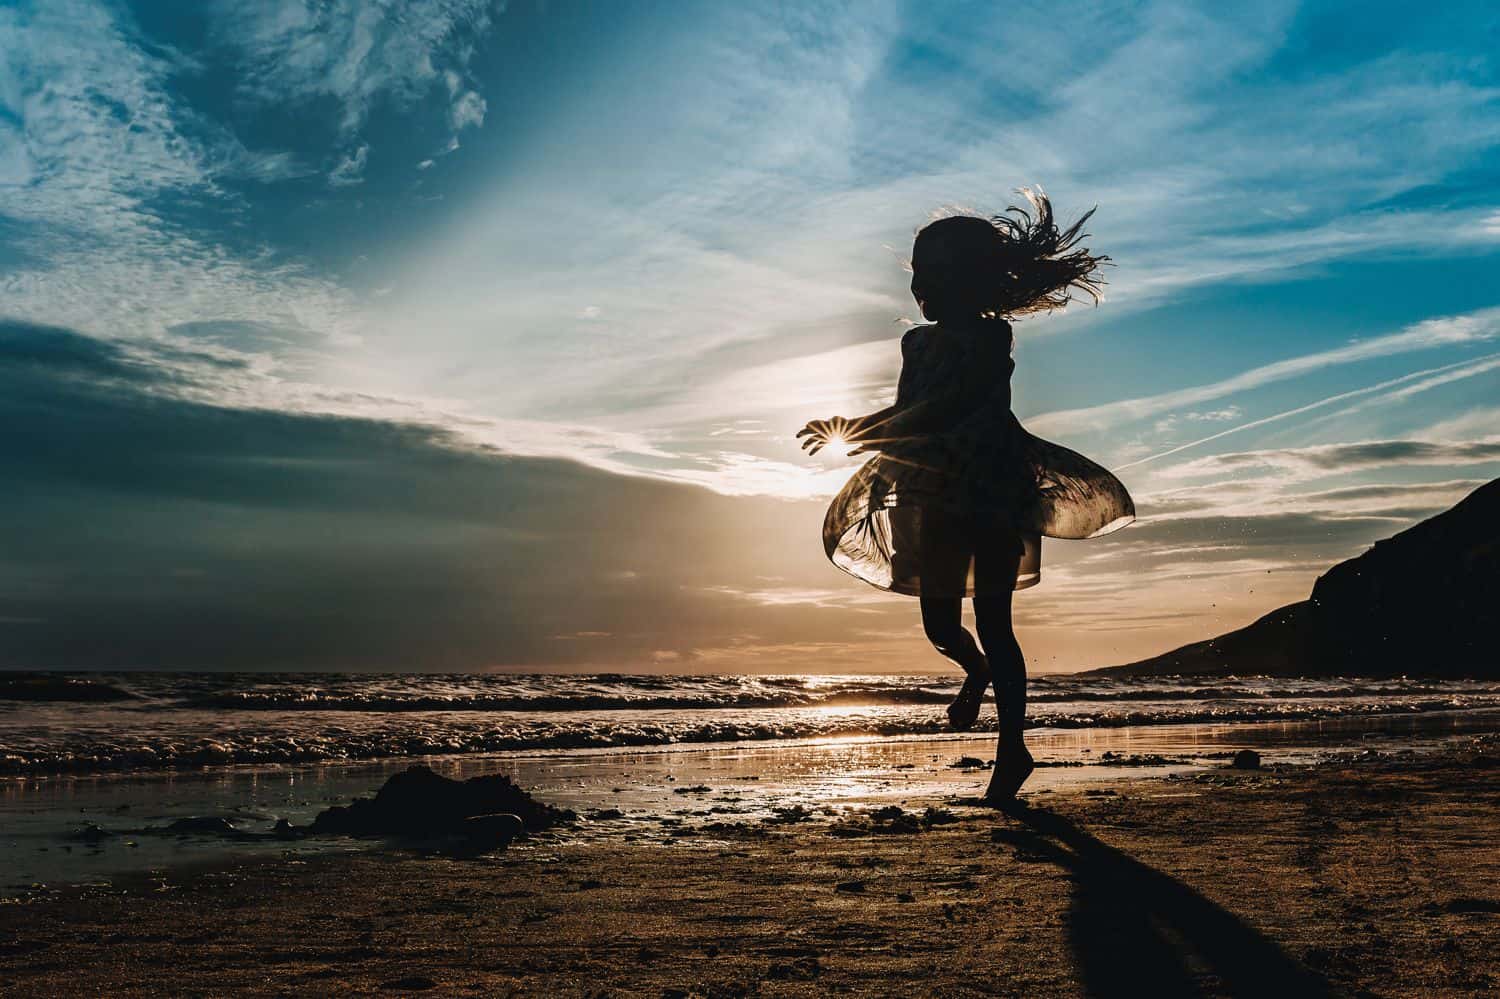
Image by Gemma Griffiths Photography
Maximize the impact of your silhouette photographs by incorporating fun props and thoughtful wardrobe choices. Gemma encourages twirly skirts, structured hats, and form-fitting outfits to best emphasize each outline. Further enhance your images with a distinctly-shaped prop:
- umbrella
- balloons or a kite
- bicycle or wagon
- hula hoop
#8: Different Apertures Deliver Fun Effects
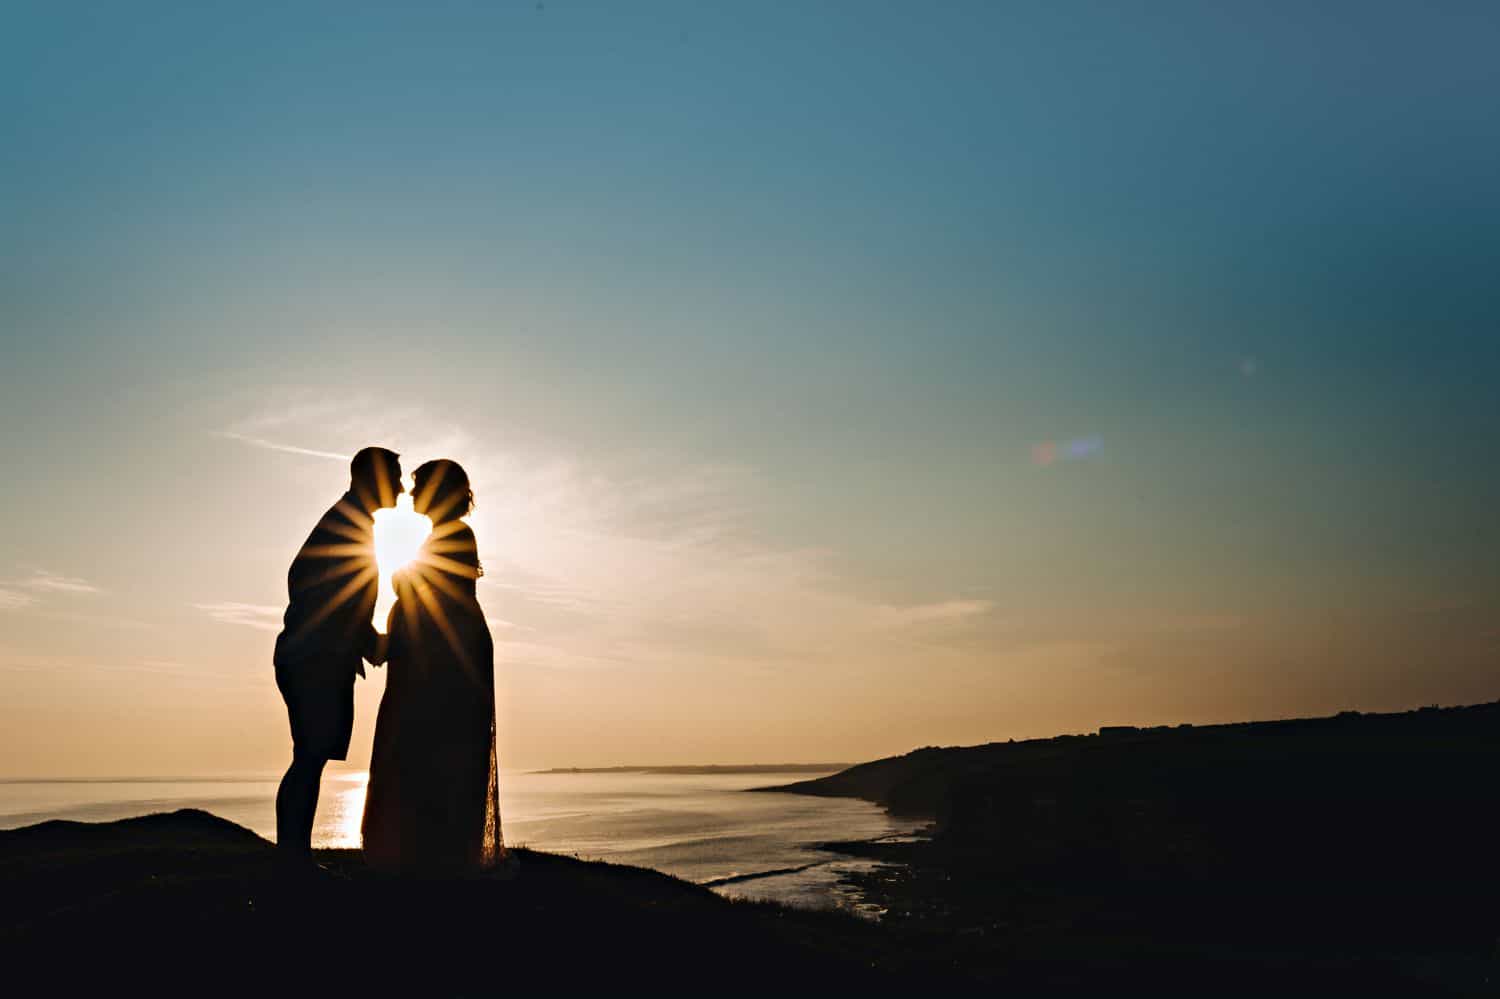
Image by Gemma Griffiths Photography
“If you change your aperture settings, you can create different effects!” shares Gemma. She creates sunburst effects with a smaller aperture, such as f/16. A larger aperture, such as f/2, will result in a soft background, blurred with bokeh.
#9: Get Low for Great Silhouettes
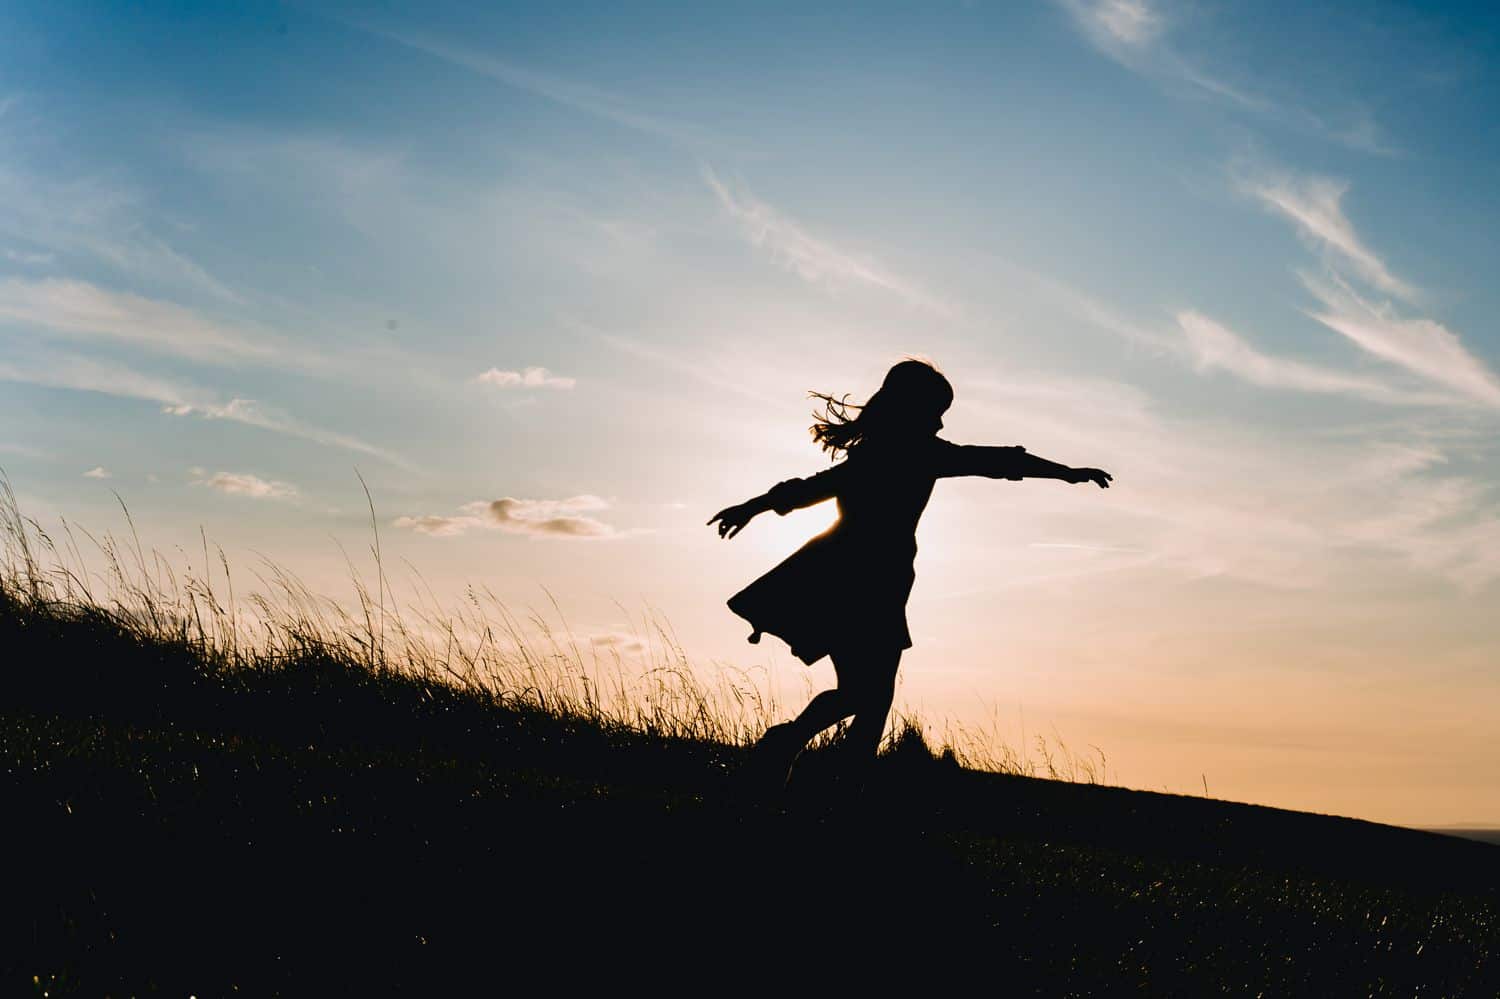
Image by Gemma Griffiths Photography
“I always shoot my silhouette photographs from a very low angle,” explains Gemma, who works hard to capture as much of her clients’ outlines as possible in each frame. “If you shoot from a higher angle,” she shares, “you can end up with legs and feet merging into the ground and losing definition.”
#10: Expose for the Sky

Image by Gemma Griffiths Photography
To create inky black silhouettes in her images, Gemma uses her camera’s exposure compensation dial to underexpose her clients, leaving the sky behind them clear and bright. Underexpose your subjects by at least three stops to achieve a clear silhouette. This means that, if you get a perfectly-exposed portrait at f/2.8, you’ll need to shoot at f/8 to effectively darken your clients. Other ways to manually change your exposure include:
- decrease your ISO: ISO 100 is three stops darker/less light-sensitive than ISO 800
- increase your shutter speed: 1/500″ is three stops faster/darker than 1/60″
#11: Check the Weather – and the Tides!
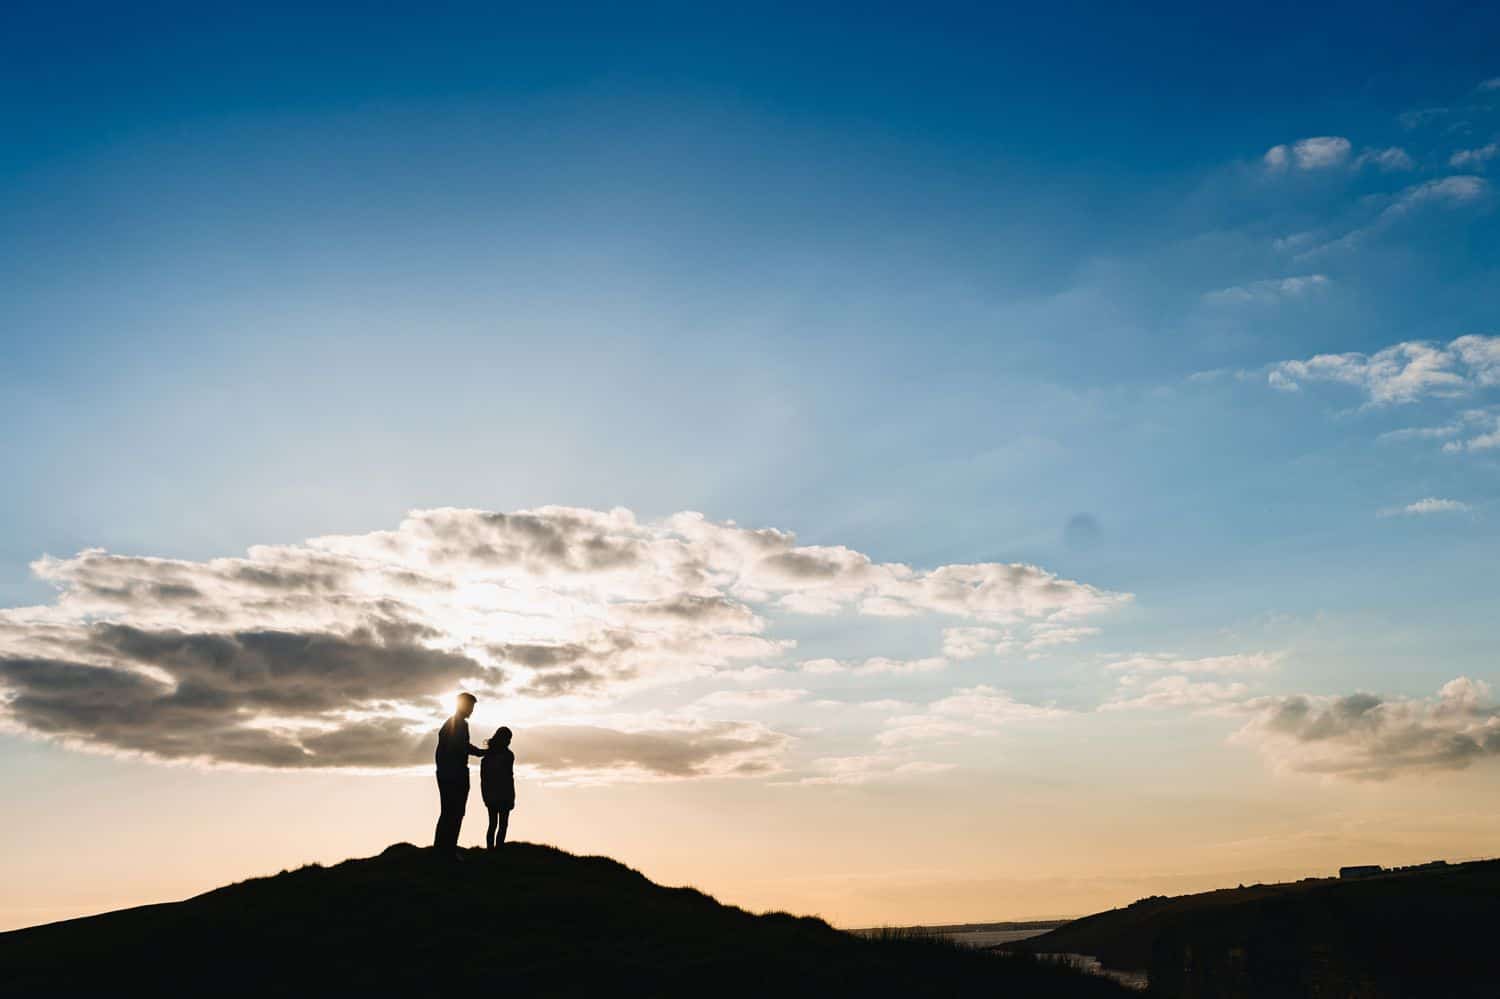
Image by Gemma Griffiths Photography
“When planning a shoot at the beach,” cautions Gemma, “make sure you’ve checked the tide tables to ensure that you have a safe environment to shoot in. You’ll also need to think about protecting your gear from the salt water and sand.”
Similarly, if the sky is too overcast, you may have difficulty achieving enough contrast between the sky and your clients’ silhouettes. Remember: the best silhouette photographs contain a bright, beautifully-exposed background with dark, detail-free subjects in the foreground.
Gemma’s Gear Bag
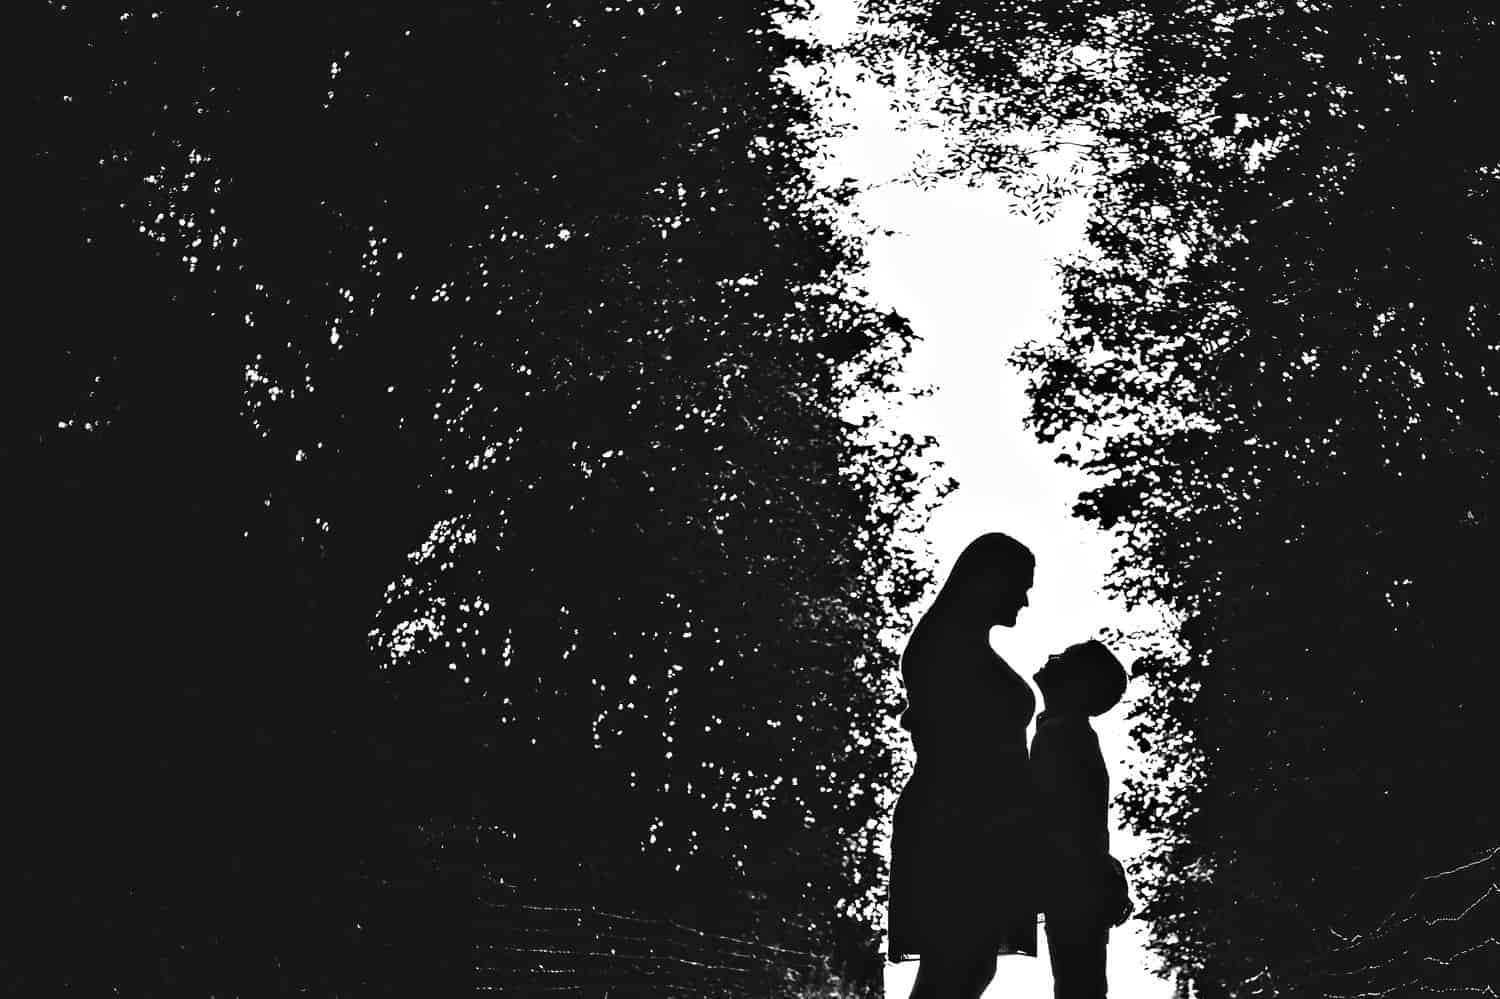
Image by Gemma Griffiths Photography
“I move around on location quite a lot,” Gemma says, “so I can only take with me what I can carry.” This means her camera bag contains a simple set-up:
- two Sony A7III cameras
- one 35mm Sigma Art Lens (F1.4)
- one 85mm Sigma Art Lens (F1.4)
Are you ready to make your own silhouette photographs?
Share your experience in the comments below!
Written by ANNE SIMONE | Featuring GEMMA GRIFFITHS PHOTOGRAPHY

You’ll Also Love These Articles…
Contributor