
Creating a brag-worthy client experience definitely took me some trial and error. 300+ photoshoots later, I’m sharing the must-include items for every photographer’s client welcome guide.
A great client welcome guide can do far more than simply answer some FAQs. Done right, it can also:
- Set expectations from the start so everyone is happy
- Save you tons of time
- Create such a positive client experience that clients become lifelong customers and refer you to everyone they know!
Those are some BIG benefits, and while there’s so much you could include, the actual packet shouldn’t be big too. To keep things digestible, I recommend including 8 to 12 pages in a beautiful branded PDF that you email clients as soon as they book with you.
Creating the Ultimate Client Welcome Guide
To impress clients and make it a super valuable resource, you’ll want to include the following in your photographer client welcome packet:
- A client welcome letter that sets the tone
- A timeline outlining the client experience
- Resources to help clients plan their session
- Tips & resources for photoshoot prep
- Clear expectations around photo delivery and editing
- FAQs related to your client experience and niche
- Boundaries for communicating from client welcome through delivery
- Inspiration for their own session
I’ll break down each section below so you’ll know the why and how behind including each item in your own client welcome guide.
Start your free trial with ShootProof
#1: A Client Welcome Letter That Sets the Tone
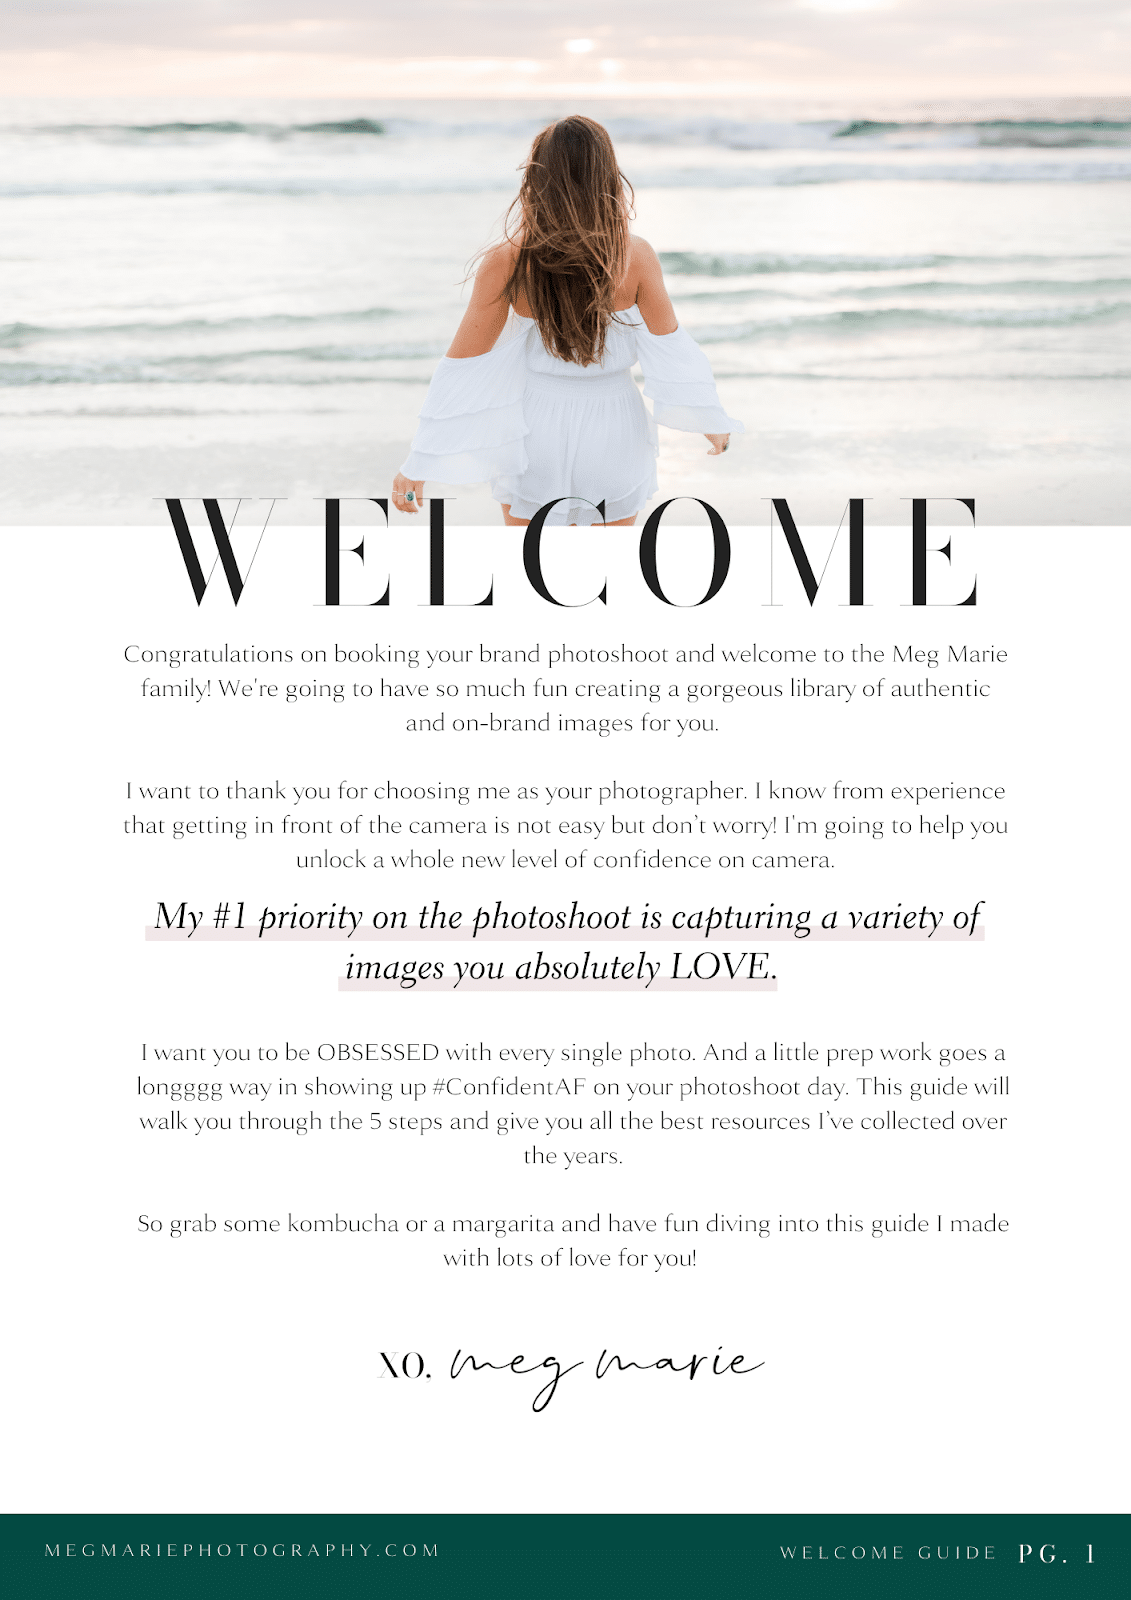
Because they’re now officially a client, your welcome guide is less about selling your brand and more about setting the tone for working together. In this first page I love to welcome them to the Meg Marie family, thank them again for choosing me as their photographer, and get them excited to start planning their session! You can also do a brief introduction of you and your team if you have one.

Keep in mind your own photography niche and the tone you want to communicate with. Write the entire guide in a way that feels authentic to how you talk with your clients.
Take a look at the first page of my own client welcome guide. I bet you can tell a lot about my personality from this alone!”
#2: A Timeline Outlining the Client Experience
Next, you want to tell your clients exactly what they can expect when working with you. I recommend outlining the process from start to finish, but limiting it to just 3-5 steps and clearly communicating any important deadlines. This is a great place to add a visual project timeline sharing important dates.
Customize this for your niche. If you’re a newborn photographer you may have an entire section here about “Newborn safety.” Or if you’re a wedding photographer you may have a section focused on the ideal wedding day timeline and benefits of doing a “first look.”
Get clients. Get paid. Get happy.
As a personal branding photographer myself, my steps mostly focus on pre-session prep, like completing their brand questionnaire and vision board. Here are the first two steps from my own client welcome guide:
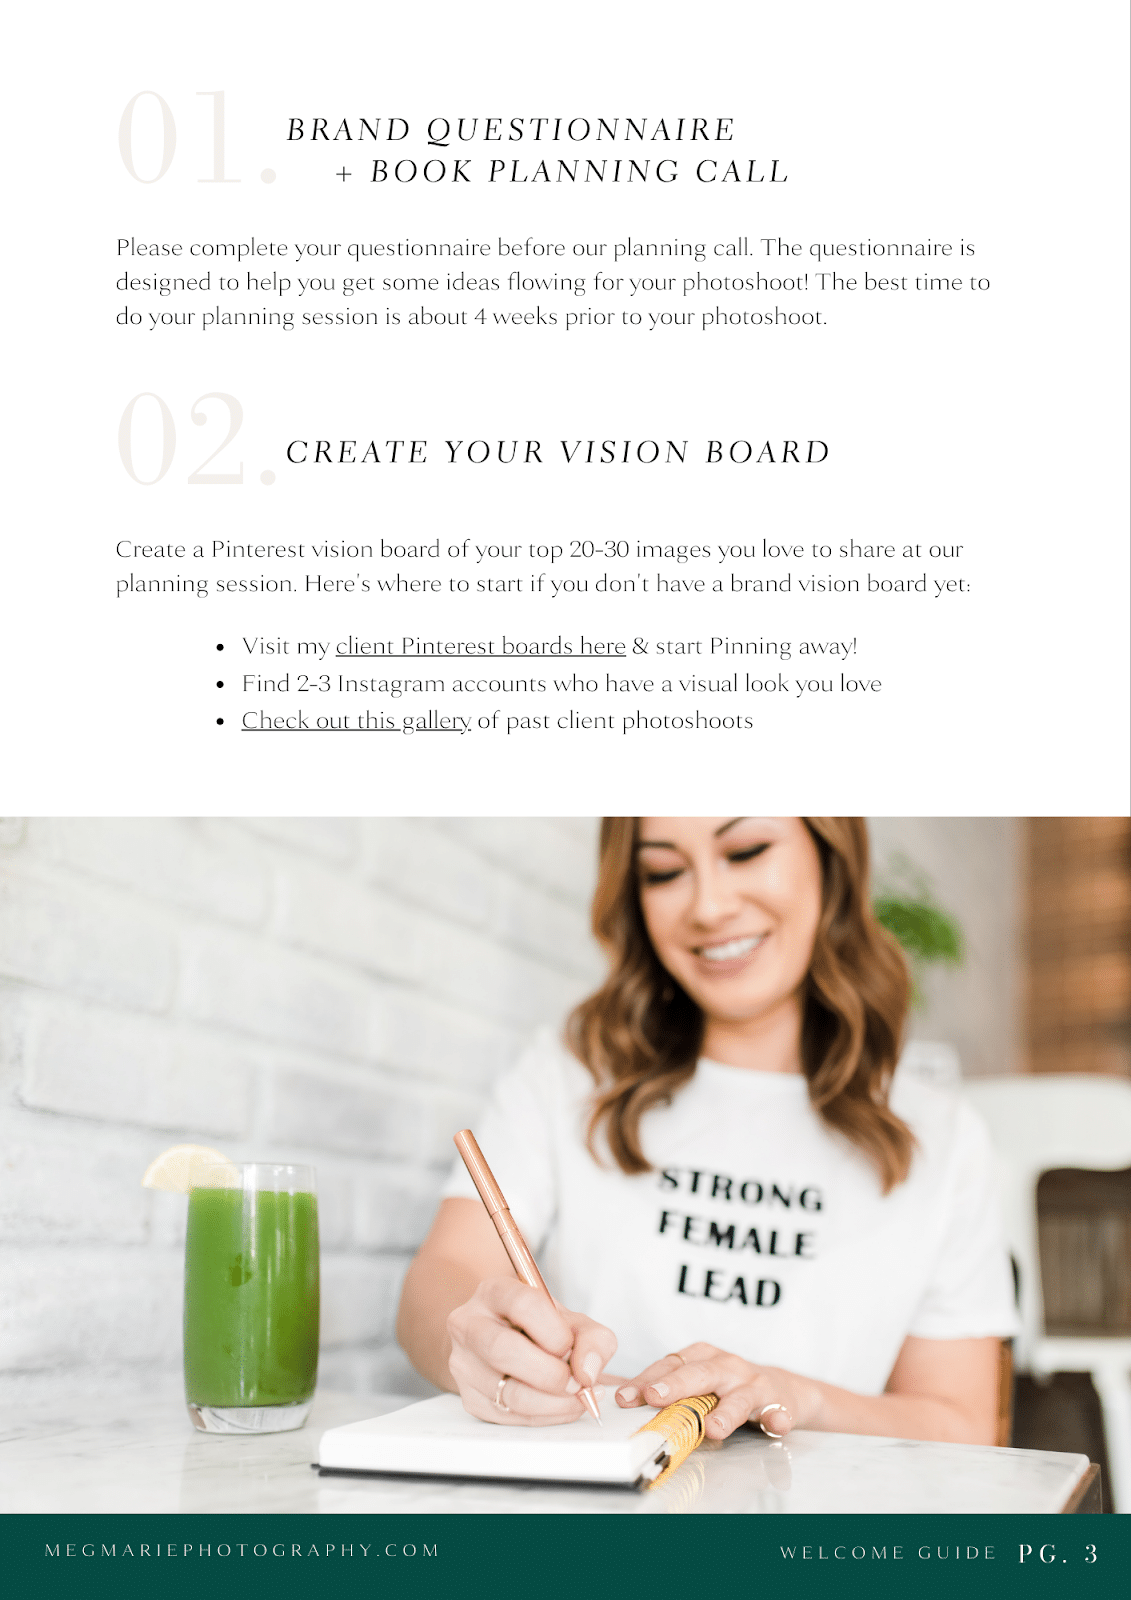
#3: Resources to Help Clients Plan Their Session
Speaking of pre-session prep, your client welcome guide should also include resources that will help your clients prepare for their session.
As a branding photographer, a critical component of any session is location, location, location. So my welcome packet explains the importance of location (AKA: booking more clients because your website looks so great), and it includes a list of recommended local spaces they can rent by the hour. It also links to my “San Diego Locations” ShootProof gallery, which makes it super easy for clients to go in and star their favorite photoshoot locations, then I’ll recommend the best one for them.
Including this resource and offering this white-glove service helps create satisfied clients that love their final photos! Plus, it empowers clients to jump in and do a lot of the planning themselves.
Get started with ShootProof
#4: Tips & Resources for Photoshoot Prep
Another way your photography client welcome guide can help with pre-session prep is by sharing tips and resources for the actual photoshoot!
Because confidence on camera is a big part of my brand story and mission, I also include a dedicated section on this topic in my client welcome guide. This page helps build clients’ trust in me as their photographer before they ever step in front of the camera.
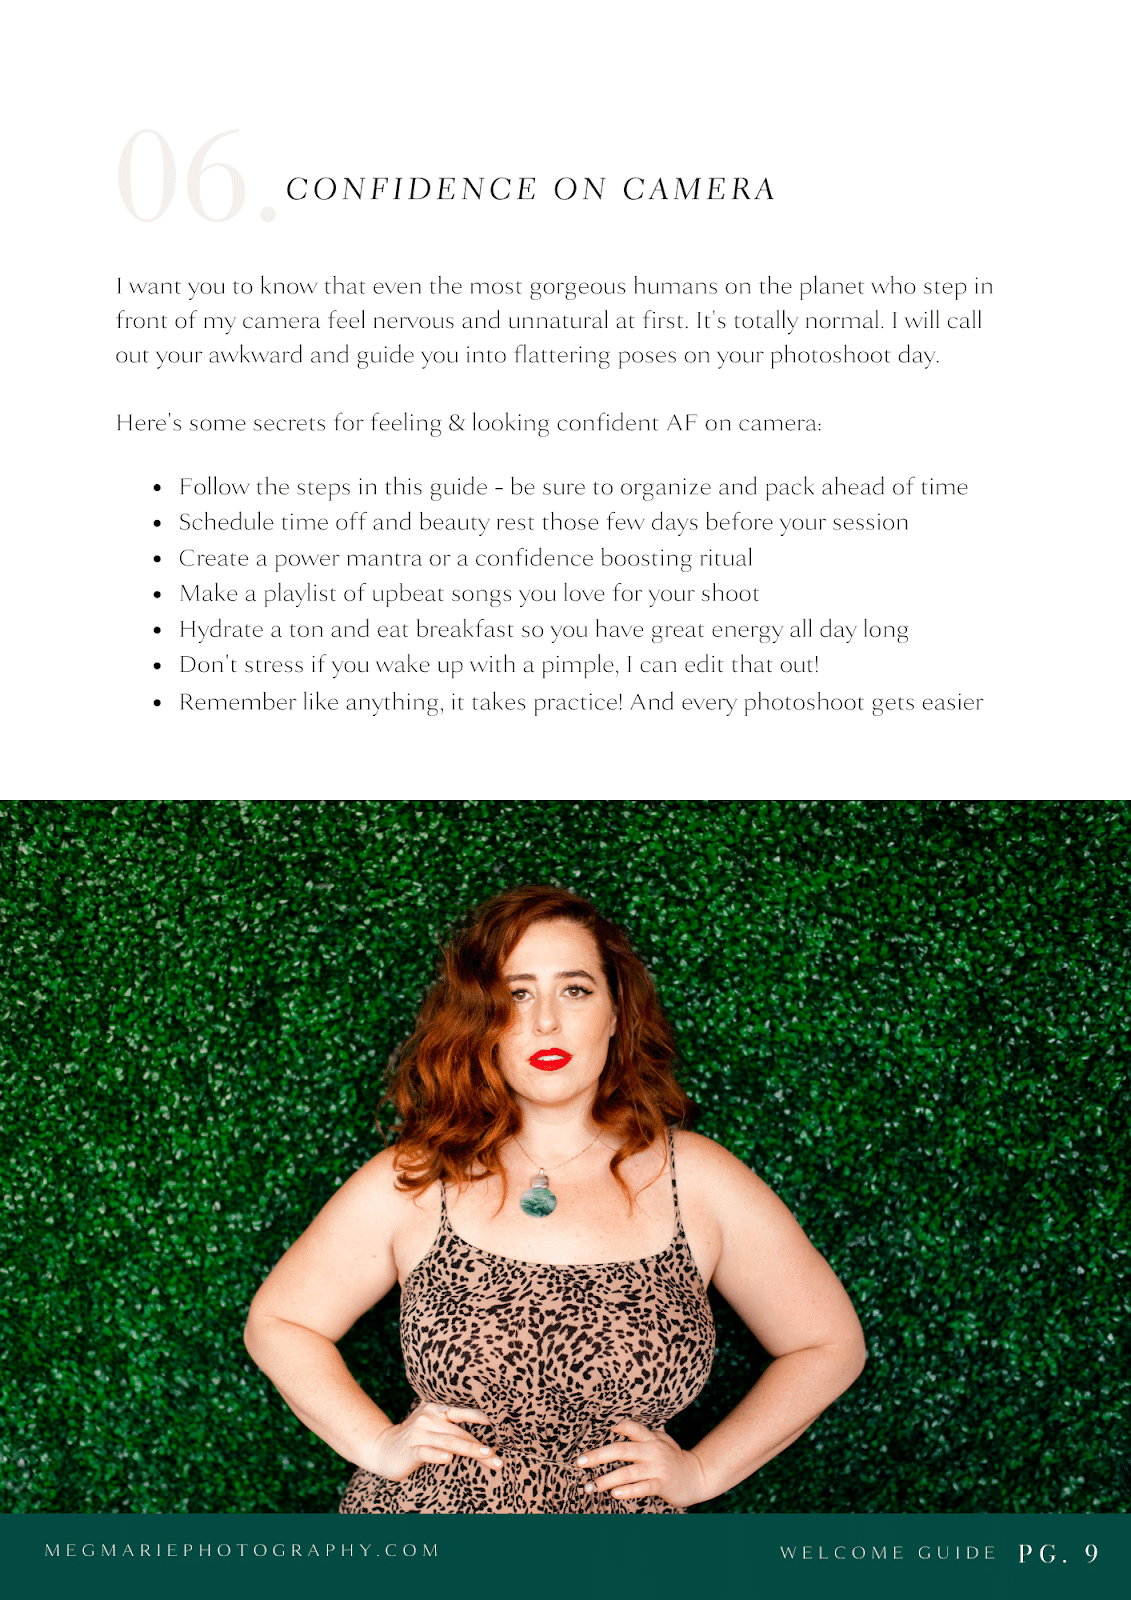 What is something unique when it comes to preparing for a session for your own niche of photography? Identify that, then include some tips in your packet to meet that client need.
#5: Clear Expectations Around Photo Delivery and Editing
I’ve been coaching photographers long enough to know that editing and retouching can be a pain point if you don’t clearly communicate timelines as well as what is (and is not) included.
I mean, how many times has an excited client asked you, “When do I receive the photos?!” Clients come in with their own expectations based on photographers they’ve worked with before, but those expectations may not align with your reality.
Use your client welcome guide to set expectations of your own, to outline your timeline and photography workflow, and to remind clients of your standards and what is/isn’t included with editing.
Is teeth whitening, skin smoothing, and removing flyaway hairs included? What about evening out a bad spray tan or removing people from the background? Simply make a list of what is included, and what special edits are possible with an additional fee. I’ve even seen photographers who show a basic edit versus a retouched edit of a photo, and I think that’s so helpful for the client to see for further clarification!
Contracts & invoices for Pros
For communicating the editing timeline, I tell clients they will receive a link to download all their images from their Shootproof gallery within 3-4 weeks. And I communicate the editing timeline again in an email template I’ve set up via ShootProof for every proof gallery that gets sent out.
Remember: people are busy and it’s easy to overlook things, so it’s nice to communicate timelines in multiple places of your client experience.

#6: FAQs Related to Your Client Experience and Niche
Including an FAQ section in your photography welcome guide can help you save time and eliminate back-and-forth. Think of the questions and road bumps that come up often, then create an FAQ section that proactively answers those!
If you’re a family photographer, maybe you want to preemptively address session timing, since you need to work around the kids’ nap time and have beautiful light for the photos.
Or maybe you cover “What if my kids hate taking photos” to kindly remind parents to stay relaxed through the session and let YOU take the lead with getting the kids engaged.
Some of my own FAQs I love to include are:
Q: “Can I get a few of the photos edited faster than 3 weeks?”
A: Yes! If you need them sooner like for an upcoming website launch, you can expedite the editing to 3 business days for $297
Q: “Do I get to select my own photos, and when are they ready?”
A: I will send you your image proof gallery within 7 days of your photoshoot! Then you can go through and *Star* all your favorites you’d like me to edit!
Shootproof makes this process of sharing proof galleries and quickly selecting favorites for retouching a breeze on both ends! My clients love choosing their favorites, and often decide to purchase more from their gallery. This soft proofing process also saves me so much time when it comes to culling — it’s a win-win!

#7: Boundaries for Communicating from Client Welcome Through Delivery
As a mom of two young boys, who only has three days a week to work, boundaries are incredibly important to me. I don’t want to be texting a client at 8 PM on a day I’m spending time with family. I love this quote to sum up what I’ve learned about standards and boundaries:
“Boundaries show people where the door is!”
Communicate your boundary of when and where to contact you in a way that encourages clients to reach out when needed. You never want a client to feel like they can’t reach out with questions, but rather to just set realistic expectations with response times.
See how to earn money with ShootProof
Here’s how I communicate my boundaries in my own client welcome guide (a version of this is also on the bottom of my email signature in every email as well):
“I absolutely LOVE when my clients get really creative and involved! So don’t hesitate to reach out via email with your questions or ideas. Please keep in touch via email & I will get back to you within 48 hours Monday – Fridays. Family and work-life balance are very important to me, so I am not available on the weekends.”
I’ve actually had clients compliment me on this response! I’ve found that clients are very respectful and understanding when you communicate your boundaries ahead of time.

#8: Inspiration for Their Own Session
My client welcome guide also links to the“Client Faves” gallery that lives on my Shootproof portfolio website, so clients can find inspiration for their own session.
You can even link past client galleries throughout the guide for examples and inspiration (and say “click the photo to see the full gallery”). Shootproof’s gallery sharing options allow people to view the photos, while protecting your client’s photos by not allowing downloads (unless you share the download PIN).
A Few More Resources and Tips for Creating a Top-Notch Client Welcome Guide
Connect With New Clients By Including a Photo of Yourself
Most clients are nervous to be on camera, so including photos of you and past clients can make them feel more relaxed and confident about the process. Plus it humanizes your brand.
Empower your clients with gorgeous galleries.
Design a Beautiful Client Welcome Packet
Creating a beautifully designed welcome guide is crucial to elevating your client experience, because a poorly designed one can have the opposite effect.
Not a graphic designer? No problem! Save yourself time and stress by using a template created by a professional brand designer.
Here are three of my favorite Canva templates you can customize with your own branding for your welcome guide (you can search and customize these for your own business):
- Light Brown Elegant Client Welcome Packet
- Neutral Minimalist Cream and Pink Client Welcome Packet
- Client Welcome Package Document for Coaching Business

Elevate Your Client Experience With a Welcome Guide of Your Own
Alright — there you have it! Everything to include in your client welcome guide to elevate your client experience and make your life easier in the process.
Remember: you will dial-in your ideal client even more over time, and can update your guide as things change.
So close down the Lightroom app for a few hours, grab your favorite coffee, and have fun creating your client welcome guide!
Build a Beautiful Business.
Written by Meg Marie McMillan | Photos by Meg Marie Photography
Contributor