Every photographer should know how to take photos in low light. Overcast skies? Windowless rooms? It won’t matter once you have these tips!
Take Great Low Light Photographs with These 9 Tips
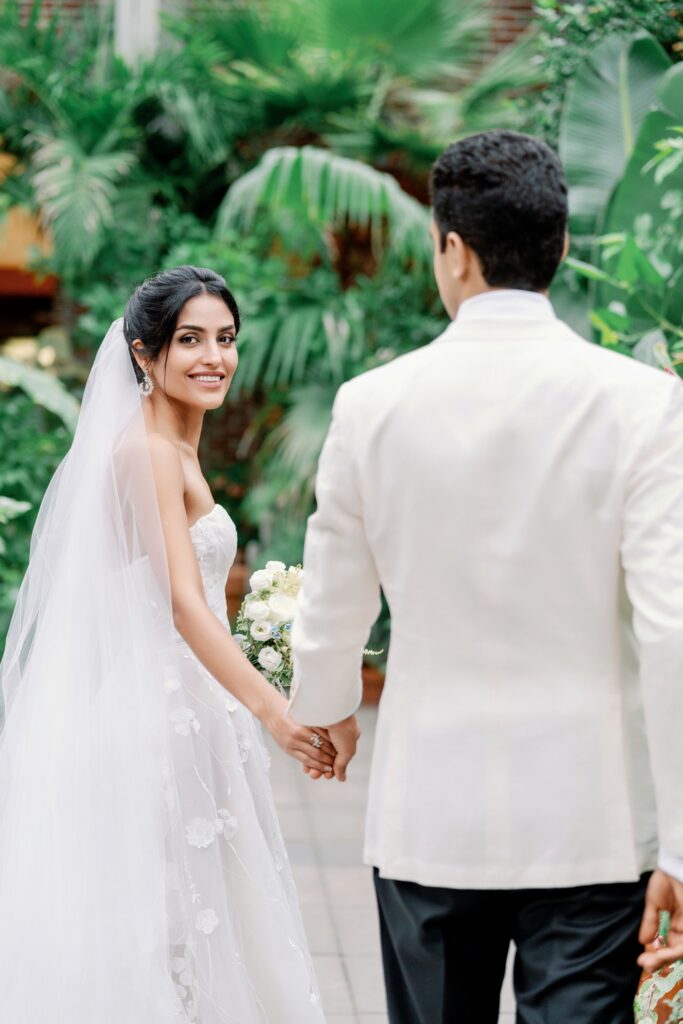
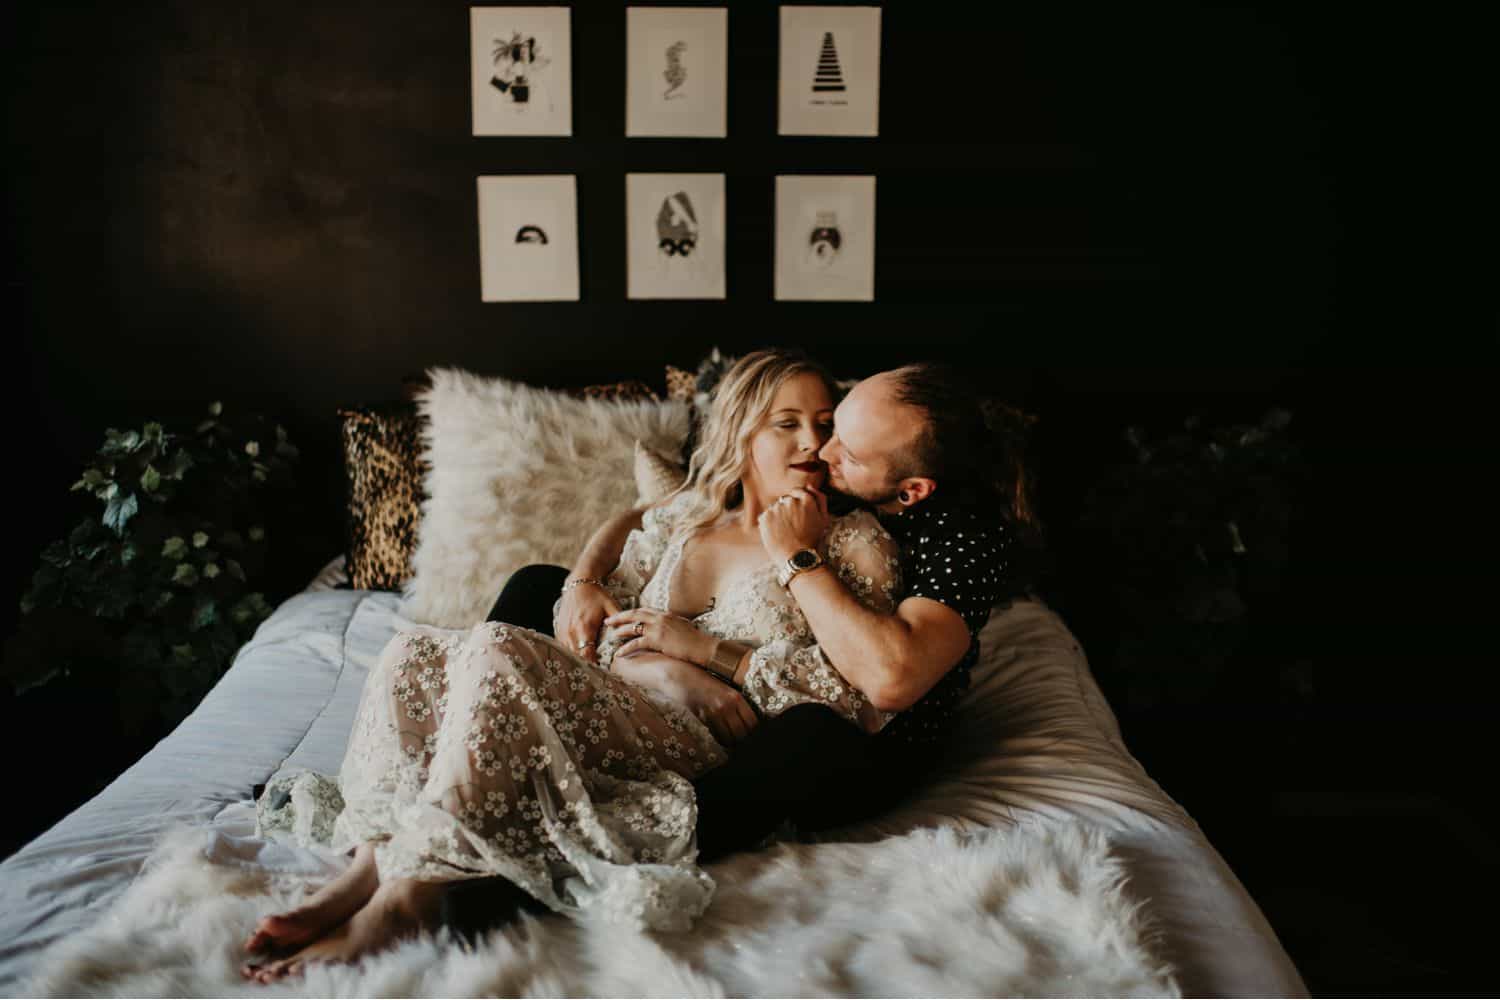
There are so many scenarios when photographers find themselves working in less than ideal lighting image situations: candlelit wedding ceremonies, newborn pictures in dim hospital rooms, or even portraits in a dark home with few windows.
When I was getting started as an in-home newborn photographer, I often stressed about what a client’s home would present in terms of lighting options. Would there be a living room with heavy wood paneling? An adorable nursery painted navy with only a tiny window? If it happened to be cloudy outside before my session, I would be close to a panic attack.
Light is such a major component of good pictures, so don’t feel alone if you get sweaty palms overworking in unfamiliar situations where you can’t control the light. With the low light photography tips I’m sharing here, coupled with lots of practice, you’ll take low light pictures in no time. You might find that you even enjoy it!
Shelby Laine Photography
Without good light, you don’t have a good image!
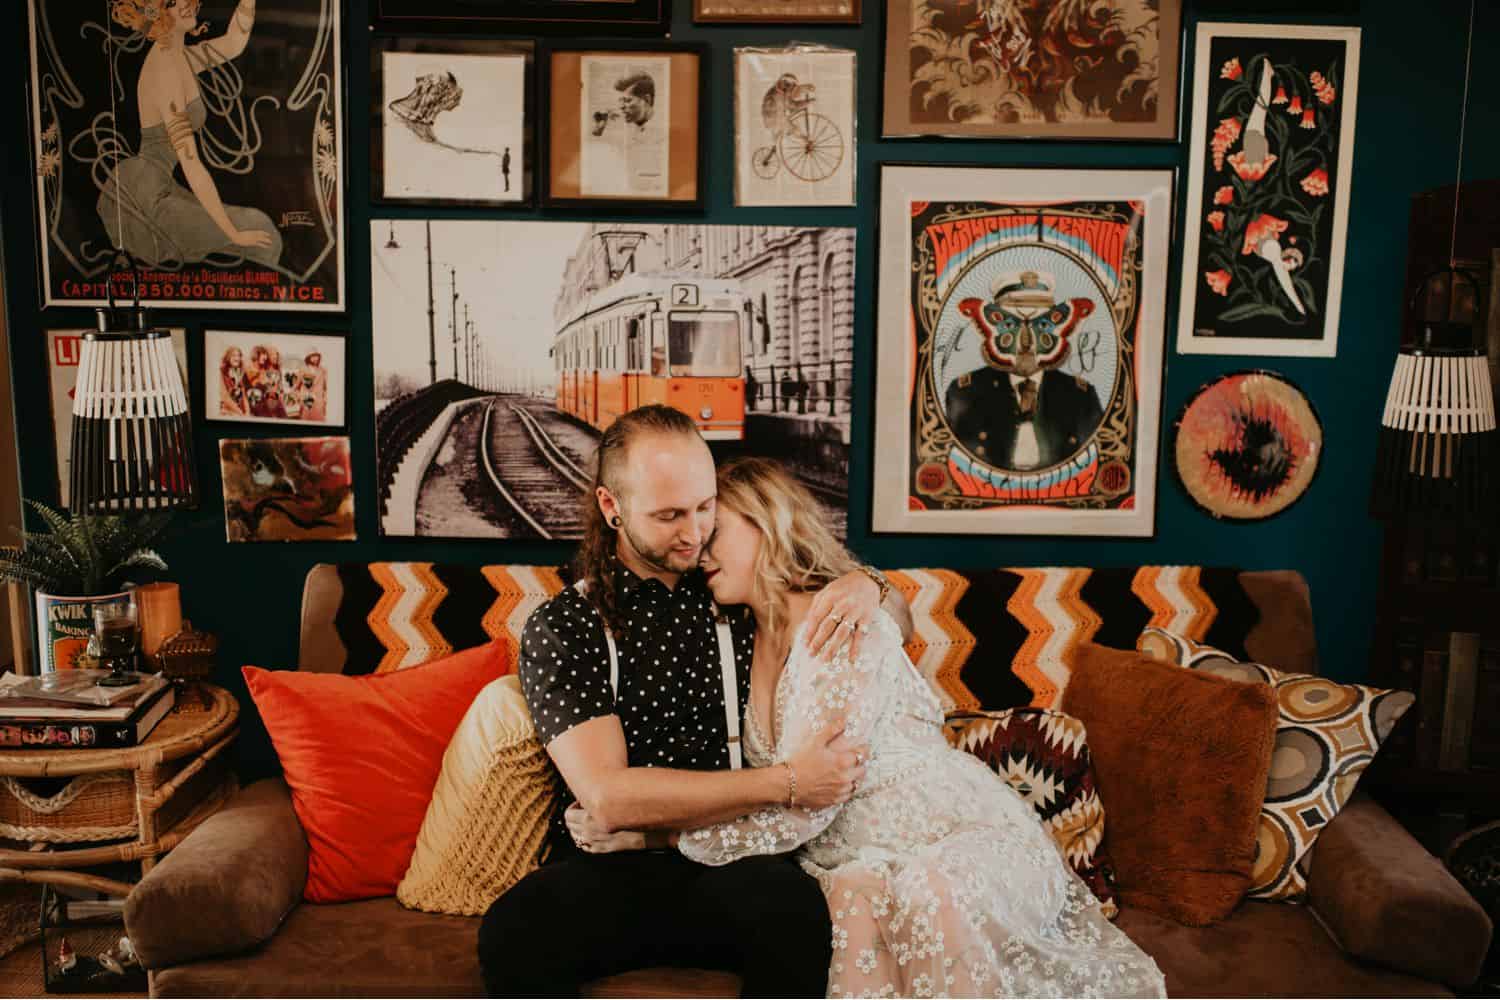
For many photographers, the way we manipulate light is a key aspect of our style. Some photographers shoot dark and moody, while others prefer their image to be light and airy; the rest of us fall somewhere in between.
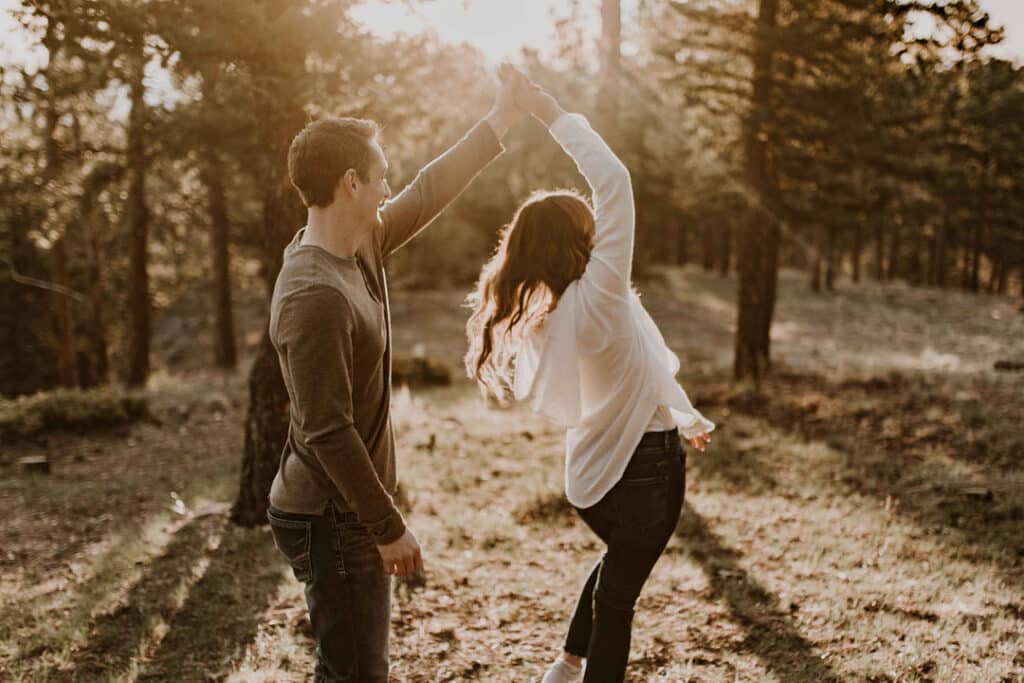
The key is to remember that low light isn’t necessarily bad light!
You can still capture amazing low light images as sunset fades or in a dark room with a single light source or not much light reaching the sensor .
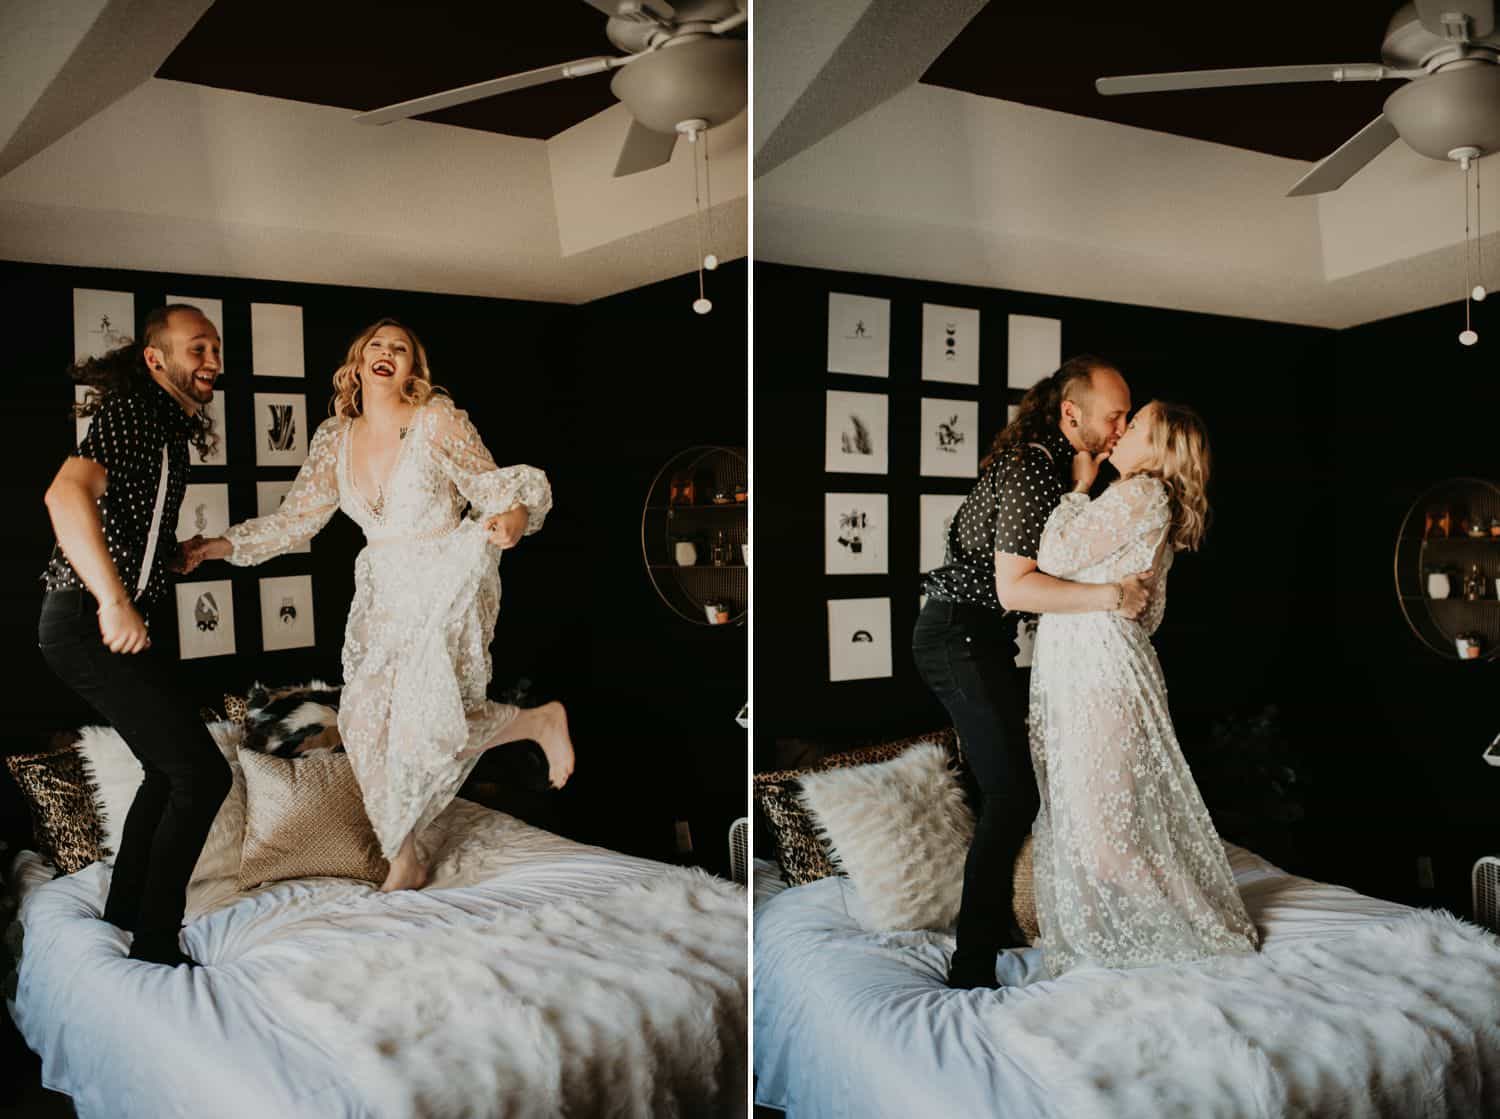
#1: First Things First: Find the Available Light
Low light photography doesn’t mean you’re working in total darkness, but you might have to do some work to find the available light.
If you’re working in a space without windows or blinds you can adjust, try positioning your subject near an open door or brighter hallway.
Shelby Laine Photography
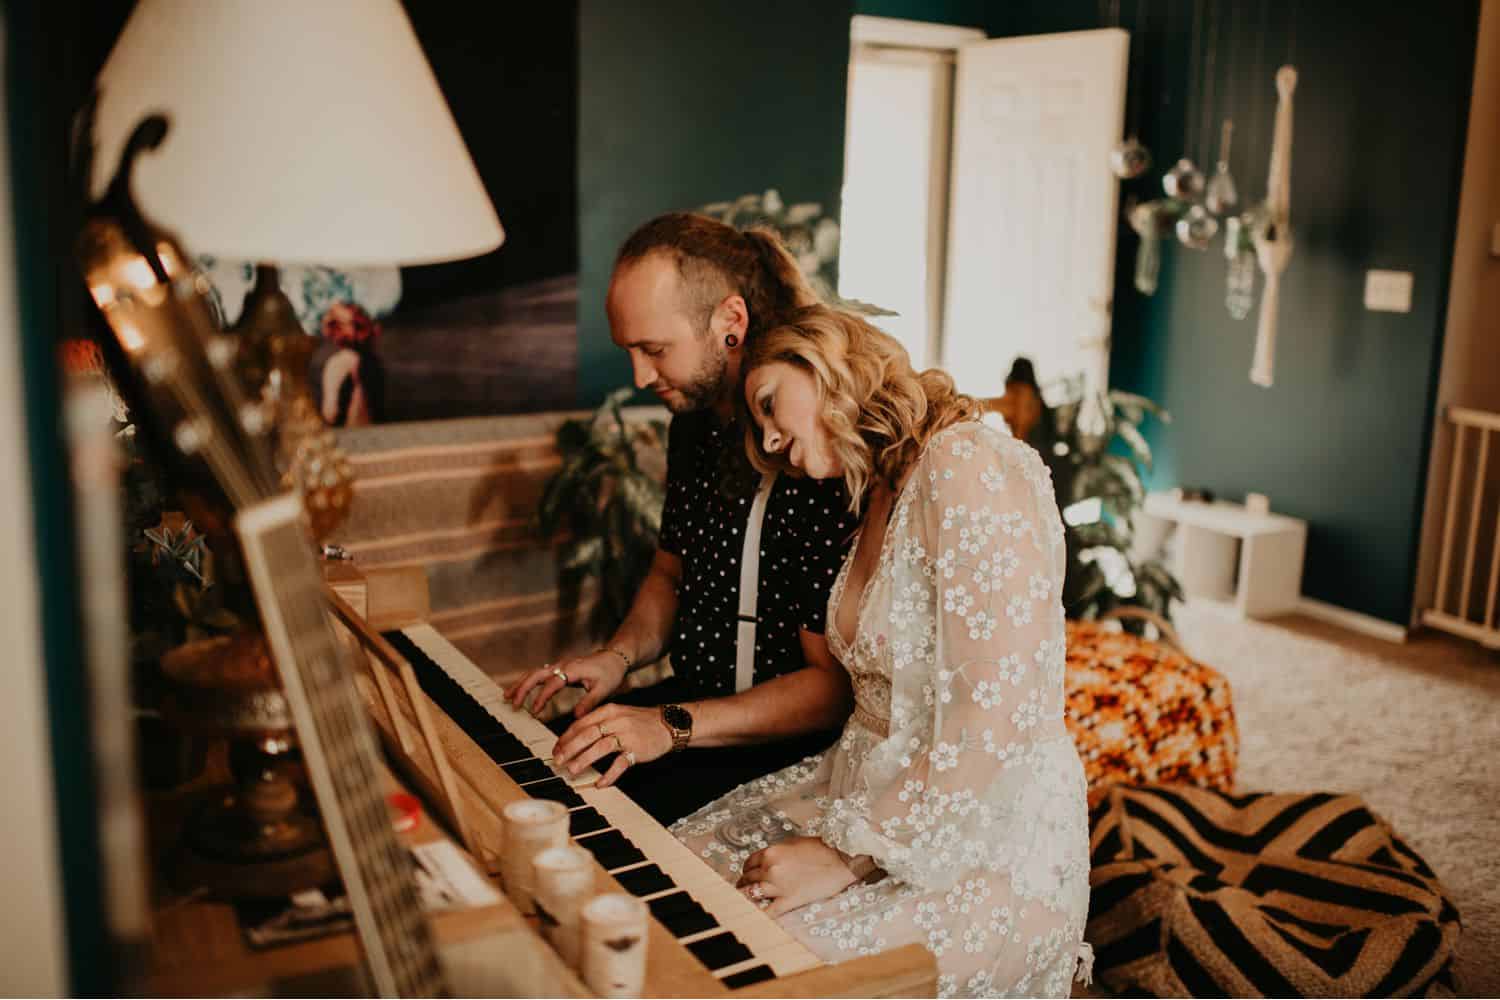
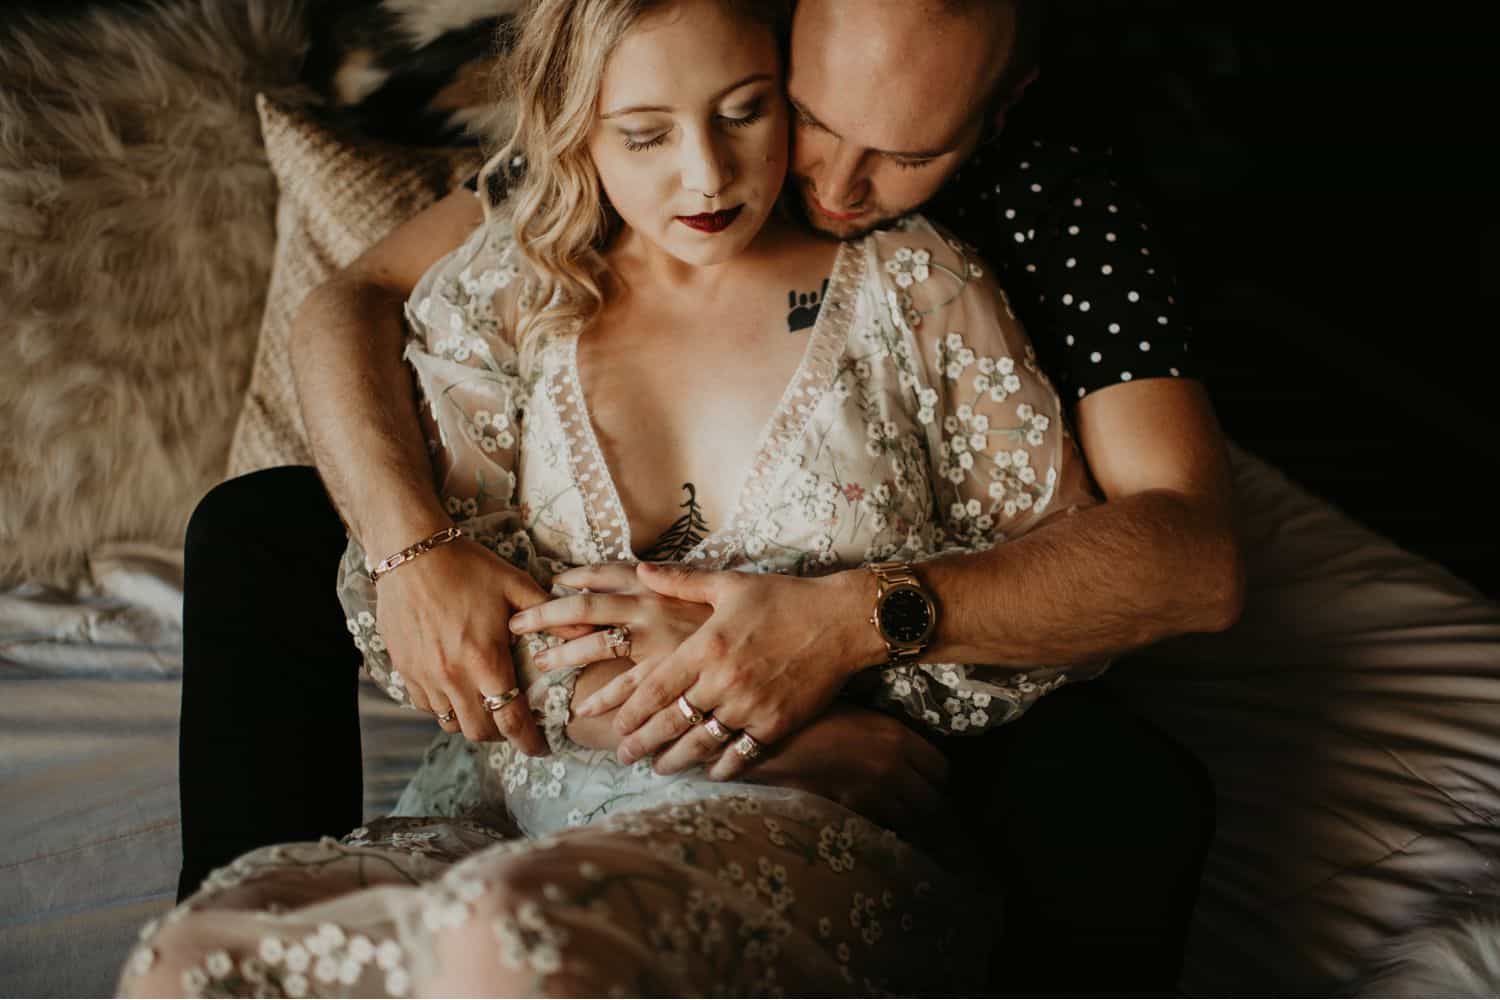
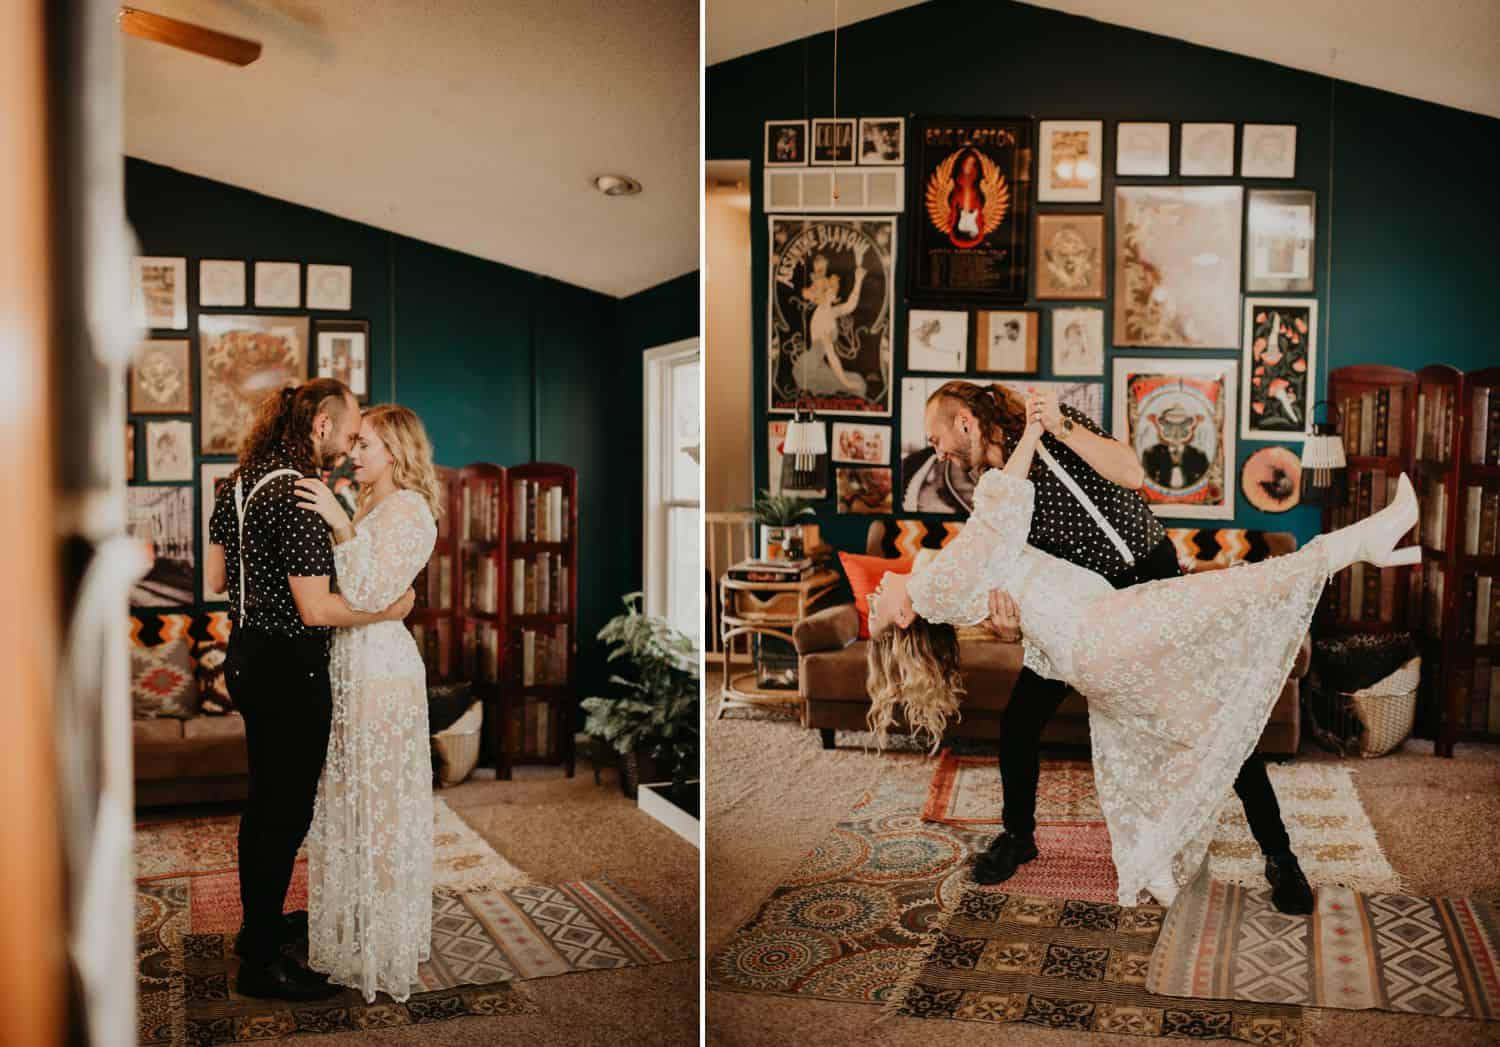
Don’t be afraid to use unusual spaces for pictures if light is there. Is there a tiny nook or unused corner of a room with some light where you can place your subject? This is where creative composition comes into play, and these unexpected low light photography challenges can lead to making amazing images.
If all else fails, even if you prefer to photograph in natural light, don’t hesitate to flip on a light switch or lamp and remove the orange/yellow hues on your image when you edit. You’ll want to position your subject close to the light for the best results; make sure he or she isn’t in front of the light source unless you’re shooting a silhouette.
Encouragement for Natural Light Photographers
If you’re a natural light photographer, I know it’s hard to swallow the idea of ever using artificial light. I get it: natural light is more flattering and it makes post-processing a breeze. My camera can handle pretty dim rooms, and I’ve pushed my ISO to the limit on my camera simply because I didn’t want to flip on the light and deal with the yellow tones in the image in Lightroom.
Shelby Laine Photography
In the end, though, don’t cling so tightly to the idea of being a natural light photographer that you miss out on making incredible images with artificial light sources. That only serves to stress you out in the moment, and it can make editing your image take much longer, too.
It’s ok to break those self-imposed rules sometimes – and that doesn’t make you any less talented as a photographer.
Shelby Laine Photography
#2: Shoot in RAW and in Manual Mode
You’ll want to ensure your camera is set to shooting in RAW for the highest quality, sharpest image, no matter what the light is like.
The very best option for low light photography is to take full creative control in manual mode, adjusting your shutter speed, aperture, and ISO as-needed.
When you’re shooting in manual mode, you can slightly overexpose, even in darker or low light conditions, to help avoid noise or grain in the final version of your images.
#3: Increase Your ISO
If you don’t have much access to good light, the first setting you could adjust is your ISO. This measures the camera’s sensitivity to light. On a bright, sunny day, you might have your ISO set around 200. Inside your home on a cloudy day, you might set it around 800 or higher, depending on exactly how dark it is.
Shelby Laine Photography
You want to use the lowest possible ISO setting for a sharp image; if your ISO is set too high, your images will be over-exposed, and it can be quite difficult to recover those details when post-processing your image.
If you set your ISO too high, you’ll notice grain or noise in your image. This is why you want to select a lower ISO setting that correctly exposes for the available light and allows you to achieve tack-sharp images without too much noise.
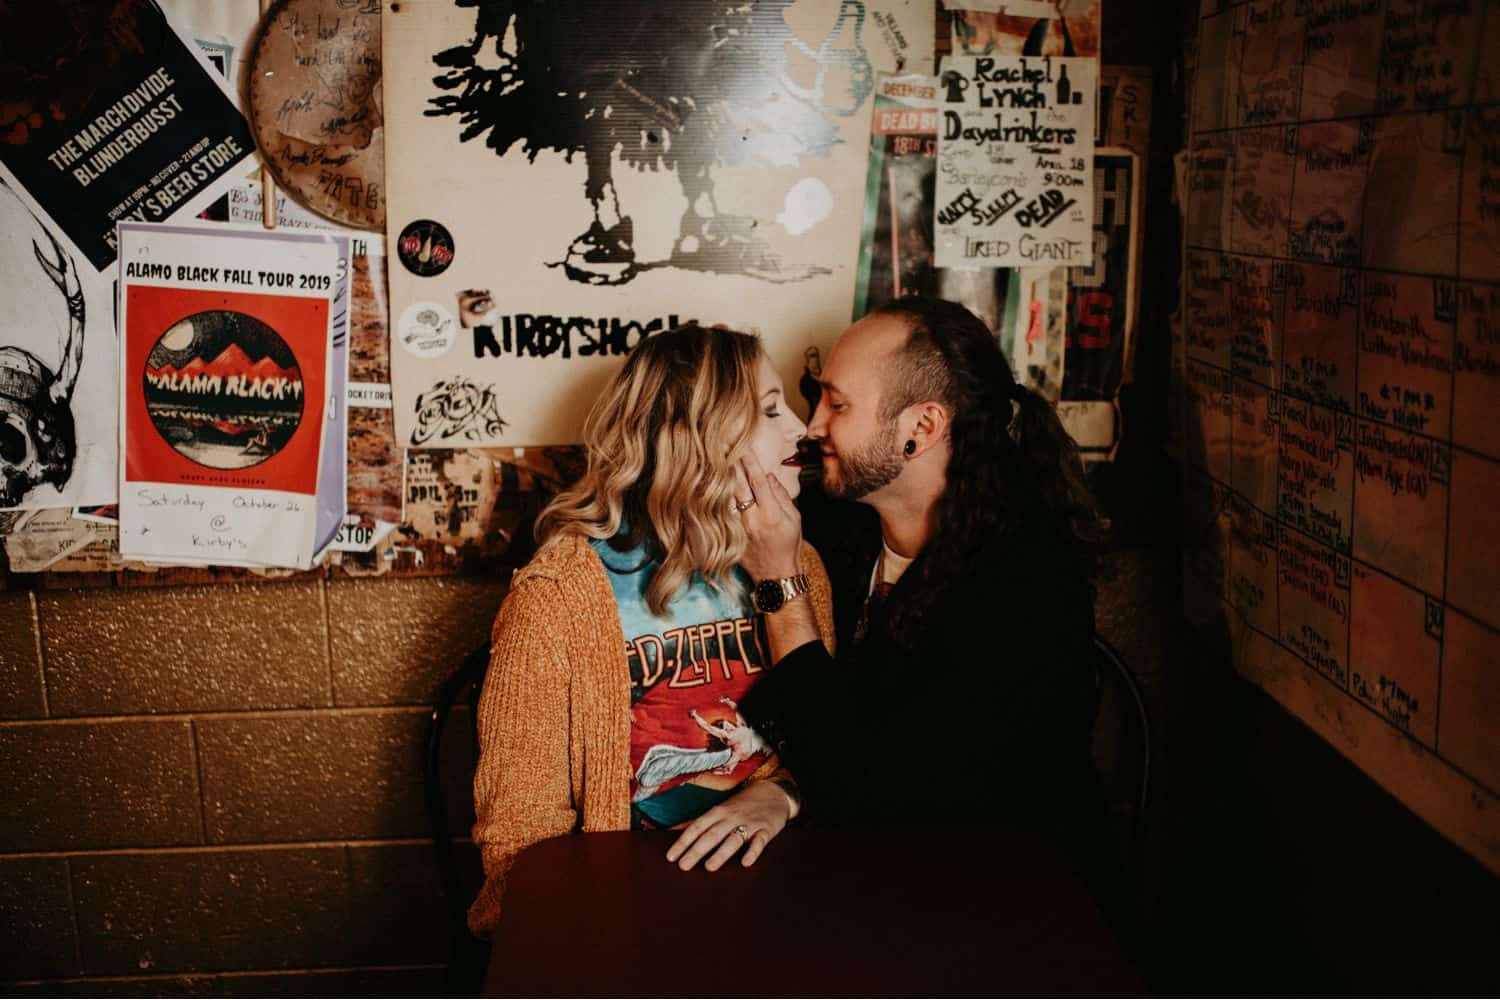
#4: Lower Your Shutter Speed
Depending on what you’re photographing, you can try lowering your shutter speed. The long exposure time will let more light in, but you’ll have to weigh this against how fast your subject is moving. Subjects in motion typically require a peed of at least 1/125″.
A slower shutter speed probably isn’t the best solution for a playful family session with young kids if you’re hoping for sharp images. Slow shutter speed can work, however, if your subject is mostly stationary.
Shelby Laine Photography
As a rule, you’ll want to keep it above 1/60″ unless you’re using a tripod. Another great rule of thumb is to keep your slow shutter speed aligned with your kit lens’ focal length. For example, if you’re shooting with a 200mm lens, your shutter speeds shouldn’t be any slower than 1/200″. And if you’re shooting with an 80mm lens, your target shutter speed shouldn’t be any slower than 1/80″.
If you tend to have trouble with camera shake or motion blur, you’ll want to experiment with which shutter speeds work best for you. Camera shake and blurry images can be caused by anything from hand tremors to a heavy lens. So, camera shake and motion blur may not have anything to do with the low light photography levels where you’re shooting. Know how slower shutter speeds can be useful in comparison to faster shutter speeds when you hand-hold your camera, and you’ll avoid camera shake, motion blur, and blurry images while still achieving the proper enough light exposure by adjusting your ISO and aperture.
#5: Adjust Your Aperture
If you need to use a fast shutter speed but also want to let in more light, you can also adjust your aperture. With faster shutter speed, the higher your aperture, the less light you’re letting into the camera. For example, if I am shooting a group of people and I want to ensure everything is perfectly in focus, I tend to use an aperture around f/5.6.
That’s much too high for a dimly lit room, however. A more open aperture like f/1.8 makes it easier to work with available enough light, and you’ll get creamy, beautiful bokeh too.
Shelby Laine Photography
Keep in mind that if you lower your aperture to something like f/1.8, the easier it is to miss focus. I’d suggest pairing the ideal aperture and ISO settings with the best shutter speed for your low light situation.
#6: Off-Camera Lighting Solutions
My first camera couldn’t handle dim hospital rooms very well and that made Fresh 48 sessions quite a challenge. If I was working with a brand new mom who didn’t want the overhead lights on, or was opposed to opening the blinds, I was stuck delivering images that were mostly black and white.
It didn’t take me long to figure out I needed to learn off-camera lighting, so I bought a Speedlight (use a flash Nikon which can be used either on or off-camera). It allows me to accommodate any situation without panicking because I can always bounce the flash off the ceiling or wall.
Shelby Laine Photography
External lighting can be a lifesaver if you find yourself without access to good quality light, either natural or artificial. In fact, I’d consider it a necessary skill for any photographer who shoots indoors.
This isn’t the same as the pop-up flash you might have on your camera; in fact, it’s a million times better because you’ll get a more natural effect!
By bouncing the flash from a Speedlight, you can mimic the way sunlight flows in through a window or softly illuminate a room. Whereas a pop-up flash is harsh and can cause unflattering dark shadows or red eyes, bounced light can beautifully and naturally illuminate your subject.
If you shoot with a higher ISO or a slower shutter speed, you won’t need to use flash very high. This will help make sure that your images look exceptionally natural.
#7: Lightroom Magic: The Luminance Slider
If you’ve pulled your pictures into Lightroom and you’re seeing too much grain in your low light images, the luminance slider can work magic.
Shelby Laine Photography
In the Develop module, scroll down to the Noise Reduction section. The first slider controls luminance, and it removes grain and you’ll have less noise that can happen with this nice.
Just make sure you don’t go overboard with the luminance slider or you’ll remove sharpness from your pictures.
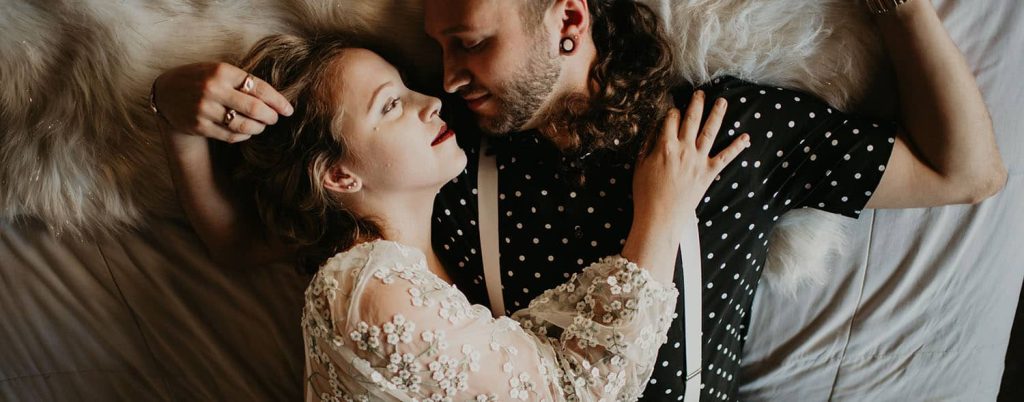
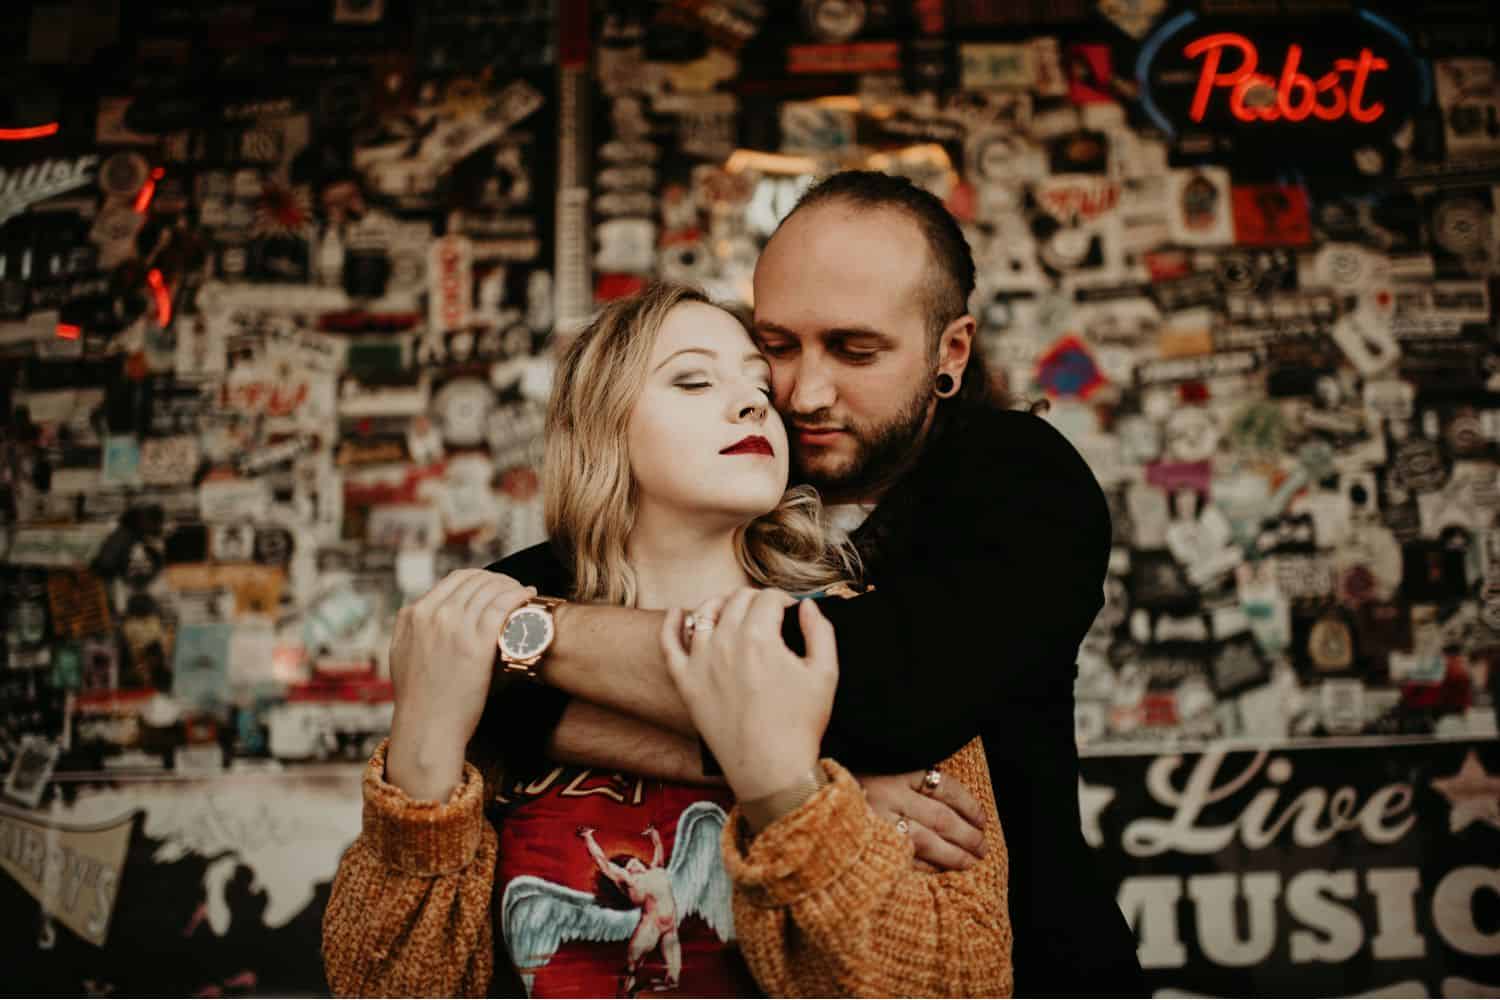
#8: Convert to Black & White
There are times when you can’t avoid low light photography situations and, even with perfect camera settings, you may wind up with incorrectly exposed images.
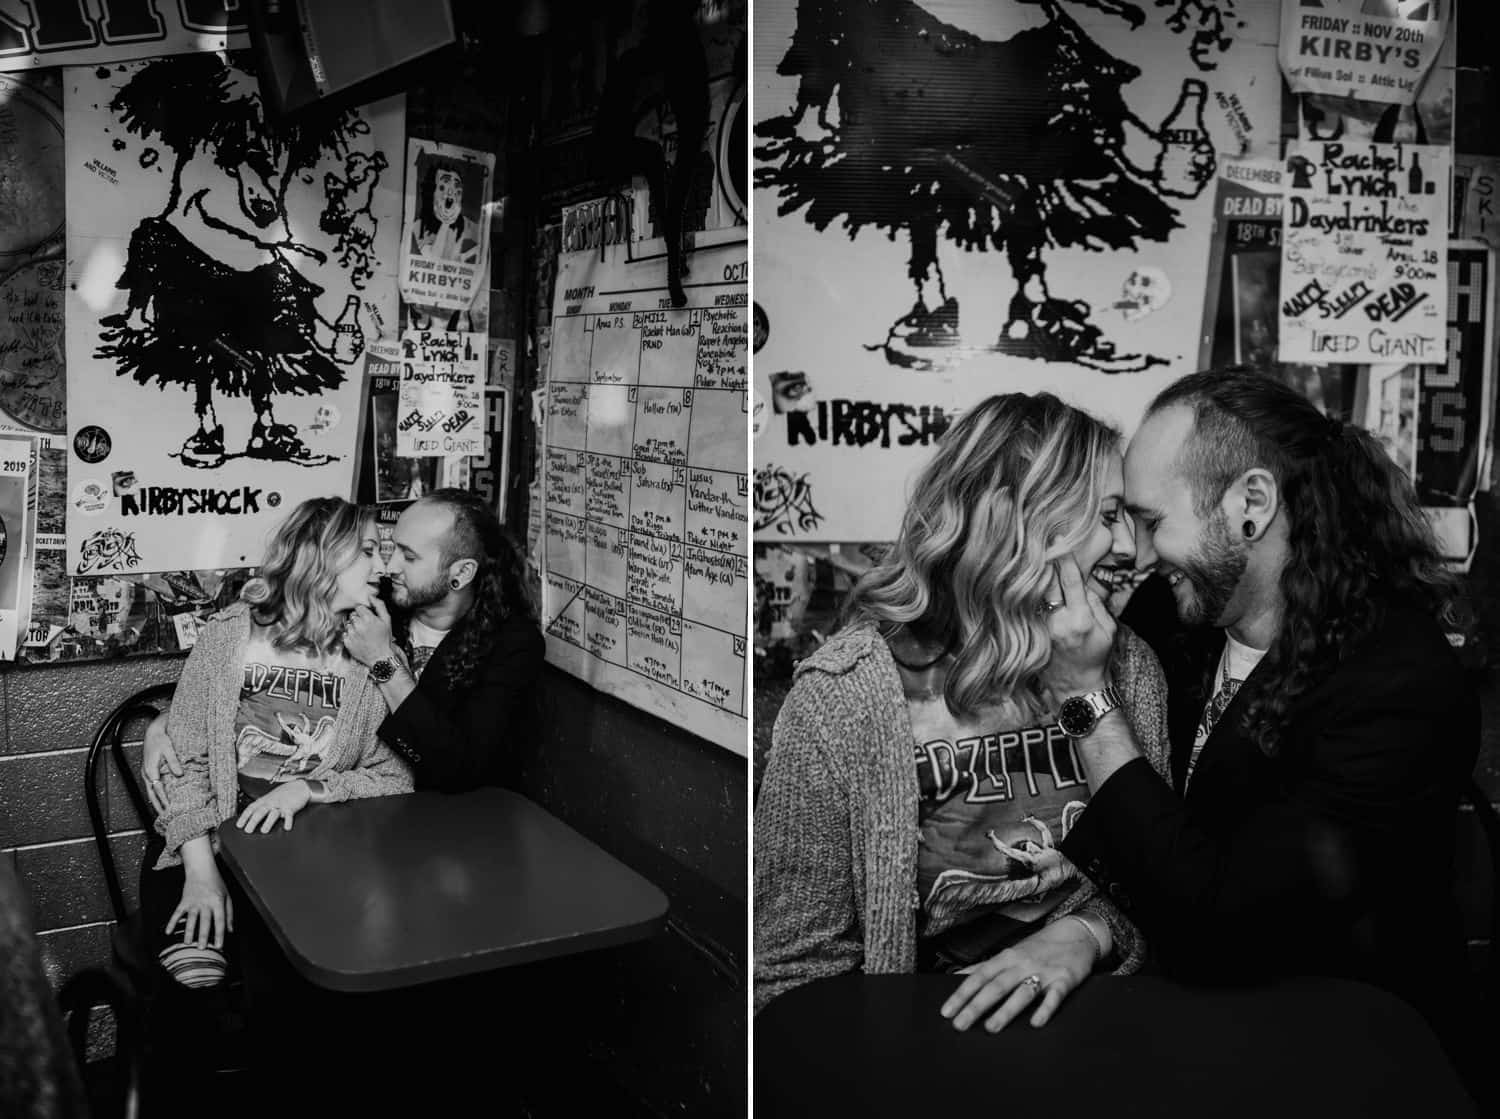
Shelby Laine Photography
If this happens, consider converting to black and white. You won’t notice the imperfection quite as much, and it can give more dimension to your image. Black and white photos also highlight the shadows present in your photo, and the result can be beautiful in a darker room.
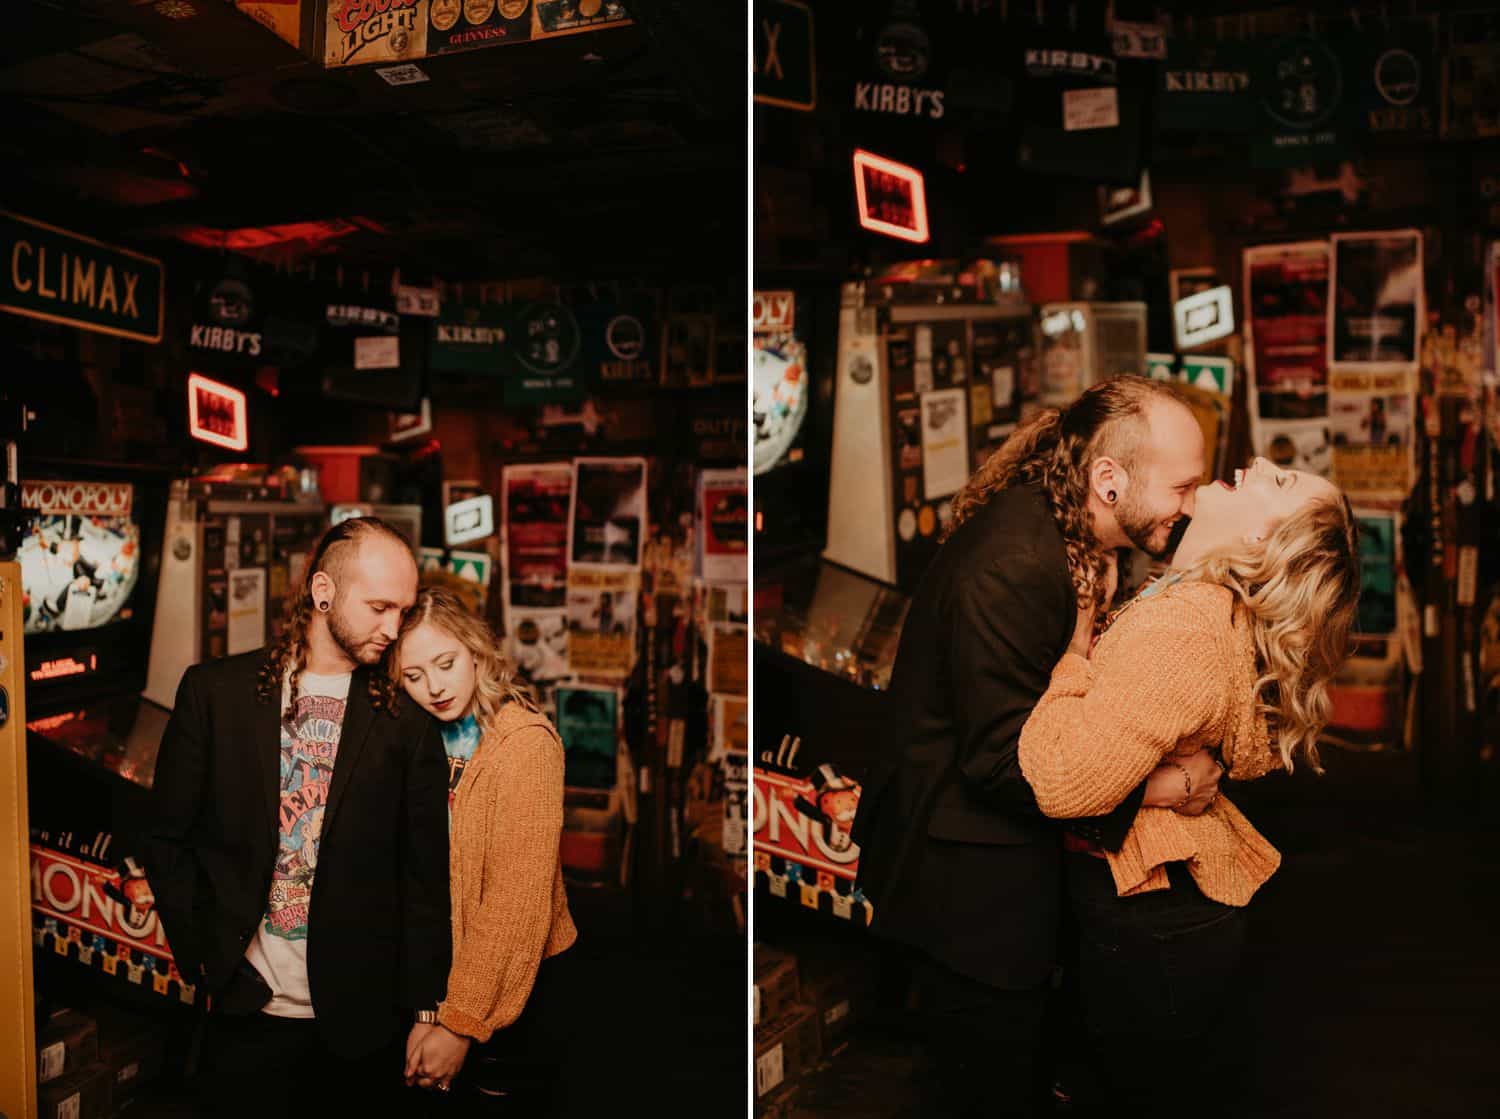
#9: Getting Comfortable Shooting in Low Light Situations
If you happen to be a family photographer who exclusively schedules sessions during the golden hour, you might not have to worry much about low light photography!
On the other hand, if you shoot weddings, families, seniors, headshots, engagements, newborns or any kind of fun personal projects, you’re eventually going to encounter low light situations.
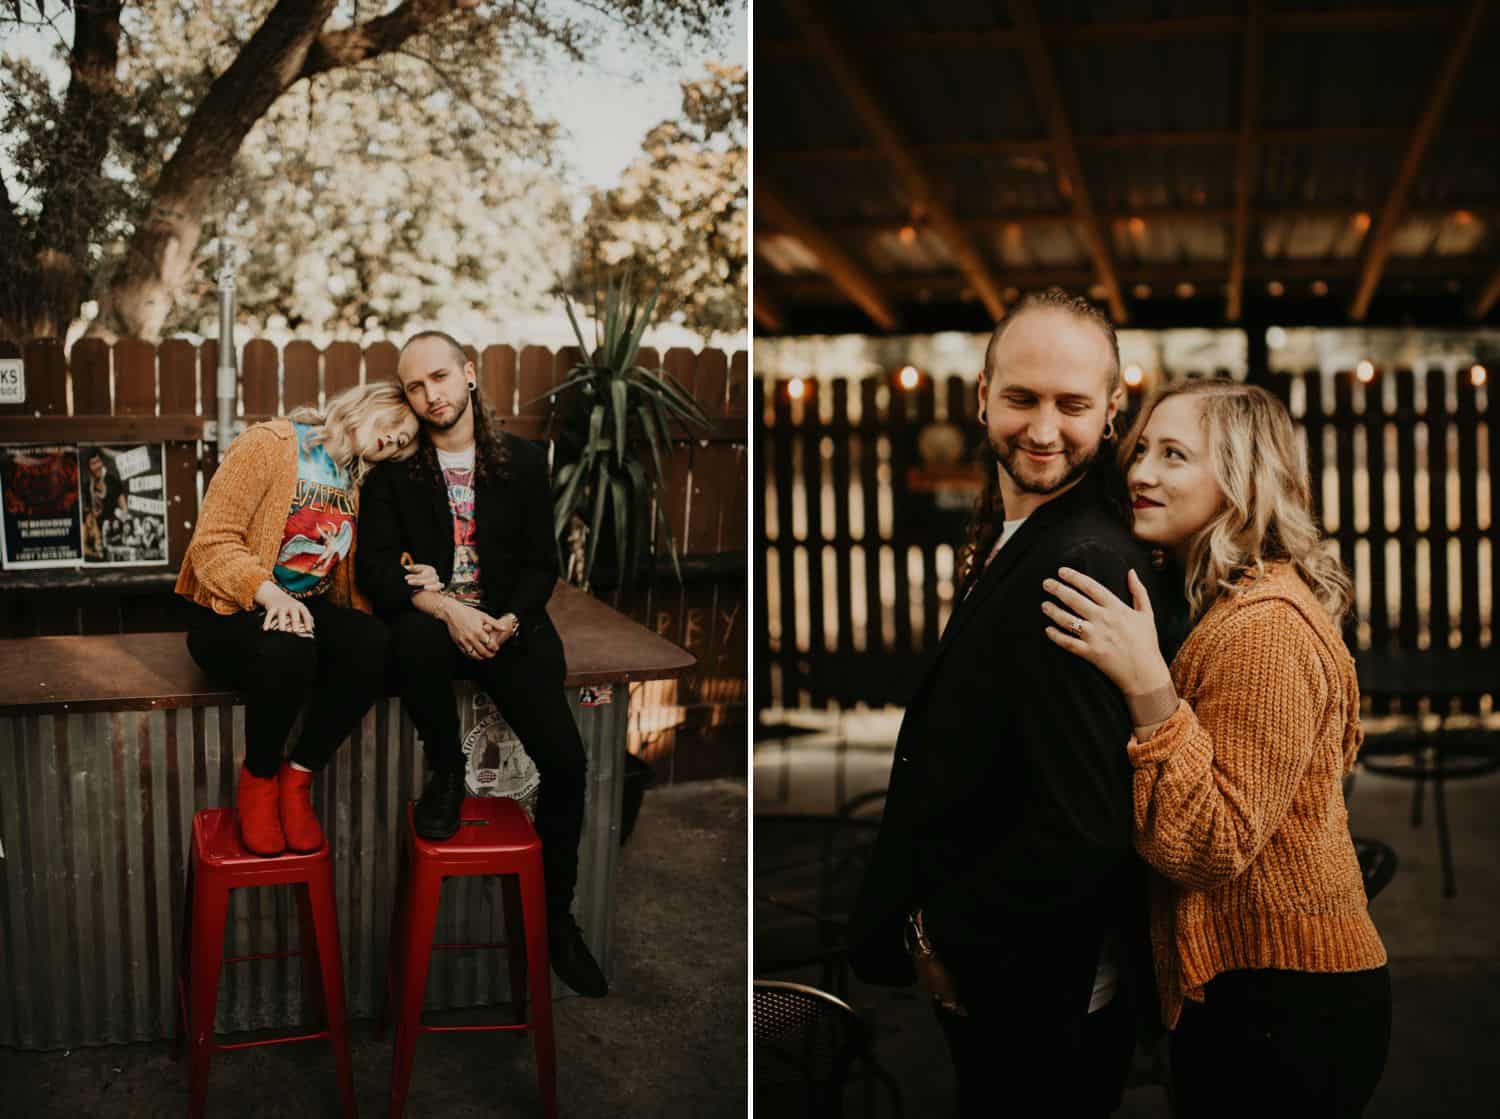
Shelby Laine Photography
The best way to get comfortable is to force yourself to photograph at times when the light isn’t perfect or predictable. Practice, practice, practice. Experiment with different camera settings to see which ISO, aperture, and shutter speed combinations on your camera deliver the best results. Eventually, you’ll move past your preference for “easy” light and you might even enjoy the challenge of low light photography!
The more versatile we are as photographers, the more comfortable we are in any situation. Leave behind those worries about finding the perfect light with your camera, and embrace telling beautiful stories in any light!
Written by KRISTAL BEAN | Photographs by SHELBY LAINE PHOTOGRAPHY via TWO BRIGHT LIGHTS
Kristal Bean is a maternity and newborn photographer based in The Woodlands, Texas. Her passion is helping women celebrate the beauty of motherhood with a luxury photography experience. Kristal is married with three young daughters and one goofy golden retriever.

Keep Learning!
Contributor