
Do you have a growing photography business? Face your challenges and prepare for success with these 20 practical photography tips for beginners.
NEW photographer tips you can really use
There’s always something new to learn or re-learn, whether your photography business is one day, one year, or one decade old. Embrace these tried-and-true beginner tips at every stage of business, and you’ll be empowered to withstand challenges and last for the long-haul!
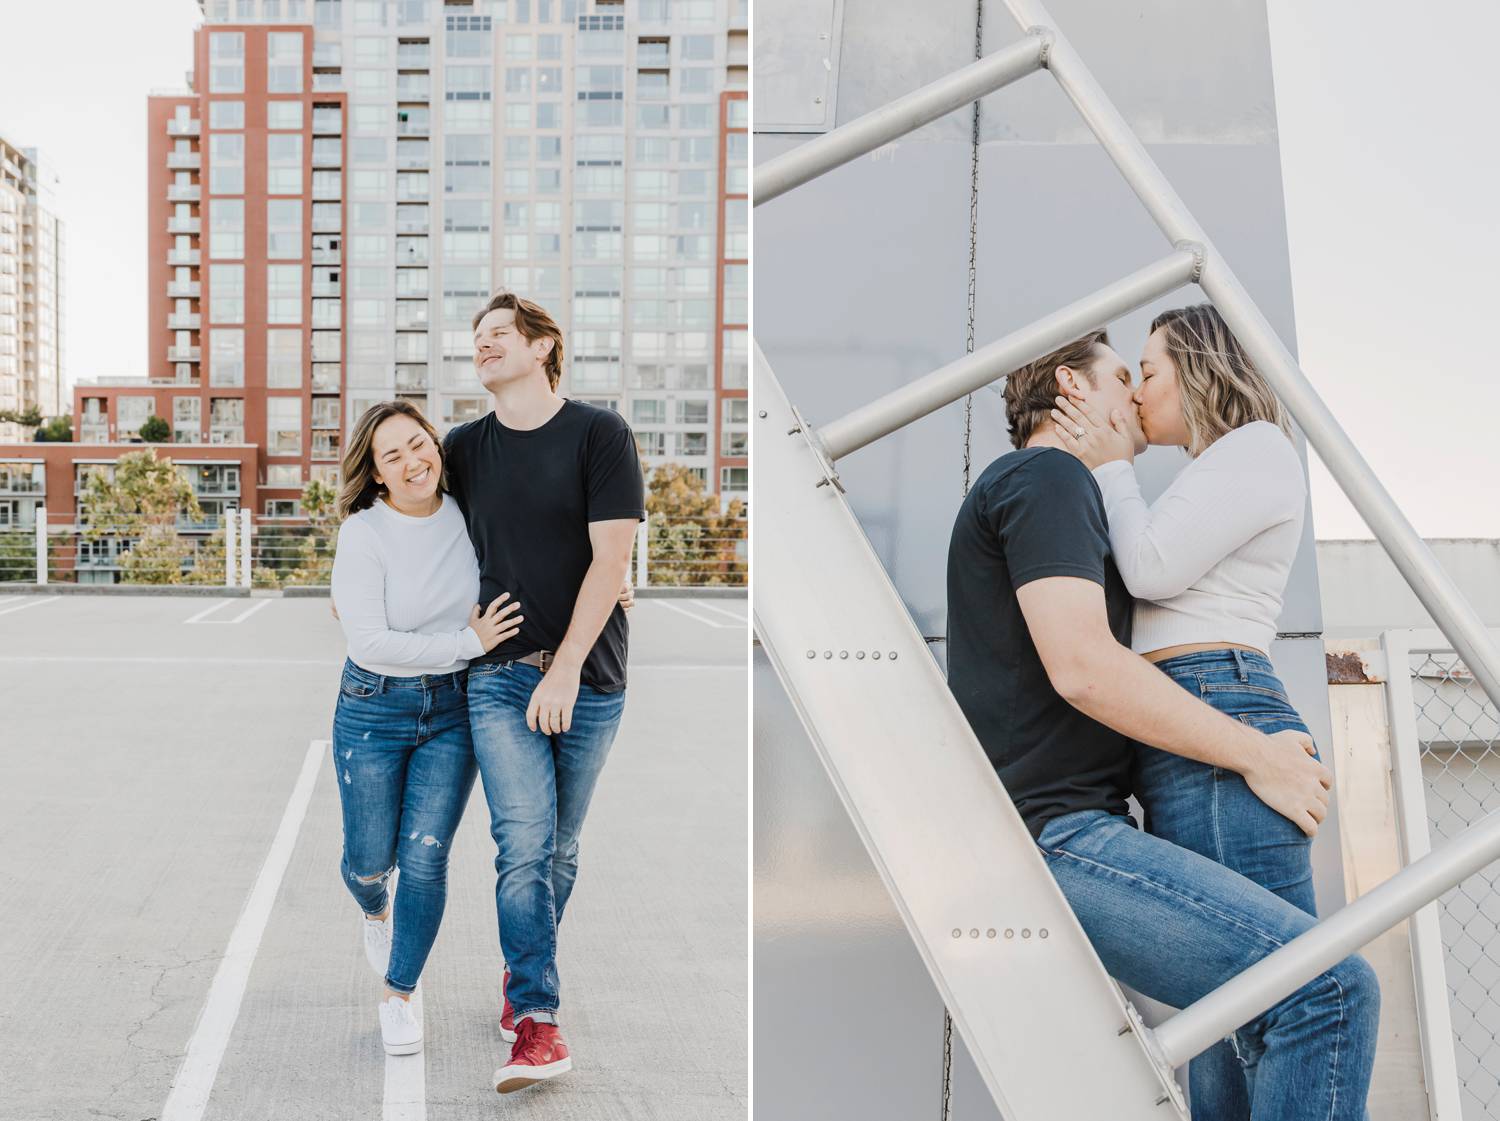
Paulina Perrucci
#1: Invest in education before buying tons of gear
It’s tempting to think you’ll magically take better photos when you have that pricey amazing lens. The truth is, understanding the fundamentals of good photography is way more important than having the newest gear.
There are so many FREE ways for “newbies” to learn the art of amazing photography. Learning your craft will bring you clients faster and grow your business sooner than expensive gear.
#ShootProofPRO Tip: Connect with other learning ‘togs
Still learning the basics of photography? Visit Cole’s Classroom for shooting and posing advice! Part of the ShootProof brand family, Cole’s Classroom offers more than 200 FREE photography tutorials to beginner photographers as well as a wonderfully supportive community!

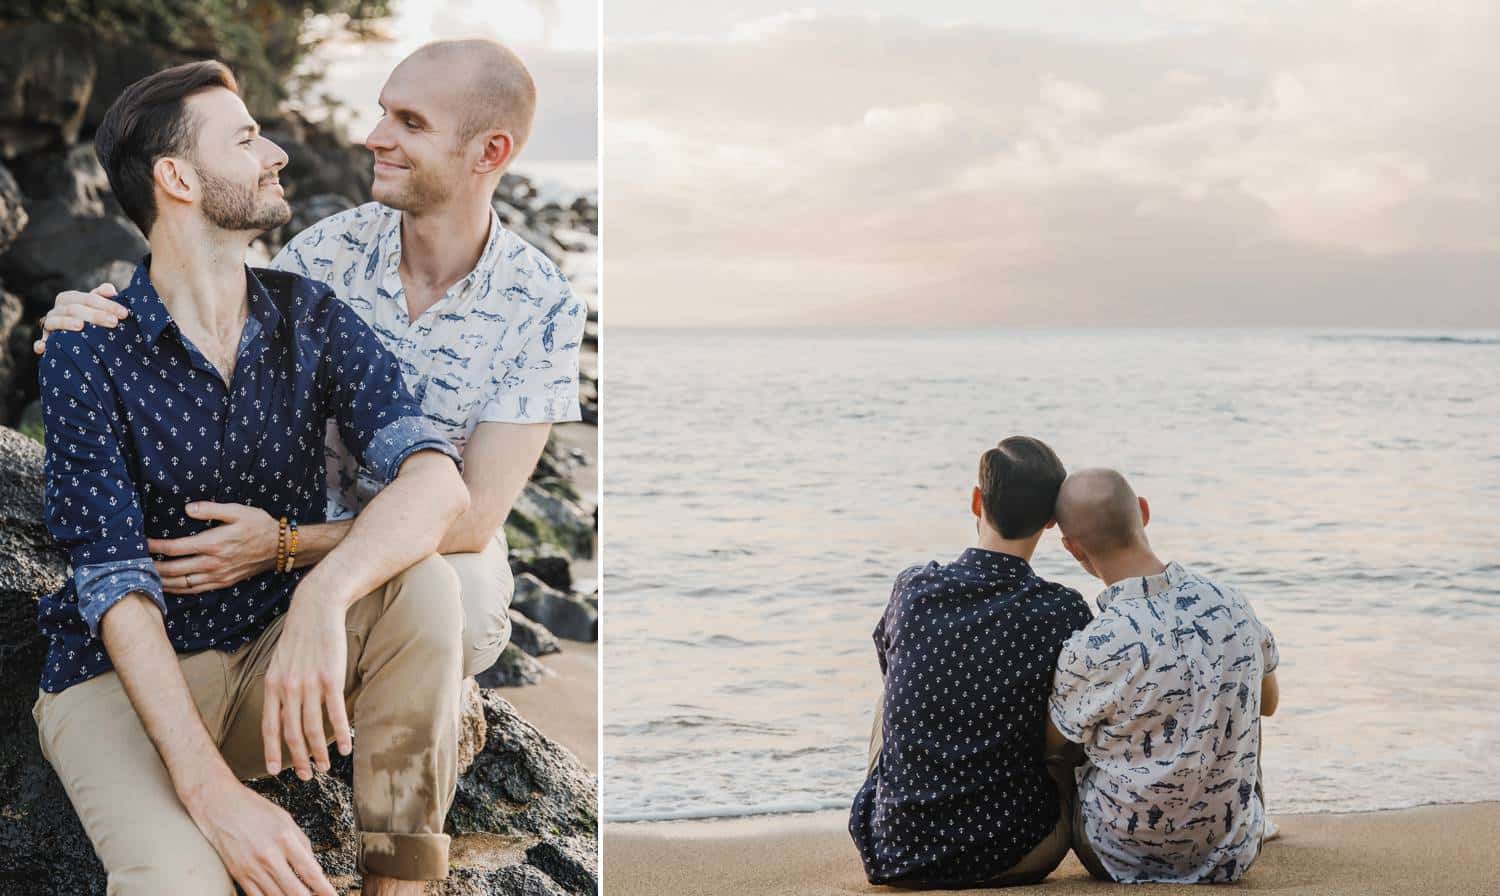
Paulina Perrucci
#2: Get to know the basic camera settings
There are a lot of camera settings! These four, however, are the pillars that empower both professional and beginner photographers to make quality images.
Aperture
The aperture is the “pupil” of the lens, and it modifies the amount of light reaching the sensor. A “large aperture” is a wide opening that lets in a lot of light, which can help you make a brighter photo. Meanwhile, a “small aperture” is a small opening that lets less light in and helps you make a picture darker. Each aperture size is assigned an “f-number,” like these:
- Large apertures have small f-numbers, such as: f/1.4, f/2, and f/2.8. (Lots of light can get it!)
- Small apertures have big f-numbers, like: f/11, f/16, and f/22 (Not much light gets in.)
- Mid-sized apertures include f/4, f/5.6, and f/8.
Shutter Speed
This is the length of time the camera shutter stays open when you press the shutter button. Shutter speeds are usually mere fractions of a second.
- Use a fast shutter speed to freeze motion or allow less light in.
- A slow shutter speed can make an image blurry. It also allows more light to reach your sensor or film.
Faster shutter speeds begin around 1/250″ or 1/500th of a second. Slower shutter speeds are longer, like 1/60th of a second, 1/30,” or even a full 30 seconds.
ISO
If you’re shooting film, high ISO film is more sensitive to light, so you can shoot in dimmer spaces. Conversely, low ISO film is less sensitive to light, so you’ll need to shoot in a bright area.
The same rules apply to digital photography. A high ISO value makes your sensor more sensitive to light, making your photo brighter. However, a low ISO de-sensitizes your sensor and results in darker photographs.
- High ISOs include ISO 800, 1600, 3200, and higher. Use these ISOs to shoot inside or as the sun sets.
- Low ISOs include ISO 400, 200, 100, or lower. Use these ISOs to shoot in bright sun or well-lit spaces.
White Balance
It’s totally fine to use your camera’s auto white balance. But if you want to adjust the color temperature, you can customize it or use one of your digital camera’s white balance presets. These presets correspond to a particular Kelvin number.
The most common white balance presets include:
- Auto (totally great for most scenarios)
- Tungsten (orange-ish light)
- Fluorescent (greenish light)
- Direct Sunlight
- Cloudy
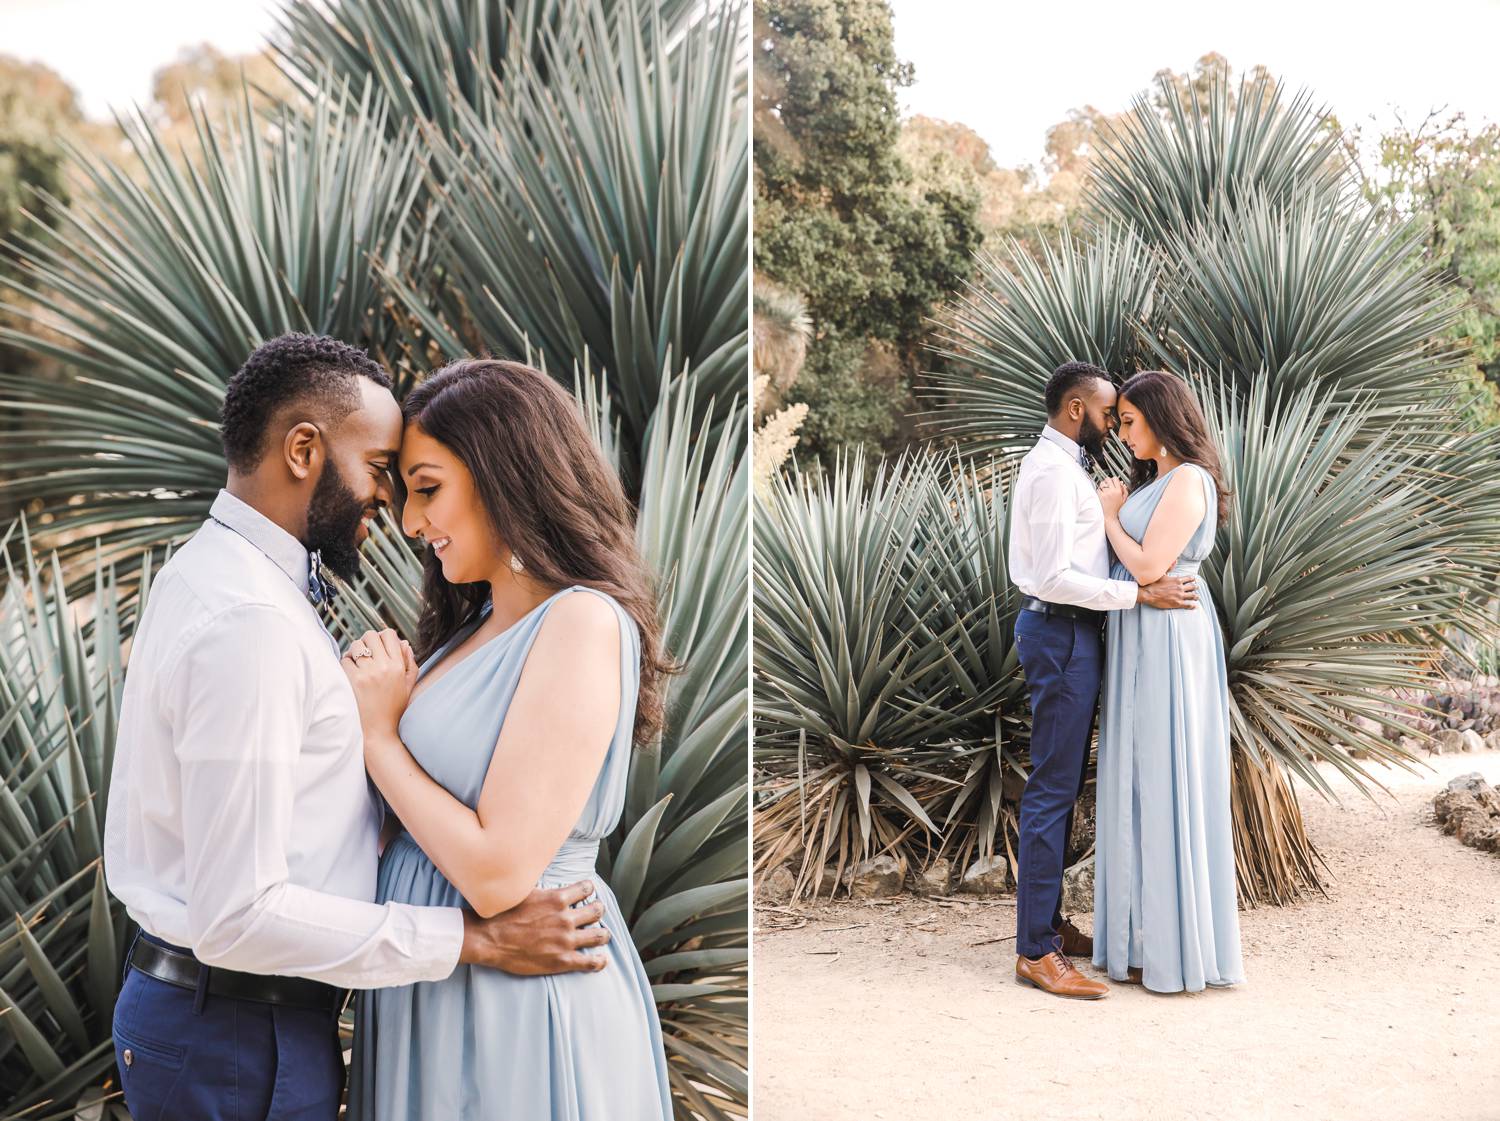
Paulina Perrucci
#3: Understand the different shooting modes
Get to know your camera’s shooting modes so you can quickly make a great photo every time. The three primary modes are:
- Manual mode: You have 100% control over every single camera setting.
- Aperture priority: This mode lets you choose the aperture (f-stop), then the camera auto-adjusts the other settings.
- Shutter priority: This mode lets you choose the shutter speed, then the camera auto-adjusts the other settings.
#4: Get comfy with photo lingo
Professional photographers use a bunch of crazy terms to describe their craft. Here are some of the most common words you should know:
- Exposure. Exposure refers to the brightness or darkness of a picture. A too-bright photo is considered overexposed, while a too-dark picture is underexposed.
- Rule of thirds. The rule of thirds is all about composition. Imagine a Tic-tac-toe board drawn over one of your photos. The two horizontal and two vertical lines would divide your photo into nine sections, right? Now compose your photo so that the most important part appears where any two of those Tic-tac-toe lines intersect.
- Depth of field. The depth of field dictates how much of your photo will be in focus, from near to far. If your photo has a shallow or thin depth of field, items behind or in front of your subject will be out of focus. But if your photo has a large or deep depth of field, the whole frame will be sharp. TIP: small f-numbers produce small (shallow) depth of field; and large f-numbers produce large depth of field.
- Bokeh. English speakers pronounce this word “BO-kuh,” and it’s what we call that fuzzy background you see in some photos. You can make beautiful bokeh by shooting with a small f-number, which creates a small depth of field.
- Focal length. Lenses are named by their focal length, so a 50mm lens has a focal length of (you guessed it): 50mm! Without getting too complicated, just know that the focal length refers to the distance between the optical center of the lens glass and your camera’s sensor (or film.)
- Noise. Film photographers call this grain, and it refers to the little flecks you see in a photo that was shot with a high ISO. Too much noise can make a photo unusable, but moderate amounts of noise can usually be softened with a few tweaks in Lightroom.
- Burst mode. Typically you shoot images one at a time—one shutter press equals one photo. But in burst mode, you can hold the shutter down and your camera will keep taking photos.
- Viewfinder. This is the window you look through to take a photo. DSLR and mirrorless cameras have viewfinders, while compact and smartphone cameras use only a screen.
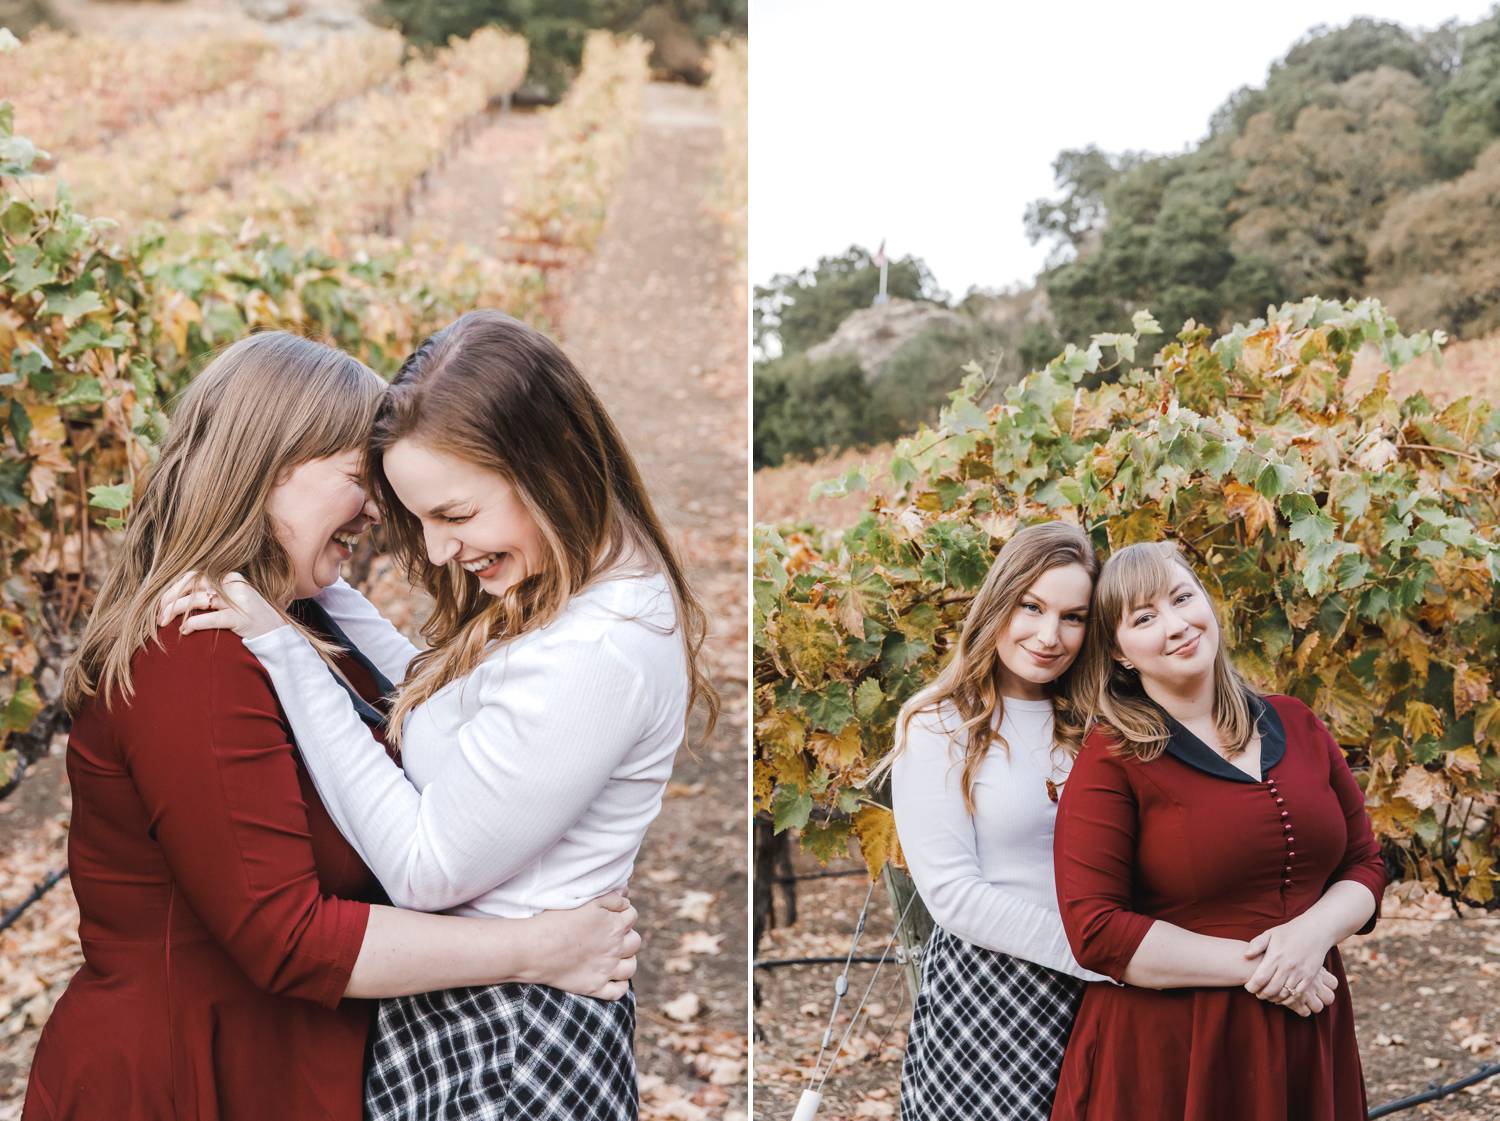
Paulina Perrucci
#5: Create a variety of compositions
When you’re still developing your photography style, it’s especially important to play with a variety of compositions. This isn’t about getting your clients into different poses; it’s about the way you frame the photo.
Move closer or zoom in; step back or zoom out. Try the rule of thirds or frame your subject smack in the center of your shot. Look for leading lines or unexpected angles to change the perspective.
#6: Know your focusing modes
Everyone loves a blurry photo! Wait, no… that’s incorrect. Unless you’re intentionally trying to capture motion, blurry photos are a big no-no. If you’re using the correct shutter speed but still having focusing issues, look at which focusing mode your camera is set to:
- Autofocus. Most pros shoot in autofocus. Press the shutter halfway, and your lens will focus to whatever point you’ve prioritized in your camera settings.
- Manual focus. This mode gives you 100% control over what is in focus. Older lenses were manual focus only! To manually focus your camera, you’ll need to adjust the focus ring on the front of your lens until the photo appears sharp.
- Continuous focusing. Most digital cameras offer some version of this focus mode, which prompts your camera to automatically re-focus as your subject moves.
Paulina Perrucci
#7: Shoot in RAW
Shooting in RAW gives you get the highest-quality image file, which means you can really fine-tune the image to look the way you want it to look. When you’re done editing, simply export the edited RAW file as a JPEG, and you’ll have a photo file your clients can easily view or print.
The most common post-production tools are:
- Adobe Lightroom. This software enables you to import, organize, edit, export, and manage thousands of photos. Add filters, create custom presets, and even batch-apply specific edits to a collection of photos. For many photographers, Lightroom is the next step after completing a shoot.
- Adobe Photoshop. Photoshop is a very powerful application that you can use for simple changes, like cropping, or for wildly complex edits like hand-retouching or graphic design. You don’t necessarily need Photoshop to be a pro photographer, but it’s a very helpful tool.
#8: Learn how to work with lighting
Light is literally the most important element in photography. Without light, there is no photo. You need at least some light to reach the sensor if you’re going to make a photograph.
Ultimately, it doesn’t matter if you’re using sunlight, ambient lamp light, or pro-level strobes and flashes. Light is light, to your camera. What you do with that light is what makes the photograph.
Where does the light fall on your subject? Are there “hot spots”—bits of light that are significantly brighter in some areas than in others? Is your subject evenly lit? Does the light have a color cast, making your subject’s face look orange or green?
Become friends with the light, and you’ll soon be able to use light to your advantage!
Paulina Perrucci
#9: Know when to use a flash
Flashes are essential if you tend to shoot in low-light environments such as weddings or indoor portraits. You don’t want to use your camera’s pop-up flash (if it has one), because the quality of the light from that tiny flash is unlikely to give you a look your clients will like. Instead, invest in flashes that can be used both on and off of your camera body.
You can aim your flash at a neutral-colored ceiling or wall to bounce light throughout a room, or angle it directly toward your subject for more dramatic effects. Ultimately, you need to know how to use a flash because you never want to be unable to take a photo simply because the light is low.
Paulina Perrucci
#10: Get off your tush and MOVE
Have you ever framed and photo then been like, “Whoa! This is perfect! I’ll take 273 photos from this exact angle!” (Let’s be honest: we’ve all done this.)
It’s time to push yourself beyond that initial composition, and explore other angles and perspectives.
Climb on top of things, walk around your client in a circle, zoom in close, crouch down so you’re at eye level with your subject, change the position of your tripod, or move from the floor to a higher platform. Not only will this make your portfolio more diverse, but it will also give you buns of steel.

Paulina Perrucci
#11: You literally MUST have backup files
Whether you’re a hobbyist or paid photographer, one of the worst things that can happen to you is losing all of your photos.
The obvious solution is to maintain a backup of all your images at all times—even the RAW files. You can do this manually by copying files onto an external drive; or you can set up an automated backup using a hard drive that mirrors your computer’s storage.
Lastly, have a backup of your images in the cloud. That includes everything from Dropbox to iCloud to ShootProof’s Archiving option, which, at only four cents per gigabyte, is too affordable NOT to use! (Plus it keeps all of your galleries intact should you ever need to re-send one to a client.)
Paulina Perrucci
#12: Organize your files, DAM it
In case you don’t already know, DAM stands for “digital asset management,” and it’s whatever method you use to store, organize, and locate your images.
Most photographers organize their photos into folders sorted by year, genre, client name, shoot date, etc. You can also invest in DAM platforms like Bynder or Brandfolder. It’s all about what works for you.
Paulina Perrucci
#13: Develop your style
There are several ways to develop your own unique photography style, but the most important step is time. Yup: it just takes time to find your photography “voice,” as it were.
In the meantime, invest your energy into nailing the basics. As every driving instructor ever has told every student they’ve ever had: “You can’t break the rules until you know them!” So get cozy with the rules of photography, and you’ll find more and more opportunities to break them.
#14: Grow at your own pace
Feeling envious of that photographer in town who’s always booked? Keep that jealousy at bay by reminding yourself that you don’t know how long they’ve been working to build their business. You don’t know what other income streams they may have, or what previous training they’ve had. All you know is that you want to be where they are!
Use that desire to fuel your passion for learning. Let their success inspire you, and know that there are still lots of clients and opportunities out there for you.
Paulina Perrucci
#ShootProofPRO Tip: Want more clients?
Ready for more bookings? Start by saying NO to the clients who aren’t your target market. Then grow even bigger with THIS easy ShootProof galleries hack.
#15: Become a bada$$ business person
There is a LOT to get really good at while you’re working toward your dream, and a successful photography business is about so much more than pretty photos.
Evaluate your skills at things like client relations, posing, marketing, blogging, consistent editing, involvement in the community as a small biz, smooth workflow, crisis management (Ever shot an entire sunny outdoor session at 2000 ISO? Forgotten key moments the client specifically requested?), managing finances, networking with colleagues—and so much more.
Perhaps some photographers are a true “overnight success,” but the vast majority of thriving photographers have worked hard, long hours to get where they are. Take a tip from those business bosses, and learn the skills you need to build a brand that lasts.
#ShootProofPRO Tip: Get good in a crisis
Even the most experienced photographers face challenging clients. Learn to handle each crisis like an expert, and your business will be better than ever!
Paulina Perrucci
#16: Underpromise and overdeliver
Have you ever booked a photo shoot for yourself? Family photos, headshots, personal branding images… Find a photographer you admire and book them so you can experience photography from a client’s perspective. This will teach you a ton about what you want for your own clients.
You’ll only have to work with the wrong kind of photographer one time to know how you can do better.
- Send your contracts in plenty of time
- Provide easy-to-understand session prep documents
- Deliver the images before the contractually agreed-upon deadline
- Edit consistently
- Always follow-up to make sure your clients love their photos
In short, be the kind of photographer you’d want to hire for yourself—the kind you’d recommend to others!
#ShootProofPRO Tip: Create a great client experience
People hire photographers for the photos, but they recommend photographers for the experience. Are you giving your clients a great experience? See how photographers are crafting incredible client experiences through:
Paulina Perrucci
#17: Don’t take criticism (too) personally
As artists, we put a little bit of ourselves into every image. Because there is a personal element to our work, we have to have thick skin. Not every client is going to be madly in love with every photograph. That’s okay.
When someone tells you they are disappointed in an aspect of your work, take it as a learning opportunity. That doesn’t mean you need to throw in the towel. Sure, it’s hard. But learn what you need to adjust now so you don’t repeat the situation again.
#ShootProofPRO Tip: Refresh your portfolio
Client critiques can hurt, but they can also be GREAT opportunities for growth! See how ShootProof can help you build your strongest portfolio ever with some simple client feedback.
Paulina Perrucci
#18: Take lots and lots and lots of pictures
The best way to become a Great Photographer is simply to shoot. Get out there and make images every day, over and over, until you’ve figured out how to recreate the photos you see in your mind.
The more you spend time with your camera, the easier it will become to quickly change settings, adjust your composition, or fix a problem you encounter. Before you know it, f-stops and shutter speeds will feel like your native language.
Paulina Perrucci
#19: Don’t be afraid to experiment
One of the best things about using a digital camera is that you don’t have to worry about wasting film to practice or experiment. You can shoot 1000 photos and delete all but 999 of them and it won’t have cost you a single hard penny.
So there’s really no excuse to not practice. Play with poses, lighting, angles, and different lenses. (You can try out new lenses by renting or buying used!)
#20: Don’t just dream it. Do it.
Life is a constant learning process, and so is your photography journey. The amazing thing about this creative path is that there are so many opportunities to learn and grow as an artist and businessperson. You don’t need an expensive degree or a fancy title to build a photo business that will carry you all the way to retirement.
- Reach out to other creatives. Surround yourself with people who think and see creatively—even if it’s just via an online community. These relationships will keep you inspired when you feel burnt out.
- Connect with brilliant small business owners. Take your accountant out for coffee, or offer free headshots to the local attorney. The point isn’t to get any services for free, but rather to pursue connections with people who see the world from a more pragmatic perspective.
- Remember the Internet? The world wide web is chock-full of free education in everything from how to photograph newborns to what should I make for dinner? Use these resources to learn something new every day. There’s no excuse not to!
Paulina Perrucci
Now get out there and take over the world!
These are some of the best practical tips you can embrace if you want to improve your digital photography. Once you have these down, you’ll be well on your way to truly feeling like a pro. Keep up the hard work, don’t fall into the comparison trap, and you’ll have your dream biz built before you know it.
Written by KRISTAL BEAN and ANNE SIMONE | Photographs by PAULINA PERRUCCI
Contributor