
ShootProof makes it faster than ever to make money with your photography prints. Our system can help you do things like send invoices, track payments, set up galleries, and sell prints or photo products — the whole nine yards.
And setting up that ShootProof account? It’s easy!
So many of our photographers use our platform because they want to increase their income from products, but they just aren’t sure how to get everything set up.
And we get it. Starting any new software or system is a process. But ShootProof’s system was built by photographers for photographers, so you know we’ve thought of everything! We know exactly what you need to keep the money-making process quick and efficient from start to finish.
If you’re not sure how to set up your ShootProof account to sell more, or you want some more in-depth information on how to sell with our platform, keep reading. We’re going to take you step-by-step to get your ShootProof account ready to sell.
Get clients. Get paid. Get happy.
ShootProof Sales Step #1: Select a Payment Method
Getting paid is important, right? After all, you work hard and you want to be compensated as such. But sometimes collecting these payments can be a hassle. And you certainly don’t want to spend all of your time chasing payments from invoices.
That’s where our payment gateway comes in!
For clients to checkout and make payments using a credit card, you’ll need to select a payment processor. We offer a few different options to keep things as smooth and stress-free as possible:
- ShootProof Pay (available only for studios in the United States)
- Authorize.net (available to studios in Canada)
- Braintree (available to studios outside the United States)
- PayPal Payments Pro (available to studios in the UK and Canada)
- PayPal Payments Standard (for Business) (available to studios outside the United States)
- Stripe (available to studios outside the United States, excluding Argentina, Chile, Columbia, Ecuador, Israel, Philippines, or South Africa)
Some are free and some have fees. The right one for your business is up to you, but either way, you can’t go wrong with a streamlined payment system.
ShootProof Sales Step #2: Create a Price Sheet
Setting up your price sheet with the printer of your choice is easy. Each one can include products from one of our partner labs, or as self-fulfilled products not offered by our labs.
When you work with our printers though, your workflow becomes more seamless; clients place orders, you review and approve, and our partner labs fulfill.
Choose from any of these world-class lab options:
- Bay Photo Lab
- Miller’s Professional Imaging
- White House Custom Colour
- Black River Imaging
- Mpix
- Richard Photo Lab
- Loxley Colour
- Atkins Pro Lab
- Technicare Premier Photo Lab
Once you have that decided, head over to the Commerce Tab and select Pricing. There, you can choose from one of our pricing sheet templates:
- Most Commonly Sold: Includes the most common print sizes and items offered through that lab. It also adds the suggested markup pricing for those items included.
- Blank: Start from scratch and create your own.
- Duplicate a Saved Price Sheet: Already have a pricing sheet saved? Just duplicate it and adjust accordingly.
From there, you can add and arrange items or groups to help your customers easily navigate through everything you offer. You can set the pricing, add an item description, sample images, and additional shipping to a specific item. Plus, you can create multiple pricing sheets to help accommodate the different needs of your clients.

ShootProof Sales Step #3: Decide On Your Products
Not sure what you want to offer to clients? That’s okay — there are so many options. But when clients see a long price list with dozens of things they can purchase, it can lead to decision fatigue. And if they’re confused, there’s a chance that they won’t end up buying anything at all.
Narrowing down what you want to add to your print store can greatly simplify your entire client process. Not only will it be easier for you to remember what goes where and when, but clients will also have a much easier time choosing the right option for them.
You know that standard prints are always the go-to, but here are a few more ideas to help you land on a decision:
- Canvases
- Mounted pictures
- Gallery wraps
- Metal prints
- Collages, calendars, boxes, and folios
- Limited edition prints
- Acrylic photo blocks
- Framed prints (matted and unmatted)
- Ornaments
Not to mention the type of paper you can make available for these of prints too:
- Metallic prints
- Matte prints
- Standard prints
- Glossy prints
You can also vary sizes and offer framing options. The possibilities are endless, so it’s important to choose what’s right for your business and what you think your clients may enjoy.
ShootProof Sales Step #4: Determine Markup on Products
It’s crucial that you calculate production costs and profit margin in your selling price. When you sell online photos, you’ll need to implement additional processes.
It’s important that you understand the cost of production and services before calculating your prices. You want to ensure you’re able to get professional prints to clients in a fast and efficient way, while still earning a profit.
A few things to consider:
- Client sales tax
- Client shipping
- Lab product and shipping costs
- Lab add-on costs
- Payment processing and withdrawal fees
- Refunds and voids
Remember, the overall selling price must be enough to cover all of your production costs and still make a healthy profit. We recommend a 300%+ markup to make sure that happens.
Good news — The Package Builder comes with a Markup Tool that guarantees the final price covers your costs of goods sold and shipping fees when you sell photos.

ShootProof Sales Step #5: Assign a Price Sheet to a Gallery
Remember that if you want your clients to see the pricing sheet, you need to add it to their gallery. Make sure you don’t skip this step!
There are a few different ways to do this.
To add a price sheet to a gallery through the Gallery Settings:
- Go to Photos > Galleries > Actions on the specific gallery > Settings
- Go to the Shopping Cart tab
- Toggle on the Shopping Cart
- Choose a price sheet from the drop-down menu
To add a price sheet to several galleries at once using the Bulk Actions:
- Go to Photos > Galleries
- Click Select on the galleries you want to add price sheets to
- Go to Actions (top right) > Bulk Actions
- Choose a price sheet from the Price Sheet drop-down menu
To add a price sheet from the Pricing page:
- Go to Commerce > Pricing
- Open the Actions menu below your price sheet
- Choose Assign to Gallery
- Select the gallery
- Click Assign to Gallery
To add a price sheet from the Price Sheet page:
- Click the Assign to Gallery button in the top right
- Select the gallery
- Click Assign to Gallery
See? It’s simple. And the best part? It will take you less than a few minutes to take care of. That’s pricing made easy!
 Violá! Selling your prints has never been easier. And the greatest part about ShootProof? We help you sell more — and we never charge a commission on your photo or product sales — ever.
See for yourself how ShootProof streamlines the buying and selling process. Get your account ready to sell today!
Start your free trial with ShootProof
Our photographers have made: $610,150,694
Commission we’ve taken: $0
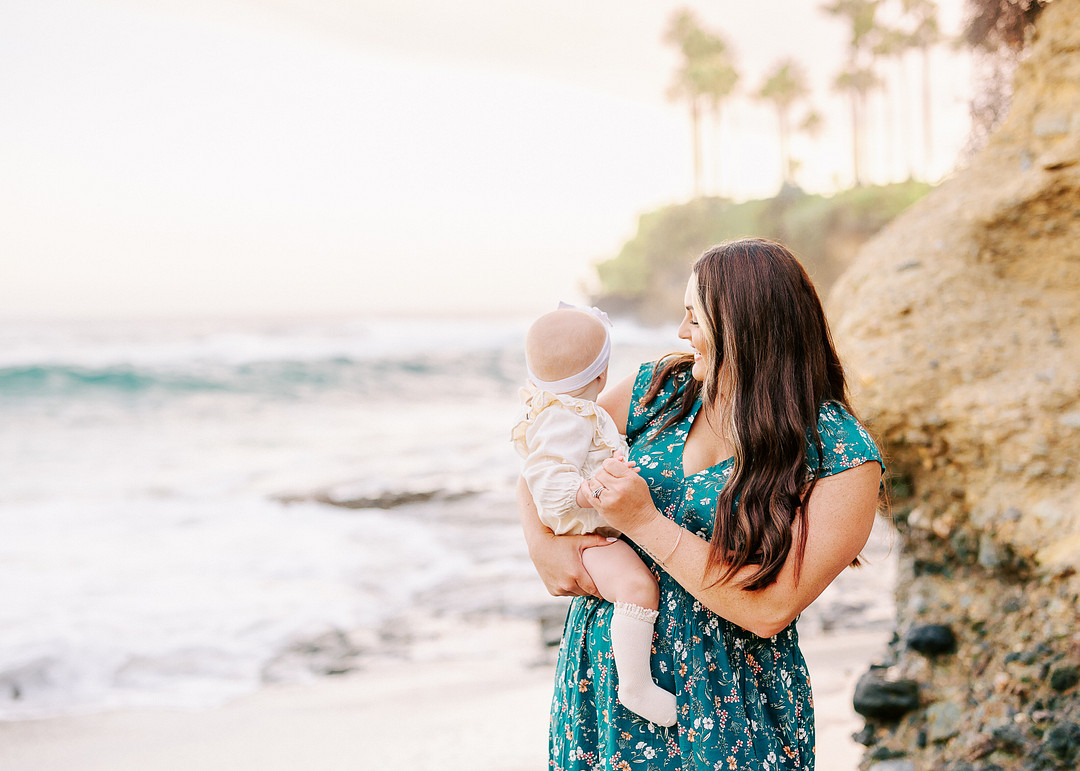
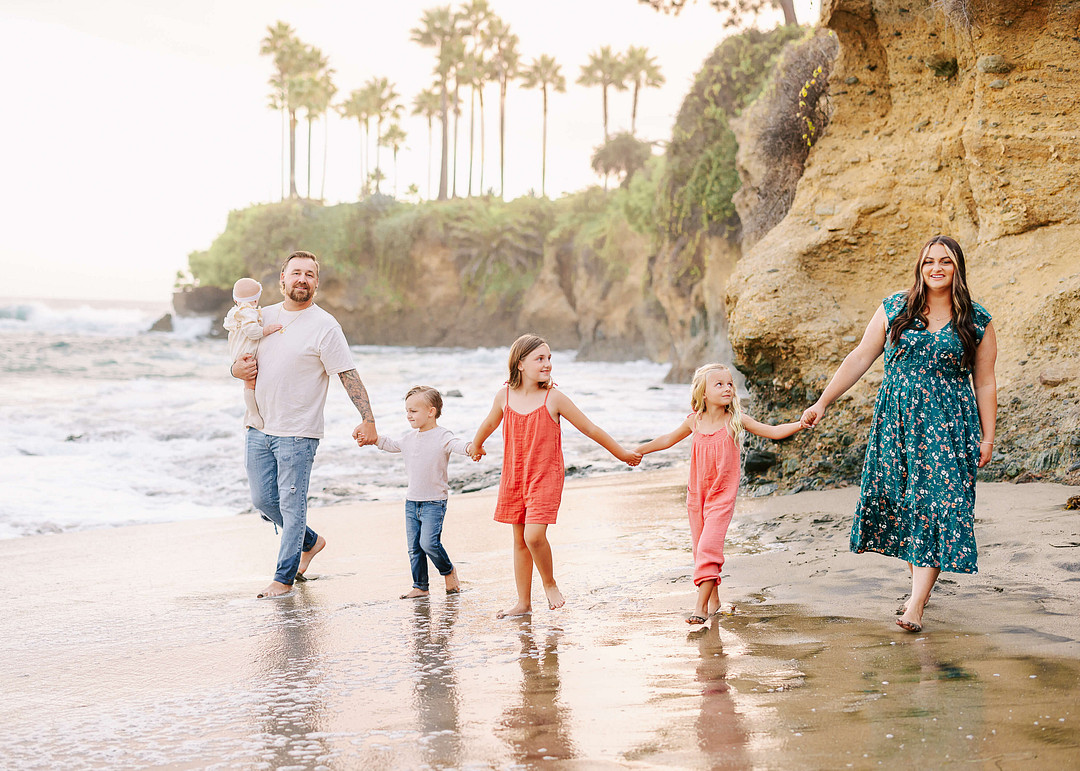
Beautiful photos by ASHLEY NICOLE PHOTOGRAPHY
Contributor